Release Notes > Older Releases > 5.39.0
Upgrade From 5.38.x to 5.39.0
Learn how to upgrade Webiny from 5.38.x to 5.39.0.
- how to upgrade Webiny from 5.38.x to 5.39.x
Make sure to check out the 5.39.0 changelog to get familiar with the changes introduced in this release.
Step-by-Step Guide
1. Upgrade Webiny Packages
Upgrade all Webiny NPM packages by running the following command:
Once the upgrade has finished, running the yarn webiny --version command in your terminal should return 5.39.15.
2. Run the Upgrade Command
The next step is to run the project upgrade:
3. Breaking Changes❗
3.1 Headless CMS - Date/Time and Identity (On/By) Meta Fields
As mentioned in the changelog, with this release, we’ve revamped the date/time and identity-related meta fields. In order to do this, we had to introduce a couple of Headless CMS-related breaking changes.
Will these breaking changes affect you? It depends on if you’ve been adding custom code in your project, in which you are also relying on the existing content entry meta fields, like ownedBy, publishedOn, or createdOn. For example, you may have have been using these in your:
- custom Headless CMS-related GraphQL API queries or mutations
- custom Headless CMS-related JavaScript (TypeScript) code (for example, lifecycle events)
If you don’t have any of the above, you can safely skip this section. Otherwise, please take a look at the Date/Time and Identity (On/By) Meta Fields article.
3.2 Deployments - New IAM Permissions Requirements
As mentioned in the changelog, starting with this release, when deploying Webiny, an AWS Step Functions state machine will also be created in the process.
And despite the fact that, at the moment, the state machine is only utilized internally, this still means that, in order to deploy Webiny successfully, proper AWS Identity and Access Management (IAM) permissions need to be in place.
For new users, this is not an issue because we’ve updated our Deploy Webiny Project AWS CloudFormation template to include the required permissions. However, for existing users, this means that, in order to deploy Webiny successfully, they’ll need to update the permissions attached to the IAM user or role they’re using to deploy Webiny.
Ultimately, no matter if you’re using the mentioned AWS CloudFormation template or not, the following additional permissions need to be attached to the IAM user or role you’re using to deploy Webiny:
Be careful with the arn:aws:states:*:*:stateMachine:wby-* resource and the last wby-* section. If you’re using a
custom Pulumi resource name prefix (set via webiny.application.ts files), you’ll need to update this accordingly.
For example, if using my-123-prefix- as the custom Pulumi resource name prefix, then the resource should be set to arn:aws:states:*:*:stateMachine:my-123-prefix-*. So, instead of ending with wby-*, the resource now ends with my-123-prefix-*.
For more information on custom Pulumi resource name prefixes, see Pulumi Resource Name Prefixes.
If you’re using the AWS CloudFormation template, you can add these to the deployed DeployWebinyProjectGroup2 IAM group, simply via the AWS Console:
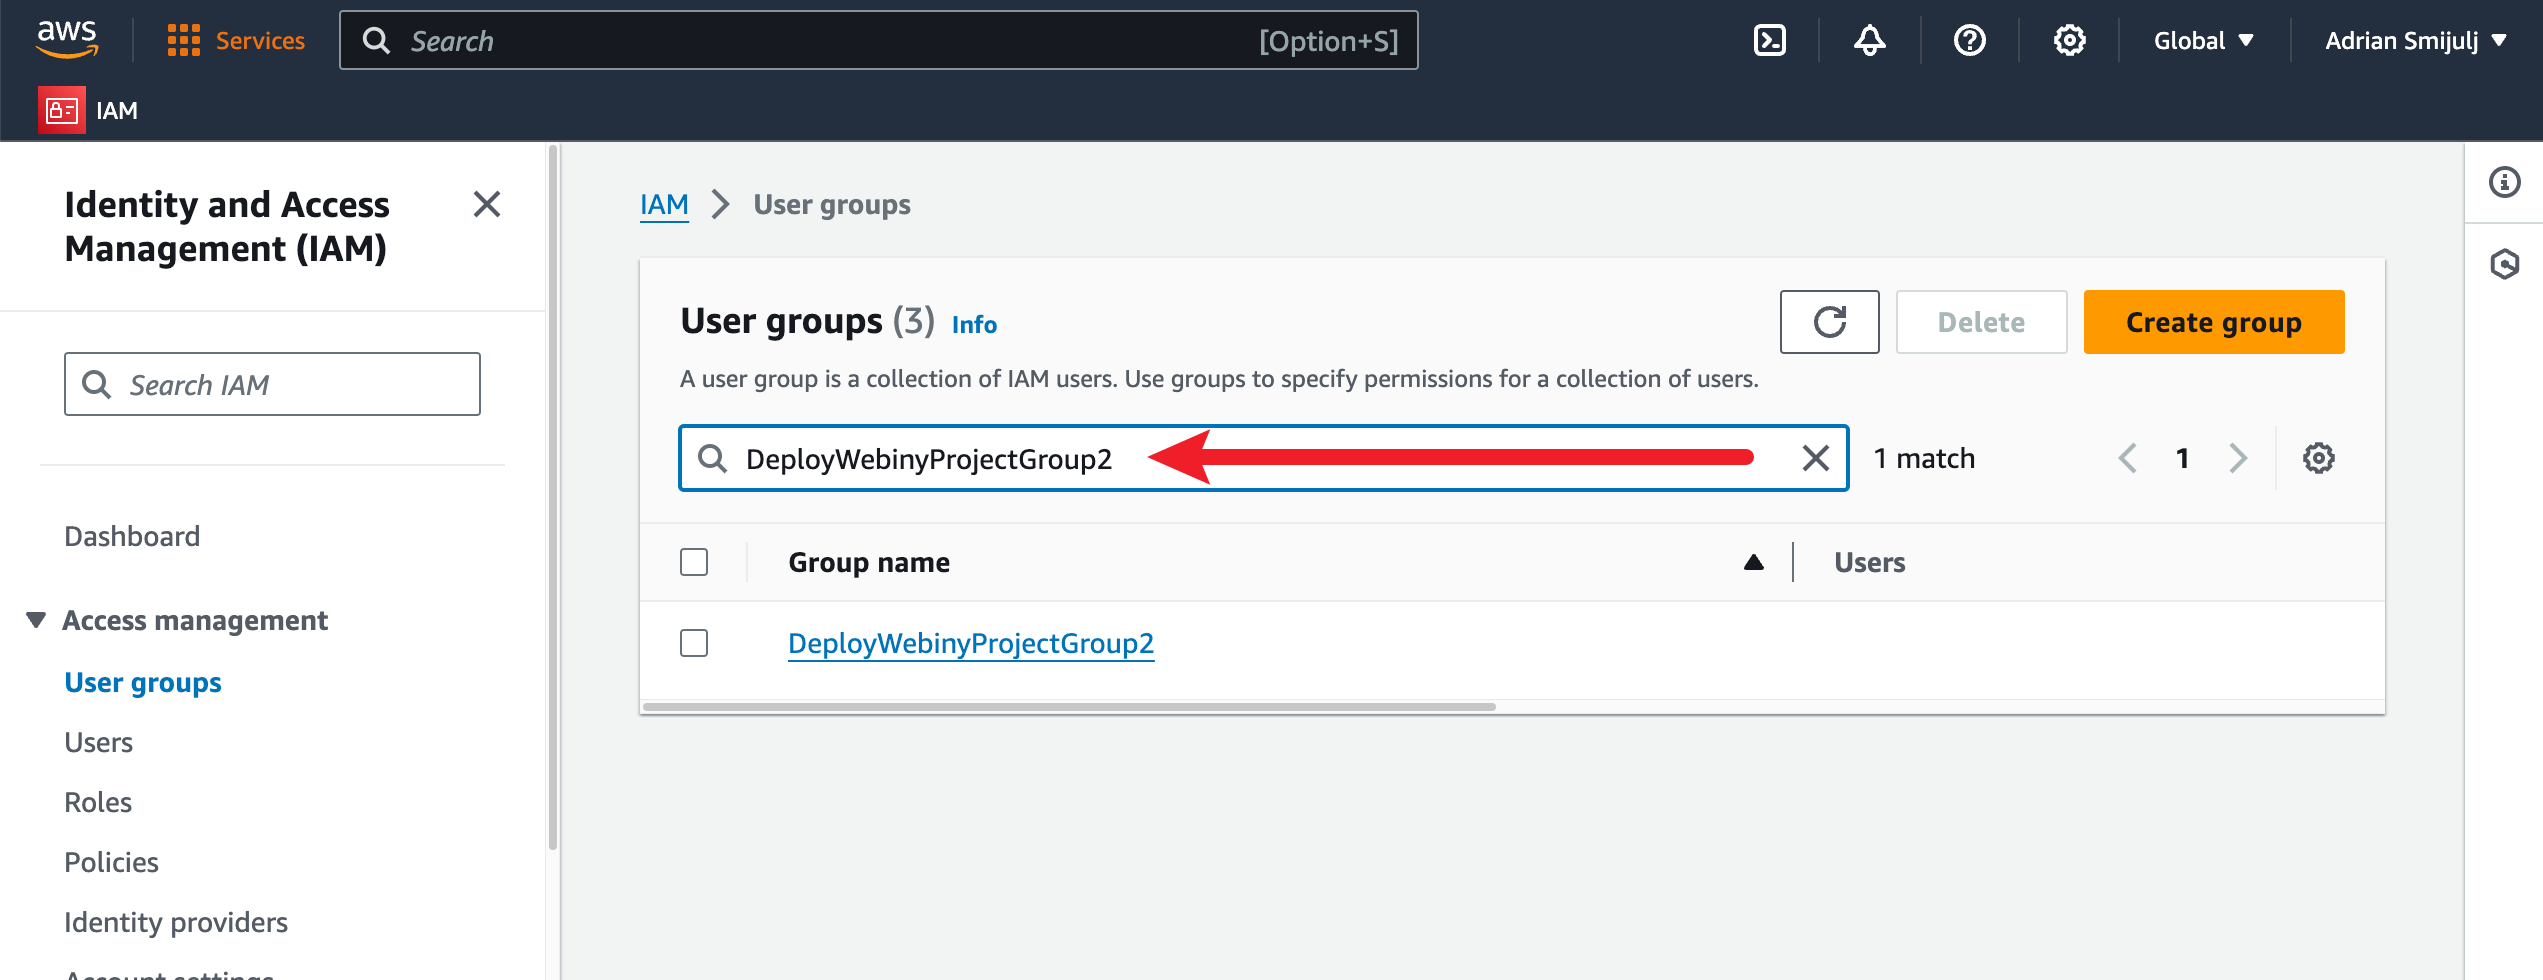 Search for the DeployWebinyProjectGroup2 IAM group
3.3 Project Level TS Config
You’ll notice that your tsconfig.build.json file now simply extends our default config from @webiny/project-utils. Make sure you transfer any changes you might have introduced to the original config, into this new config. From this point on, any changes introduced by Webiny will be contained within our base config, to keep your potential changes intact.
You can now proceed with the next step, which is redeploying your Webiny project.
4. Deploy Your Project
Proceed by redeploying your Webiny project:
dev or staging.