Headless CMS > Extensions
Customize Entry Editor Actions
Learn how to add, replace, or remove actions in the Entry Editor.
This feature is available since Webiny v5.x.
- how to add a custom action to the Entry Editor
- how to discover existing action names
- how to change the position of actions, remove, or replace an existing action
Overview
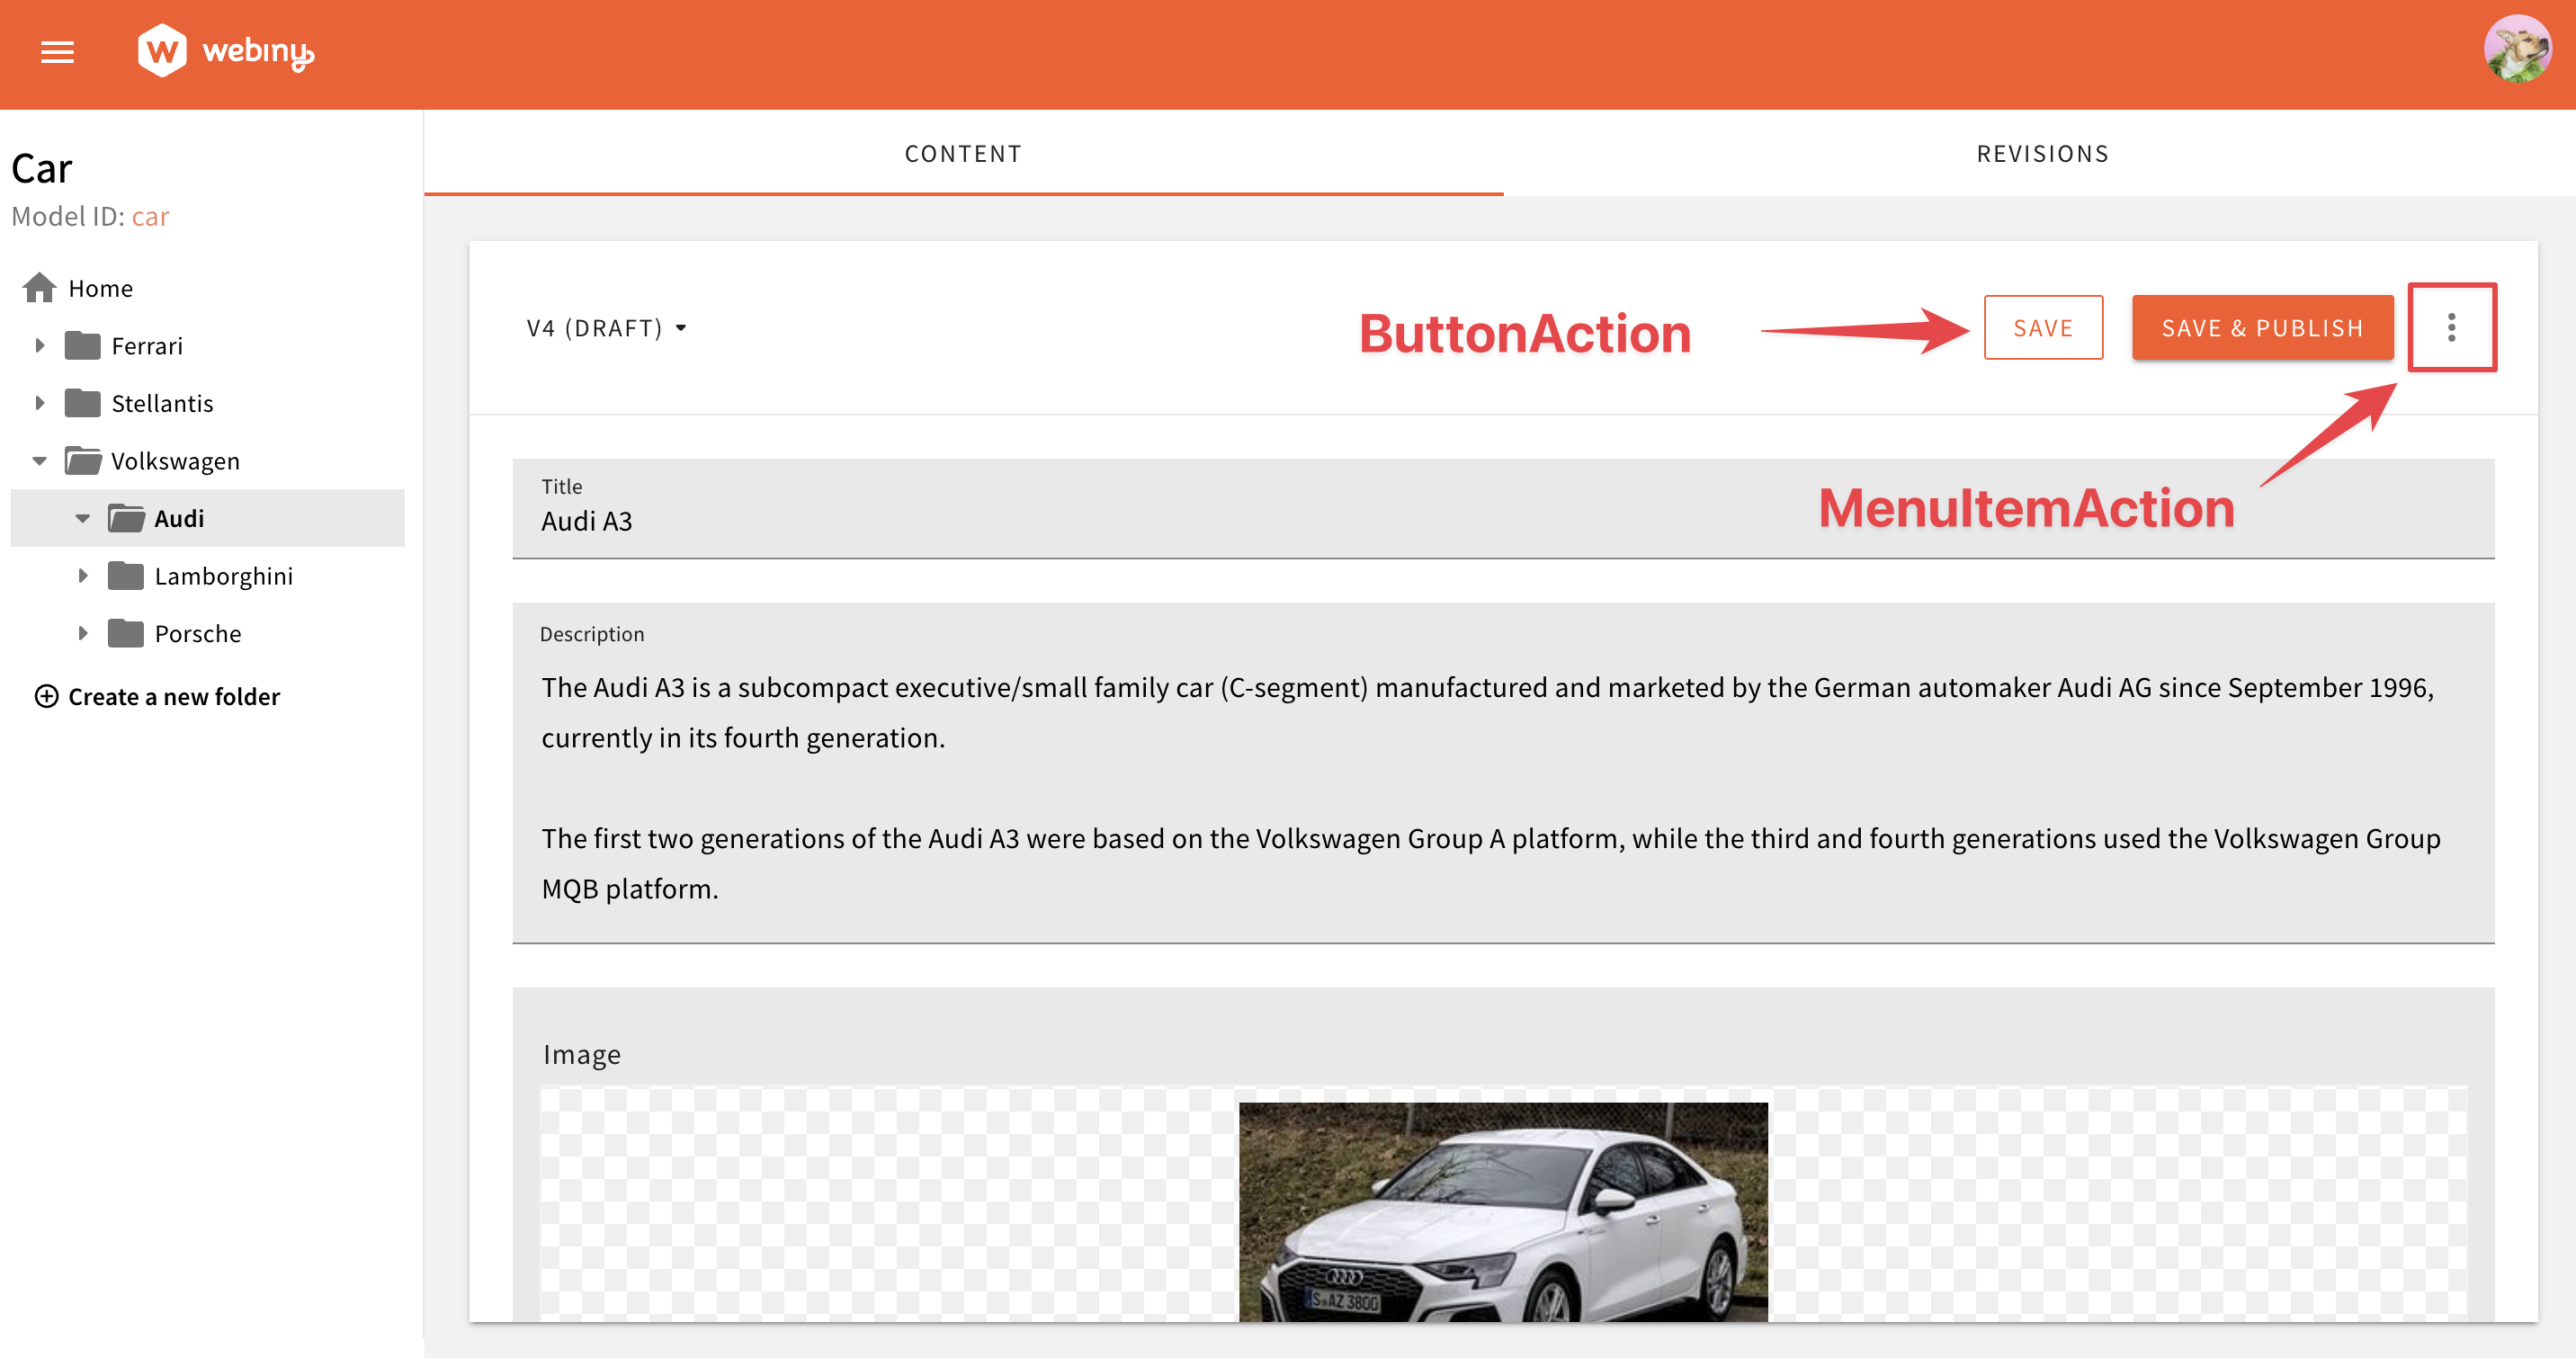
By default, Headless CMS offers built-in actions that handle entry saving, publishing and deletion. These are located at the top of the content entry form.
To customize actions, you need to use the ContentEntryEditorConfig component. For this article, we will use ButtonAction and MenuItemAction components in the Actions namespace.
As you can see, there are two types of actions:
ButtonActionlisted as a button;MenuItemActionlisted in the top right corner menu.
 Overview built-in actions
Button Actions
Add a Button
To add a new button, use the ContentEntryEditorConfig component and mount it within your Admin app. Your button is just a regular React element, so it can render anything you want.
To help developers keep the UI consistent, you’ll find a handy useButtons hook that exposes four button components:
ButtonDefaultButtonPrimaryButtonSecondaryIconButton
Use one of these components to render a button that inherits UI rules and guidelines from the Webiny core package.
By declaring the modelIds prop, you can define in which Content Model Entry Editor you want to show your custom button. If you exclude this prop, the button will be registered for all models in the system.
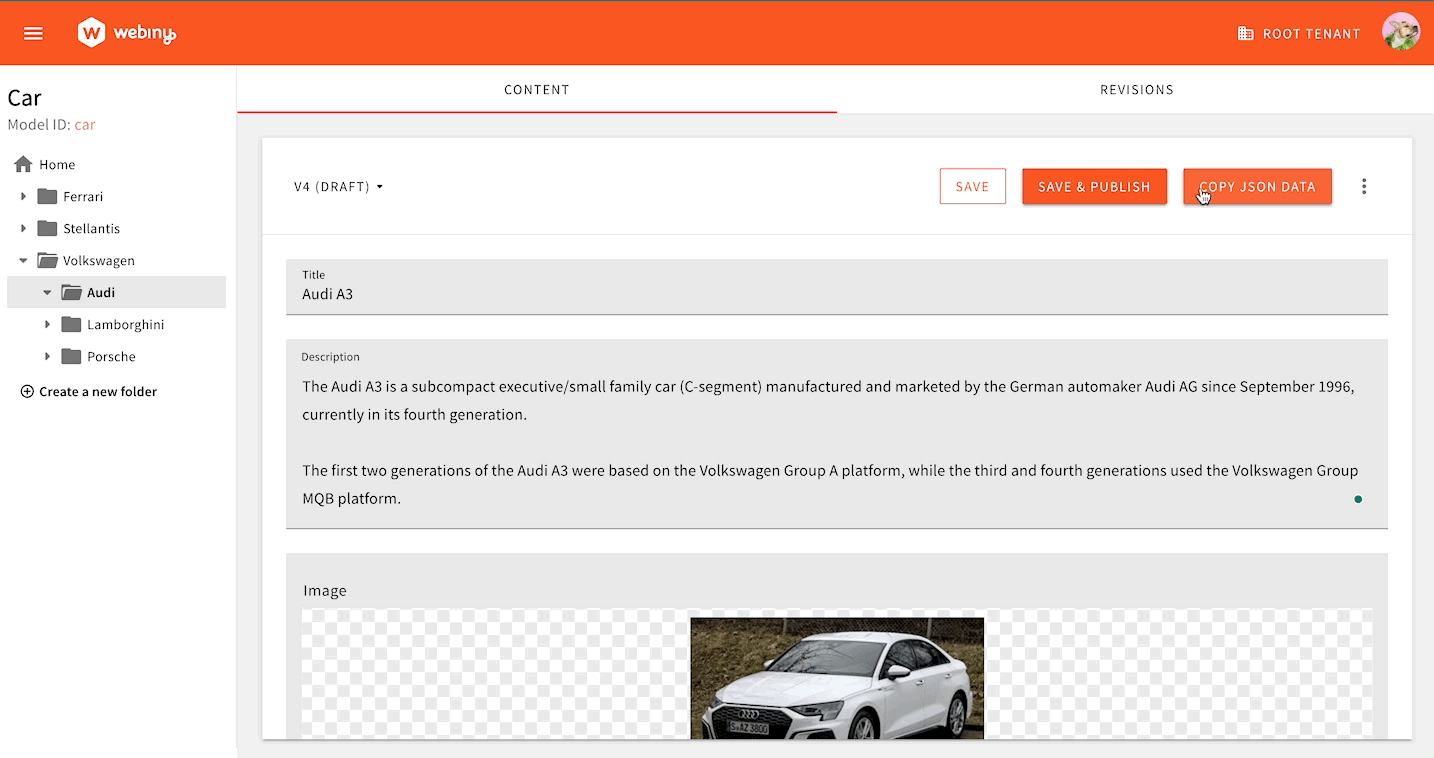
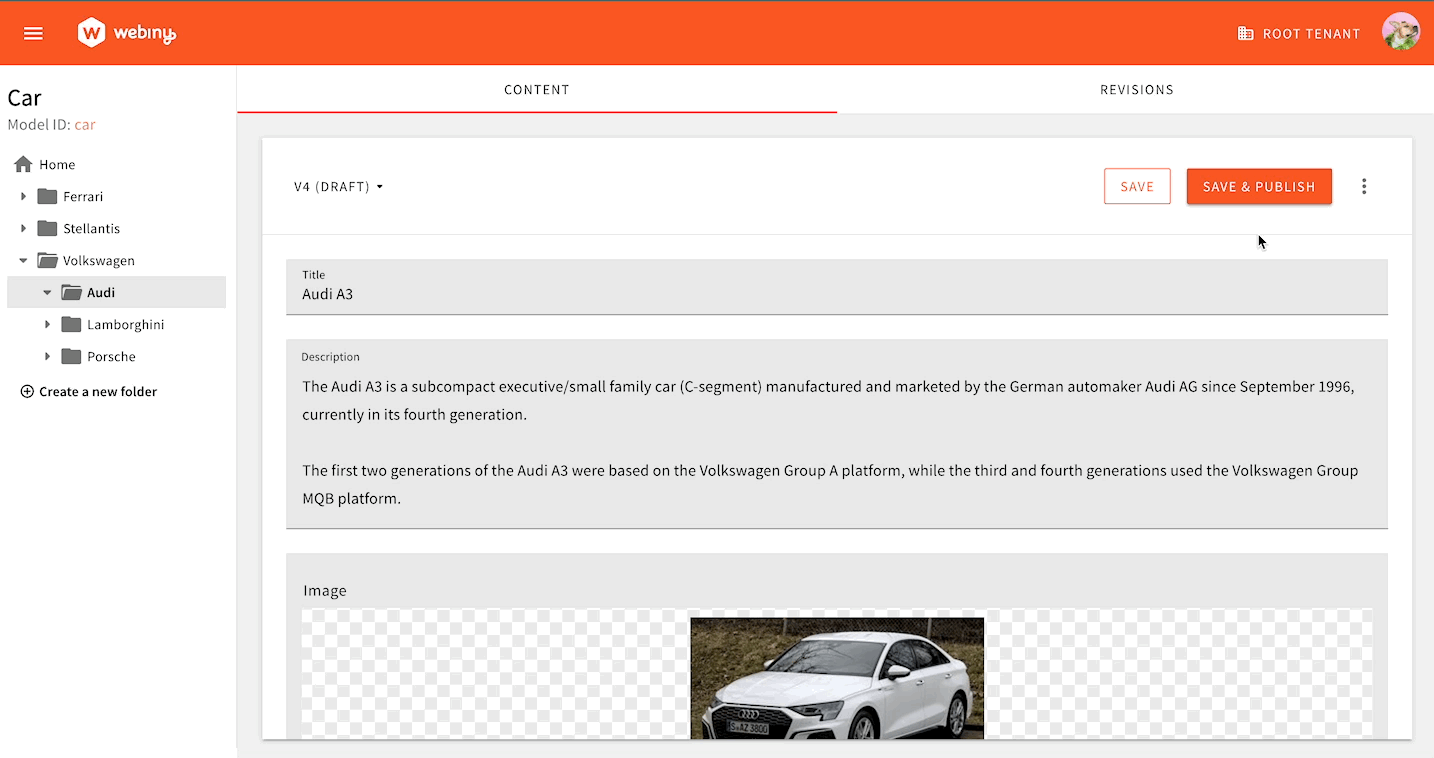
In the example above, you’ll see your new element the next time you open a car Content Model Entry Editor. This is the whole process of registering a new button element.
 Custom Button in Action
Discovering Buttons
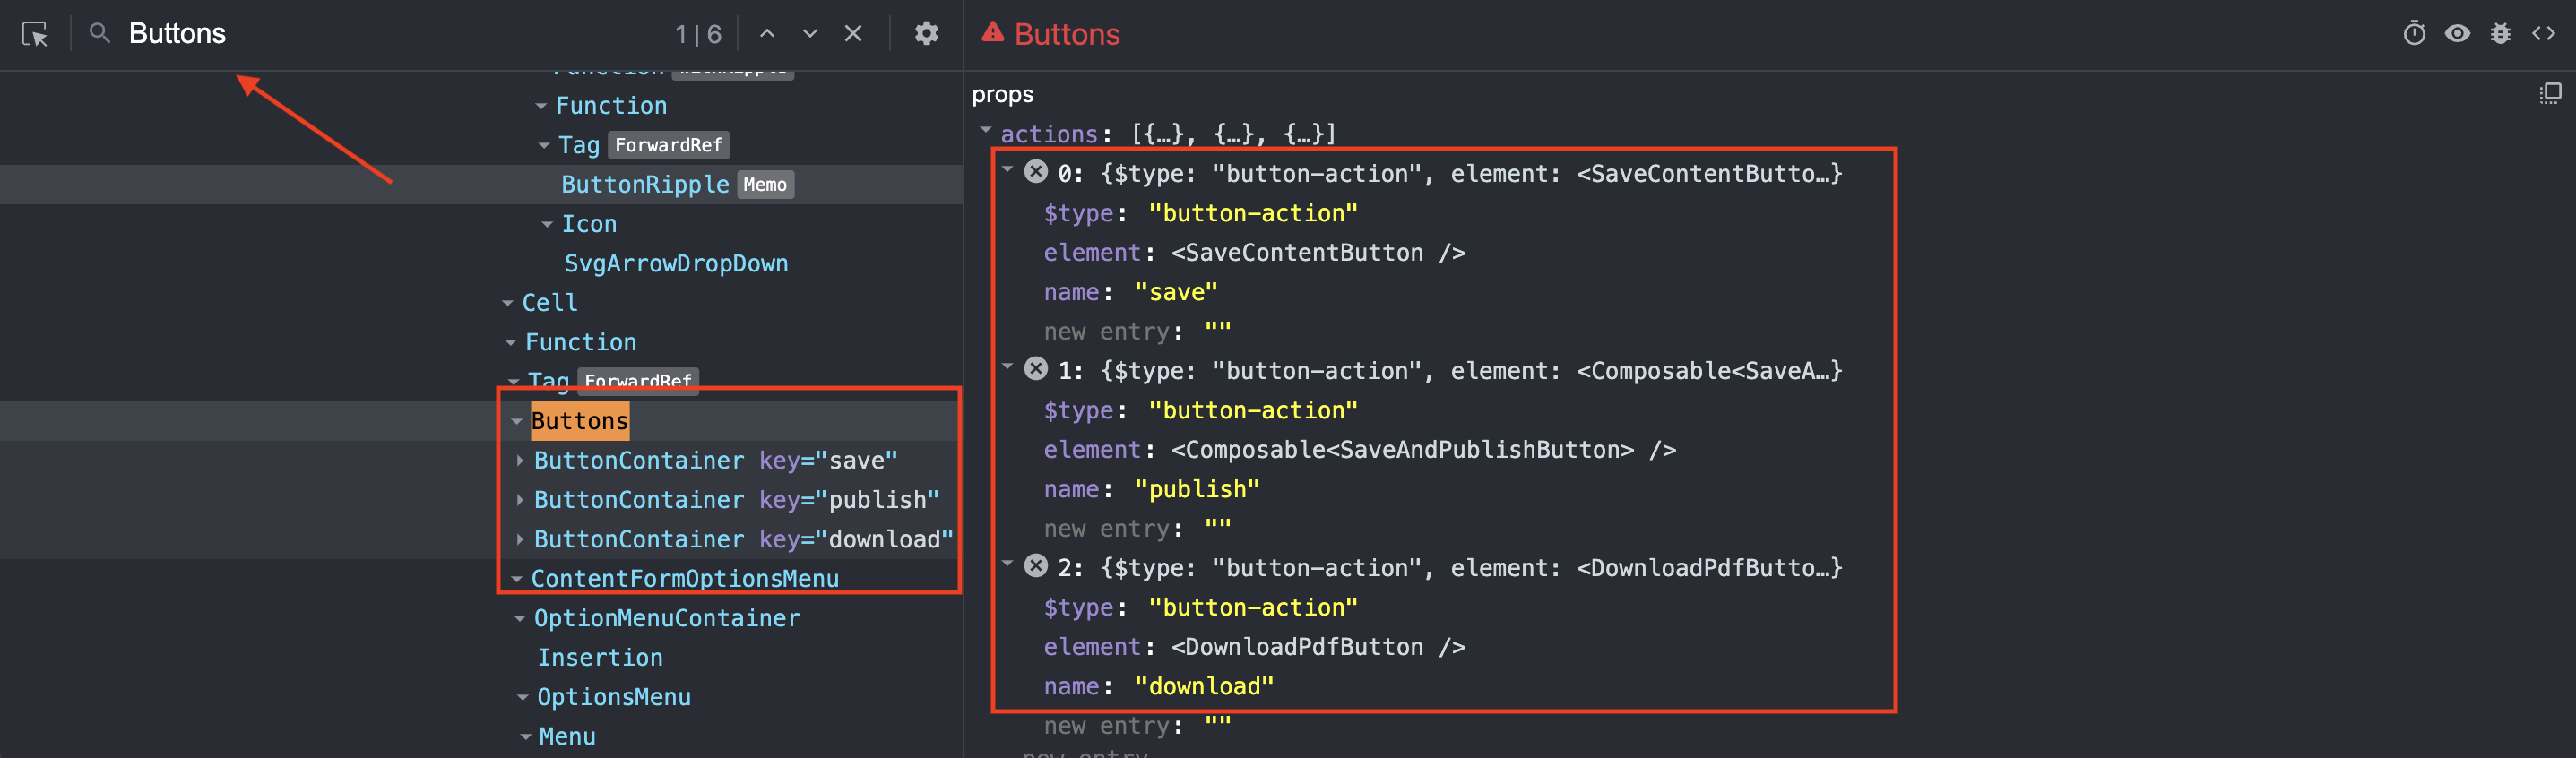
This section demonstrates how you can discover the names of existing buttons. This is important for further sections on positioning, removing, and replacing buttons.
The easiest way to discover existing buttons is to use your browser’s React Dev Tools plugins and look for the Buttons element. From there, you can either look for actions props or look at the child elements and their keys:
 Discover Existing Buttons
Positioning a Button
To position your custom button before or after an existing button, you can use the before and after props on the <ButtonAction> element:
 Position Your Button Before Another Button
Removing a Button
You may want to remove an existing button. All you need to do is reference the button by name and pass a remove prop to the <ButtonAction> element:
Replacing a Button
To replace an existing button with a new button element, you need to reference the existing button by name and pass a new element via the element prop:
Menu Item Actions
Add a Menu Item
To add a new menu item, use the ContentEntryEditorConfig component and mount it within your Admin app. Your menu item is just a regular React element, so it can render anything you want.
To help developers keep the UI consistent, you’ll find a handy useOptionsMenuItem hook that exposes the OptionsMenuItem component, inheriting UI rules and guidelines from the Webiny core package.
By declaring the modelIds prop, you can define in which Content Model Entry Editor you want to show your custom menu item. If you exclude this prop, the menu item will be registered for all models in the system.
In the example above, you’ll see your new element the next time you open a car Content Model Entry Editor. This is the whole process of registering a new menu item element.
 Custom Menu Item in Action
Discovering MenuItems
This section demonstrates how you can discover the names of existing menu items. This is important for further sections on positioning, removing, and replacing menu items.
The easiest way to discover existing menu items is to use the React Dev Tools plugins for your browser, and look for the OptionsMenu element. From there, you can either look for actions props or look at the child elements and their keys:
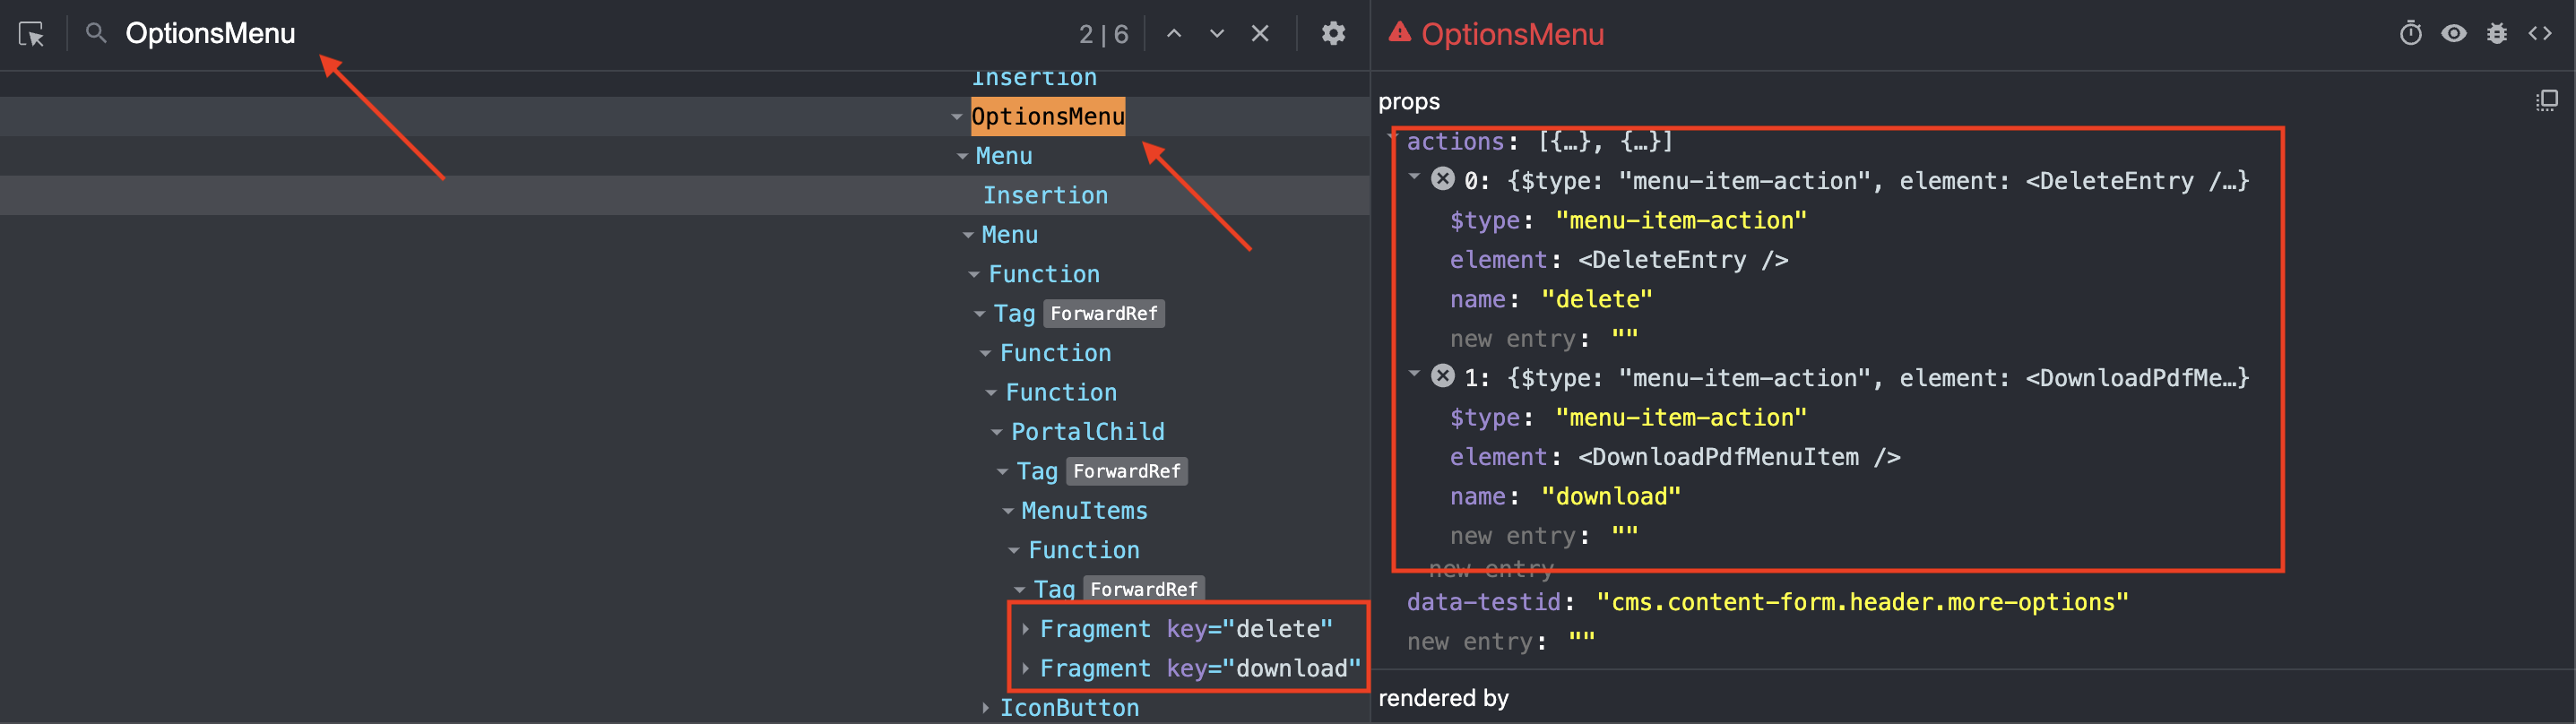 Discover Existing Menu Items
Positioning a MenuItem
To position your custom menu item before or after an existing menu item, you can use the before and after props on the <Action.MenuItemAction> element:
 Position Your Menu Item Before Another Menu Item
Removing a MenuItem
You may want to remove an existing menu item. All you need to do is reference the menu item by name and pass a remove prop to the <Action.MenuItemAction> element:
Replacing a MenuItem
To replace an existing menu item with a new menu item element, you need to reference the existing menu item by name and pass a new component via the element prop: