Writing Data
In the previous lesson, you learned how to read data from Webiny using the Read API. Now it's time to learn how to write data back to Webiny!
In this lesson, you'll build a contact form that allows users to submit their information, which will be stored in your Webiny Headless CMS.
In this lesson...
Here are the topics we'll cover
Write data using the Webiny SDK.
Securely submit data with Server Actions.
Validate forms and handle errors.
What you'll build:
A contact form page at /contact that:
- Collects name, email, and message from users
- Validates input on the client side
- Submits data securely via Server Actions
- Creates new entries in Webiny using the Manage API
- Shows success/error feedback to users
Prerequisites:
- Completed Lesson 5 (Next.js app setup) and Lesson 6 (Reading Data)
- Your Next.js app running locally
- Access to Webiny Admin
Introduction
So far, you've only been reading data from Webiny. But headless CMS systems are powerful because they can also accept and store data from your applications.
Common use cases for writing data:
- Contact forms (what we'll build)
- User-generated content (comments, reviews)
- Survey submissions
- Newsletter signups
- Form builders
In this lesson, we'll use the Webiny SDK to create new contact form submissions. The SDK handles all the complexity of communicating with Webiny's APIs - you just call simple methods like sdk.cms.createEntry().
Behind the scenes: When you create, update, or delete entries using the SDK, it uses Webiny's Manage API. The Read API (which we used in Lesson 6) is read-only, while the Manage API allows full CRUD operations. The SDK automatically routes your requests to the correct API based on the method you call.
Creating the ContactSubmission Content Model
First, let's create a content model to store contact form submissions.
You can create this model in two ways:
- Via UI (easier for beginners, visual approach)
- Via Code (better for version control, reproducible)
Choose the approach that works best for you!
If you completed Lesson 4 (Creating Content Model via Code), you're already familiar with the code approach. If not, start with the UI approach - it's more visual and beginner-friendly!
Option 1: Create Model via UI
Step 1: Navigate to Content Models
- Open Webiny Admin in your browser
- Click Headless CMS in the left sidebar
- Click Models to see your content models
Step 2: Create New Model
- Click New Model in the top right
- Fill in the model details:
- Name:
Contact Submission - Model ID:
contactSubmission(auto-generated) - Description:
Stores contact form submissions from the website
- Name:
- Click Create Model
Step 3: Add Fields
Add the following fields to your model:
1. Name Field
- Field Type: Text
- Label:
Name - Field ID:
name - Placeholder:
Enter your full name - Validation:
- ✅ Required
- Min length: 2
- Max length: 100
2. Email Field
- Field Type: Text
- Label:
Email - Field ID:
email - Placeholder:
your.email@example.com - Validation:
- ✅ Required
- ✅ Pattern validation: Email (built-in)
3. Message Field
- Field Type: Long Text
- Label:
Message - Field ID:
message - Placeholder:
Enter your message... - Validation:
- ✅ Required
- Min length: 10
- Max length: 1000
No timestamp field needed! Webiny automatically tracks creation time in the createdOn meta
field for every entry. You can use this for sorting and filtering submissions without creating a
custom field.
Step 4: Configure Model Settings
Before saving, configure these settings:
- Title Field: Select
name(this will be the display name in lists) - Description Field: Select
message(optional, shows preview in lists)
Step 5: Save the Model
Click Save to create your content model.
Your ContactSubmission content model is now ready to receive data! You can view it in the Models list.
Option 2: Create Model via Code
If you prefer a code-based approach (recommended for production projects), you can define the model in your Webiny project.
Step 1: Navigate to Your Webiny Project
Open your Webiny project directory (not the Next.js app) in your code editor.
Step 2: Create the Model File
Create a new file in your Webiny project:
extensions/contactSubmission/ContactSubmissionModel.ts
We're organizing all Contact Submission-related code in a dedicated folder. This keeps related extensions together and makes the codebase easier to maintain.
Step 3: Define the Model
Add the following code to ContactSubmissionModel.ts:
Key parts of this code:
- Model ID:
contactSubmission- used in GraphQL API - Fields: Define three fields (name, email, message) with validation
- Layout: How fields appear in the UI (
[["name", "email"], ["message"]]) - Title Field:
name- used for display in lists - Description Field:
message- shows preview - API Names:
ContactSubmission(singular),ContactSubmissions(plural)
No timestamp field needed! Webiny automatically adds meta fields like createdOn,
modifiedOn, savedOn, lastPublishedOn, and many others to every entry. For this contact form,
we'll rely on createdOn to track when submissions were created. Since contact form submissions
will remain in draft status (not published), createdOn is the appropriate field to use.
Step 4: Register the Model
Open webiny.config.tsx in the root of your Webiny project and register the extension:
Step 5: Deploy Your Changes
Deploy your Webiny project to apply the new content model:
yarn webiny deploy api
Or if you're already running watch mode, the changes will be picked up automatically.
If you need a refresher on deployment and watch mode, check back to Lesson 4 where we covered these workflows in detail.
Step 6: Verify in Webiny Admin
- Open Webiny Admin
- Go to Headless CMS → Models
- You should see Contact Submission in the list
- Click Content in the left sidebar to expand it
- Under Ungrouped, you should now see Contact Submission as a content menu item
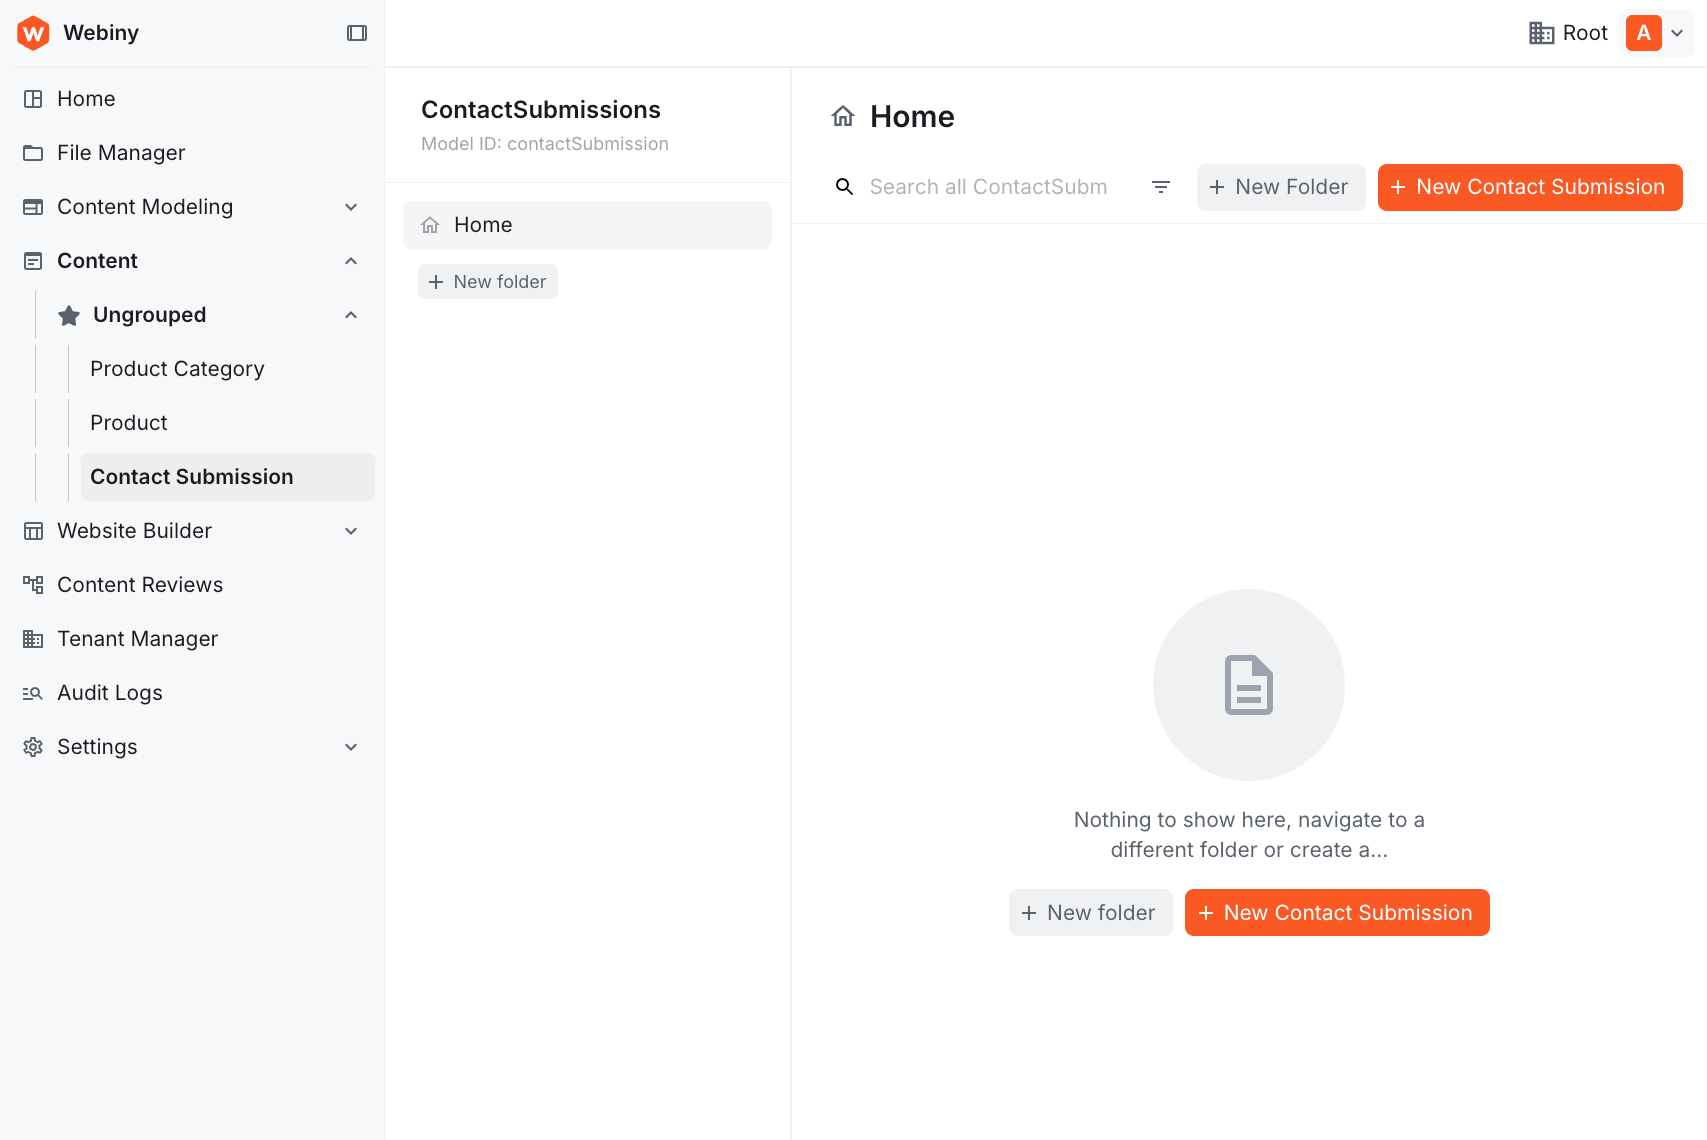
Your ContactSubmission content model is now deployed and ready to use!
Updating Your API Key with Write Permissions
In Lesson 5, we created an API key with Read-only permissions. Now we need to expand those permissions to include the Manage API so we can write data to Webiny.
Step 1: Navigate to API Keys
- Click Settings in the left sidebar
- Click API Keys
Step 2: Edit the Existing API Key
Find the Next.js App API key you created in Lesson 5 and click on it to edit.
Step 3: Update Permissions
Configure the permissions to include both Read and Manage:
- Access Level: Keep as Custom access
- GraphQL API Types:
- ✅ Read (checked - we still need this for product listing)
- ❌ Preview (unchecked - not needed)
- ✅ Manage (checked - NEW! This allows writing data)
Understanding API Key Security
By enabling the Manage API, this key can now create, update, and delete all entries across all content models. It can even manage the models and groups themselves - not just the data within them.
For our use case, this isn't a major security concern because:
- All API calls happen server-side (during the build step or in Server Actions)
- The API key is stored in environment variables and never exposed to the browser
- The key never gets deployed to the client-side JavaScript bundle
However, if you need more granular control - such as restricting this key to only CREATE operations on the ContactSubmission model - you'll need Webiny's Advanced Access Control Layer (AACL), which is available on the Business tier or higher. AACL lets you define precise permissions at the model and operation level, which is the best solution for production environments requiring strict access controls.
Step 4: Save Changes
Click Save API Key to update the permissions.
Do I need a new token? No! The existing API token from Lesson 5 continues to work. The token now has access to both the Read API and the Manage API. You only need to get a new token if you want to regenerate it for security reasons.
Creating TypeScript Types for Contact Submission
Let's add types for our contact form data.
Update lib/types.ts and add the following interfaces:
Creating the Server Action
Next.js Server Actions allow us to securely call server-side code from client components.
We'll use the same SDK instance from lib/webiny.ts that we created in Lesson 5. The SDK is already exported and configured with our API credentials, so we can import it directly.
Create a new file app/actions/submitContact.ts:
Why use Server Actions?
- Security: API tokens never reach the client
- Simplicity: No need to create API routes
- Type safety: Full TypeScript support
- Built-in: Native Next.js feature (no extra libraries)
The "use server" directive tells Next.js this code runs only on the server.
As in the previous lesson, createEntry returns a Result object — check result.isOk(), read data from result.value, and get the error message from result.error.message.
Creating the Contact Form Page
Now let's build the actual contact form that users will interact with.
Create a new file app/contact/page.tsx:
Key features of this form:
- Client Component: Uses
"use client"because it has interactive state - Form State: Manages name, email, message, and submission status
- Validation: HTML5 validation (required, minLength, maxLength, email type)
- Loading State: Disables form while submitting
- Success/Error Feedback: Shows clear messages to users
- Form Reset: Clears form after successful submission
- Character Counter: Shows message length (UX improvement)
Testing the Contact Form
Let's test the complete flow!
Step 1: Navigate to Contact Page
In your browser, go to:
http://localhost:3000/contact
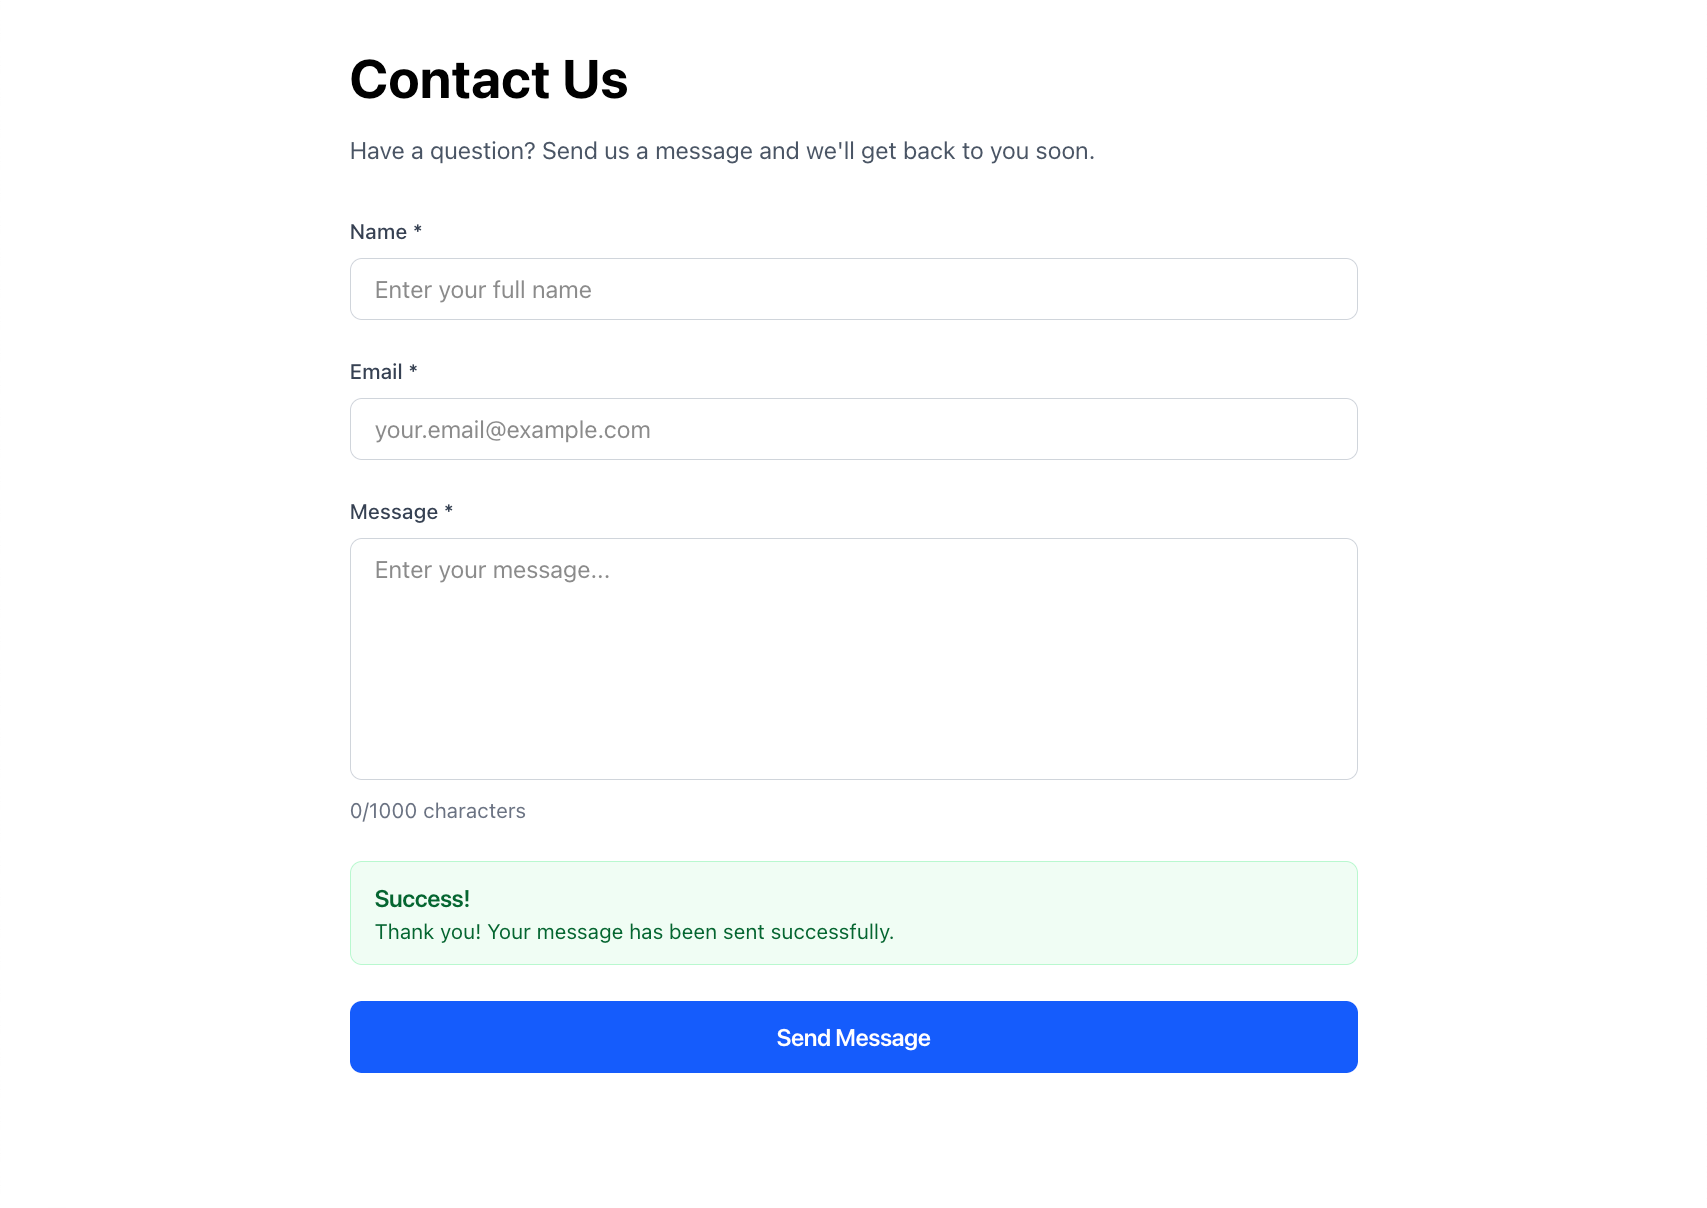
You should see your contact form with three fields.
Step 2: Fill Out the Form
Enter some test data:
- Name:
John Doe - Email:
john@example.com - Message:
This is a test message from the contact form.
Step 3: Submit the Form
Click Send Message. You should see:
- Button text changes to "Sending..."
- Form fields become disabled
- After a moment, a green success message appears
- Form fields are cleared
Step 4: Verify in Webiny Admin
- Open Webiny Admin
- Go to Headless CMS → Contact Submissions
- You should see your new submission!
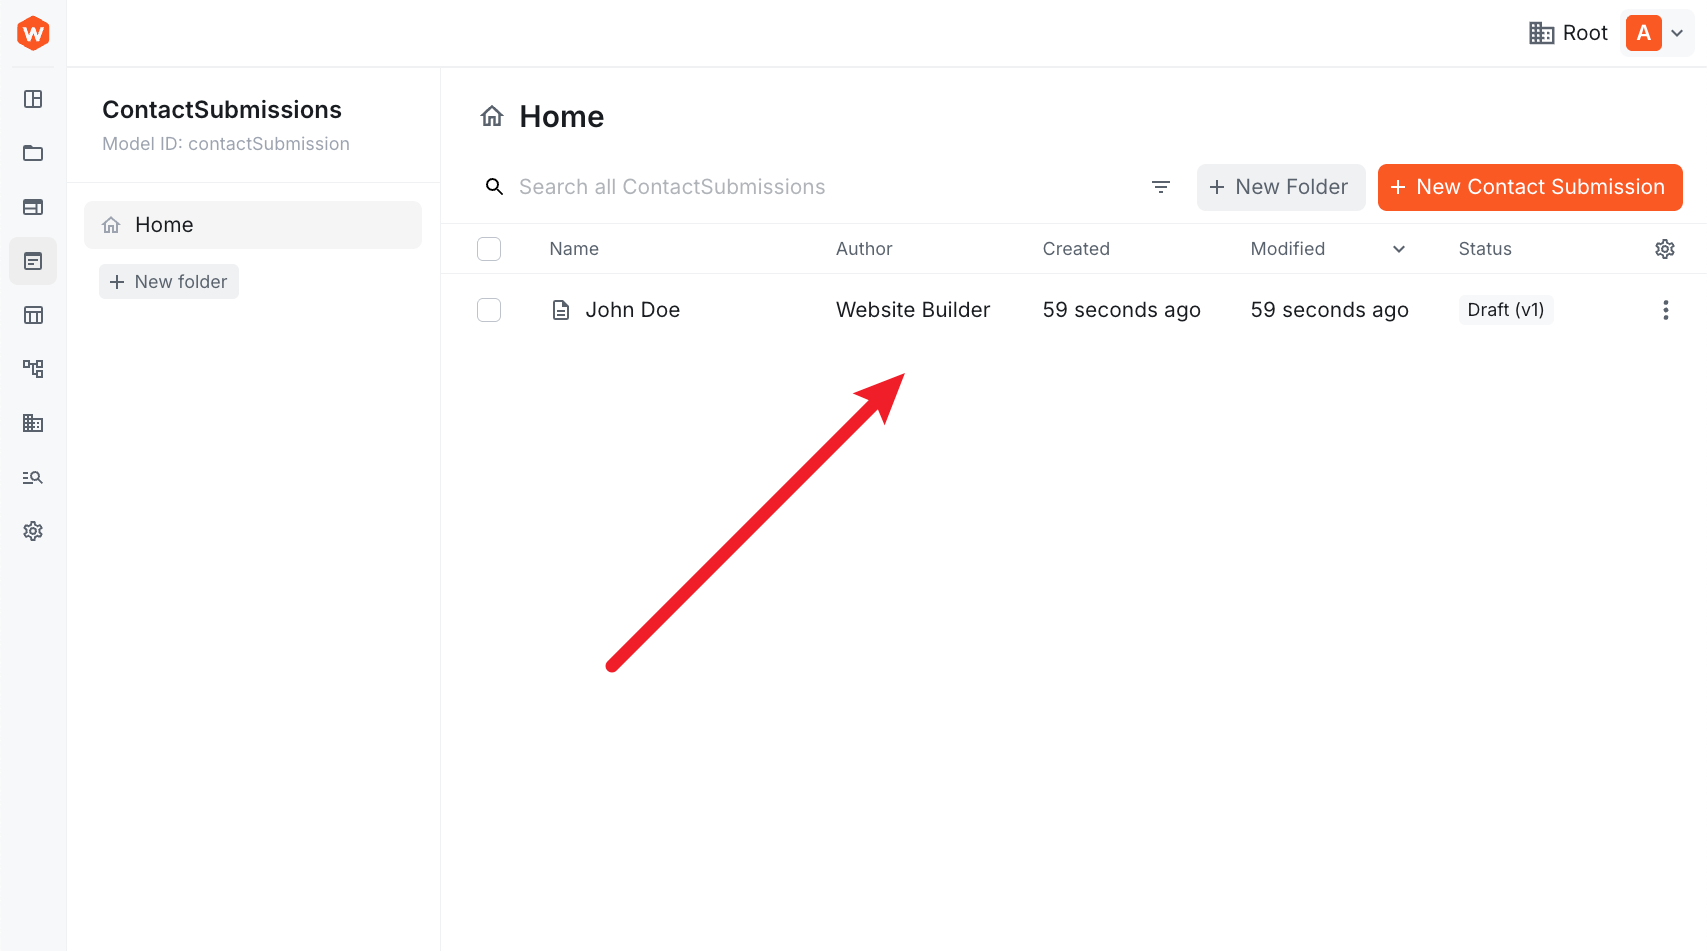
Congratulations! You've successfully written data to Webiny from your Next.js application!
How It Works: The Complete Flow
Let's review what happens when a user submits the form:
-
User fills out form (Client Component:
app/contact/page.tsx)- React state manages form data
- HTML5 validation on submit
-
Form calls Server Action (
submitContactForm)- Runs securely on the server
- API tokens never exposed to client
-
Server Action uses SDK (
sdk.cms.createEntry())- Connects to Webiny Manage API
- Creates new ContactSubmission entry
- Passes form data as values
- Returns a Result object (not throwing errors)
-
Webiny processes request
- Validates data against content model
- Creates new ContactSubmission entry
- Result object contains either success data or error
-
Response flows back
- Server Action checks result with
isOk() - Returns success/error to Client Component
- Form updates UI based on result
- Server Action checks result with
Security highlights:
- ✅ API tokens stay on server (never in browser)
- ✅ Validation happens on both client and server
- ✅ Webiny validates against content model schema
- ✅ Limited API key permissions (Manage API only)
Troubleshooting
Contact Form Not Loading
Problem: Navigating to /contact shows a 404 error or blank page.
Solution:
- Verify you created the file at the correct path:
app/contact/page.tsx - Restart your Next.js dev server (
npm run dev) - Clear your browser cache and reload the page
Form Submission Fails Silently
Problem: Clicking "Send Message" shows no success or error message.
Solution:
- Open browser DevTools Console (F12) to check for JavaScript errors
- Check the Network tab for failed API requests
- Verify the Server Action is properly marked with
"use server"directive - Make sure
submitContactFormis exported fromapp/actions/submitContact.ts
API Permission Errors
Problem: Form submission returns an error like "Not authorized" or "Access denied".
Solution:
- Verify your API key has Manage API permissions enabled (not just Read API)
- In Webiny Admin, go to Settings → API Keys → Edit your API key
- Ensure Manage is checked under GraphQL API Types
- Save the API key and try submitting the form again
Entries Not Appearing in Webiny Admin
Problem: Form shows success but you can't find the submission in Webiny.
Solution:
- Navigate to Headless CMS → Contact Submissions (not Models)
- Check if you're in the correct locale (default: "en-US")
- Remove any active filters in the content list view
- New entries are created in draft status - make sure you're not filtering to only show published entries
Model ID Mismatch Error
Problem: Error says content model doesn't exist.
Solution:
- Verify the model ID in your Server Action matches exactly:
contactSubmission - Check that the model was created successfully in Webiny Admin
- If you created the model via code, ensure it was deployed with
yarn webiny deploy api --env dev - Model IDs are case-sensitive - double-check capitalization
Environment Variables Not Working
Problem: Server Action fails with SDK initialization errors.
Solution:
- Verify
.env.localexists in your Next.js project root - Check that both
WEBINY_API_ENDPOINTandWEBINY_API_TOKENare set - Restart your Next.js dev server after modifying
.env.local - Environment variables must not have quotes around the values
- Make sure there are no extra spaces before or after the values
Summary
Congratulations! You've successfully built a contact form that writes data to Webiny Headless CMS!
In this lesson, you learned how to:
- ✅ Create a content model for form submissions (ContactSubmission)
- ✅ Understand the difference between Read API and Manage API
- ✅ Create API keys with write permissions
- ✅ Write data to the CMS using the SDK with the Result pattern
- ✅ Use Next.js Server Actions for secure server-side operations
- ✅ Build a form with validation, loading states, and feedback
- ✅ Handle errors explicitly using the Result pattern
- ✅ Test the complete data flow from form to CMS
What's Next?
In the next lesson (Lifecycle Events), we'll add a lifecycle hook that validates whether the email is a work email or personal email, and automatically sets a flag on the submission. This introduces you to Webiny's powerful extension system!
Want to see the complete code? Check out the completed example
repository on the
lesson-9-completed branch.
It's time to take a quiz!
Test your knowledge and see what you've just learned.
Why do we use Server Actions instead of calling the SDK directly from the client component?
Next lesson: Lifecycle Events - Add email validation with Webiny lifecycle hooks.