Customize Data List
In the previous lesson, we added an emailType field to our contact submissions and automatically populated it using a lifecycle event. However, to see this information in the Admin UI, you currently have to click into each record.
In this lesson, we'll customize the Contact Submission data list to display the email and emailType directly in the list view.
In this lesson...
Here are the topics we'll cover
Understand the Data List configuration.
Create a React component to render custom columns.
Register the extension in your Admin app.
What you'll build:
- A custom column to display the Email address
- A custom column to display the Email Type (Business vs Personal) with custom formatting
Step 1: Create the Column Extension
We'll create a new extension that defines how our custom columns should look and behave.
Create a new file extensions/contactSubmission/EmailEntryListColumn.tsx in your Webiny project:
Key parts of the code:
ContentEntryListConfig: The main component for configuring the data list.Browser.Table.Column: Defines a new column in the table.modelIds={["contactSubmission"]}: Ensures these columns ONLY appear for the Contact Submission model.after: Controls column positioning.after={"name"}places the Email column right after the Name column, andafter={"email"}places Email Type after Email.path={"values.email"}: For simple fields, we can just specify the path to the data instead of writing a custom cell component!cell: For custom rendering (like our Email Type), we provide a React component.
Step 2: Register the Extension
Unlike the previous lessons where we registered backend extensions (API), this is a frontend extension (Admin).
Open webiny.config.tsx in your project root and add the extension to the <Admin> section (or create it if it doesn't exist):
Step 3: Development with Watch Mode
When developing Admin app extensions, you should have the following watch command running:
yarn webiny watch admin
If you're already running this command, your changes will be picked up automatically. You can access the Admin locally (usually at http://localhost:3001).
If you need to deploy your changes to a live environment, you would use yarn webiny deploy admin.
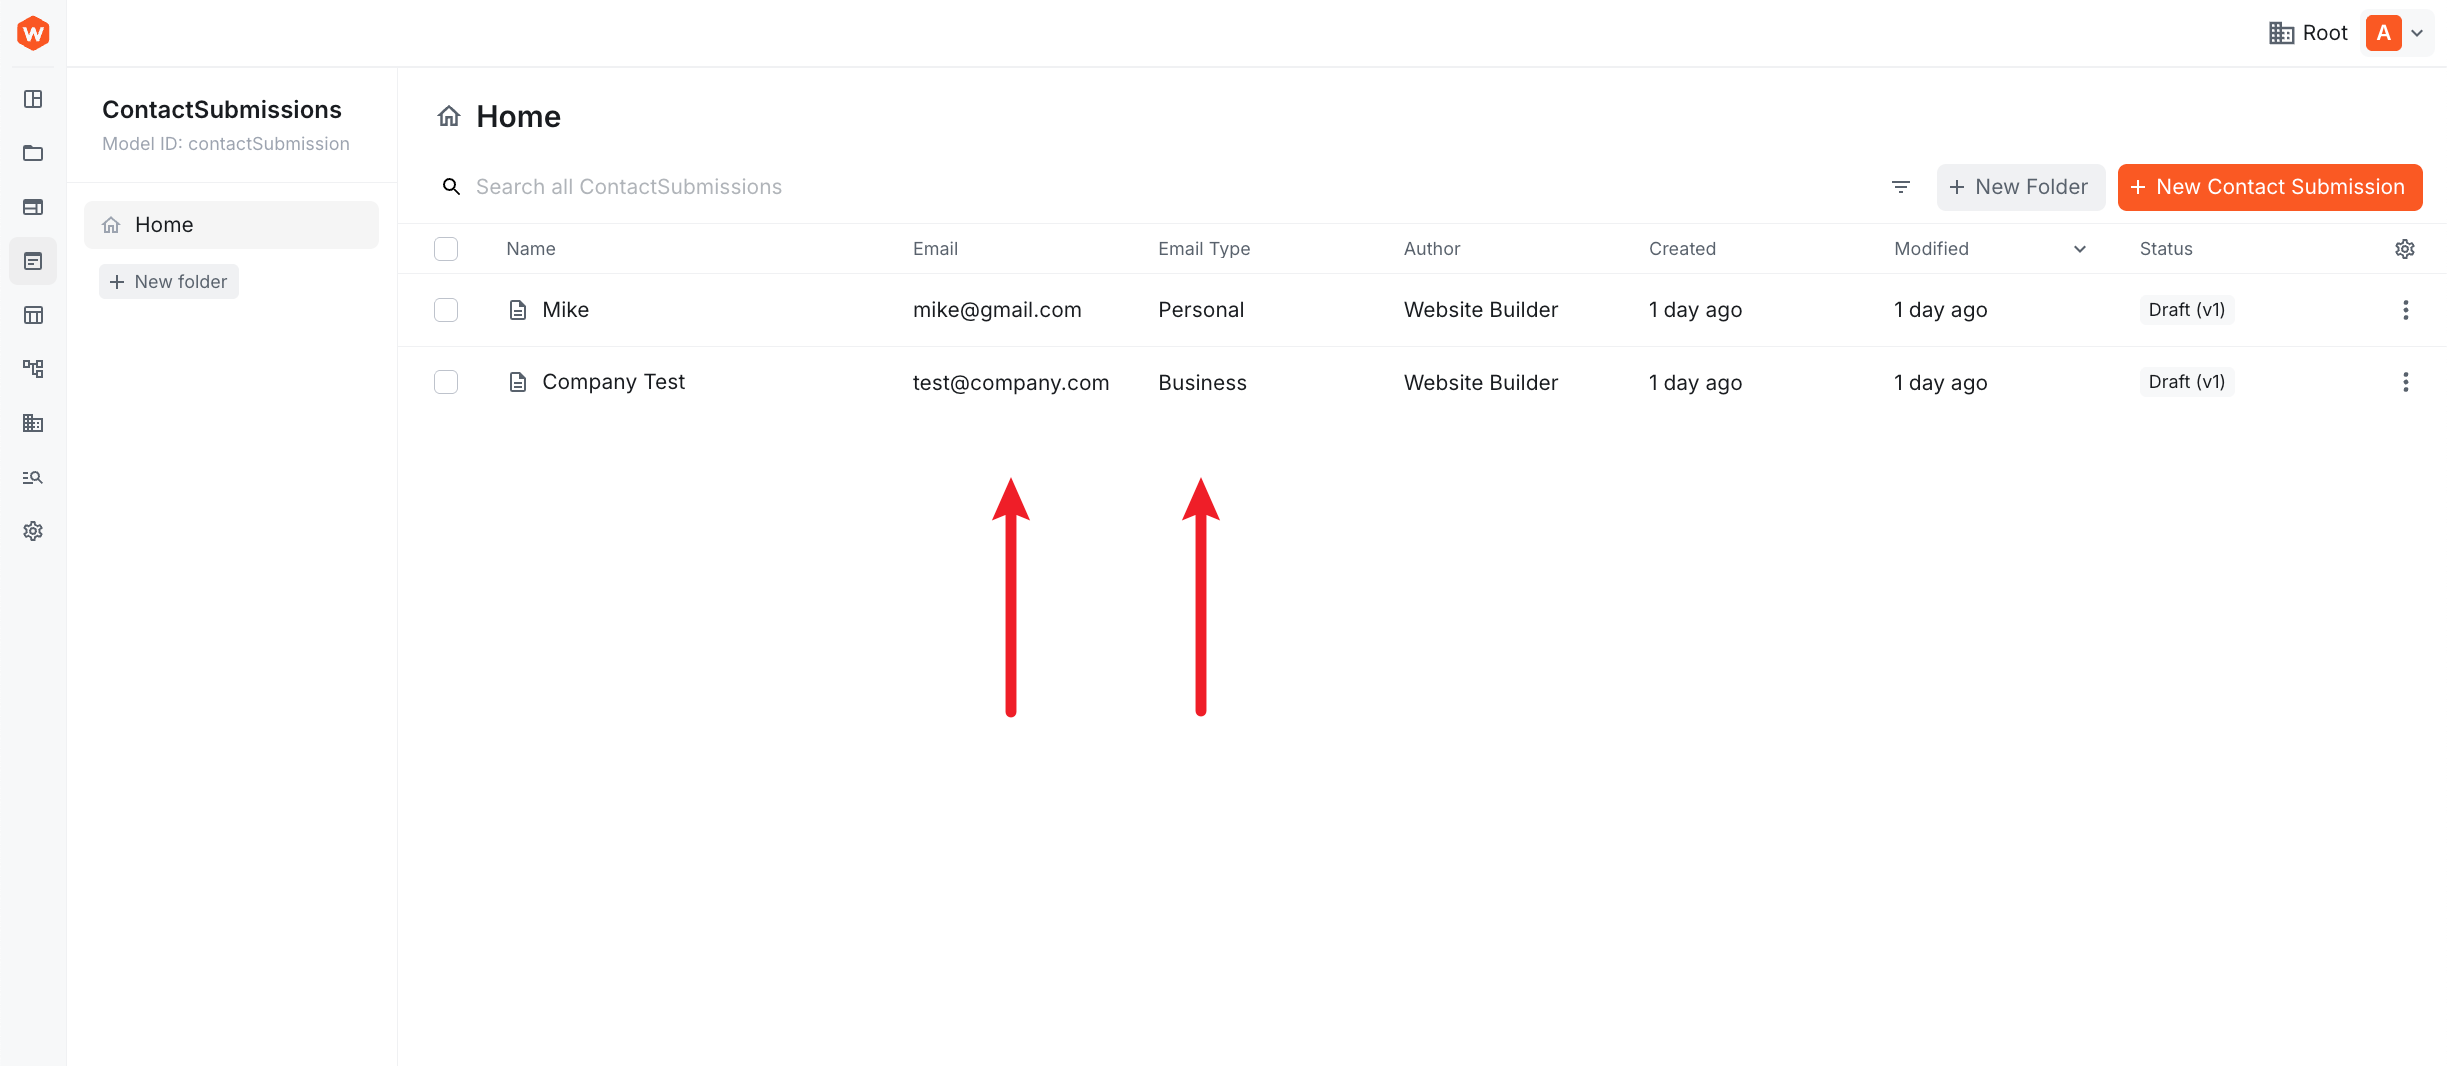
Verification
- Open your Webiny Admin app.
- Navigate to Headless CMS > Contact Submissions.
- You should now see two new columns: Email and Email Type!
Summary
You've successfully customized the Admin UI to display relevant business data!
In this lesson, you learned:
- ✅ How to create a React component for custom table cells
- ✅ How to use
ContentEntryListConfigto add columns - ✅ How to restrict columns to specific content models using
modelIds - ✅ How to register frontend extensions in
webiny.config.tsx
What's Next?
In the next lesson, we'll wrap up this module by exploring how to deploy your changes to a production environment.
It's time to take a quiz!
Test your knowledge and see what you've just learned.