Lifecycle Events
In this lesson, we're switching back to your Webiny project — away from the Next.js app we've been building in the last two lessons. Lifecycle events and the data list customization that follows are both backend/Admin extensions that live in Webiny itself, not in the frontend application.
In this lesson, we'll explore how to hook into Webiny's lifecycle events to automate business logic. We'll create an event handler that automatically classifies contact form submissions as "Work" or "Personal" based on the email address.
In this lesson...
Here are the topics we'll cover
Understand Webiny Lifecycle Events.
Create a backend extension to intercept data.
Automatically validate and modify content.
What you'll build:
- A backend extension that listens for the
onBeforeCreateevent - Logic to check if an email is from a free provider (Gmail, Yahoo, etc.)
- Automatic setting of an
emailTypefield on the Contact Submission entry
Introduction to Lifecycle Events
Webiny's Headless CMS triggers various events during the lifecycle of a content entry. These are handled by specific interfaces in your code:
EntryBeforeCreateEventHandler/EntryAfterCreateEventHandlerEntryBeforeUpdateEventHandler/EntryAfterUpdateEventHandlerEntryBeforeDeleteEventHandler/EntryAfterDeleteEventHandlerEntryBeforePublishEventHandler/EntryAfterPublishEventHandler
These hooks allow you to intercept the process and execute custom logic. For example, you can:
- Validate data before saving
- Modify data (e.g., auto-calculate fields)
- Trigger external systems (send emails, sync with CRM)
- Enforce security policies
In our case, we want to intercept the creation of a ContactSubmission to analyze the email address.
Step 1: Update the Content Model
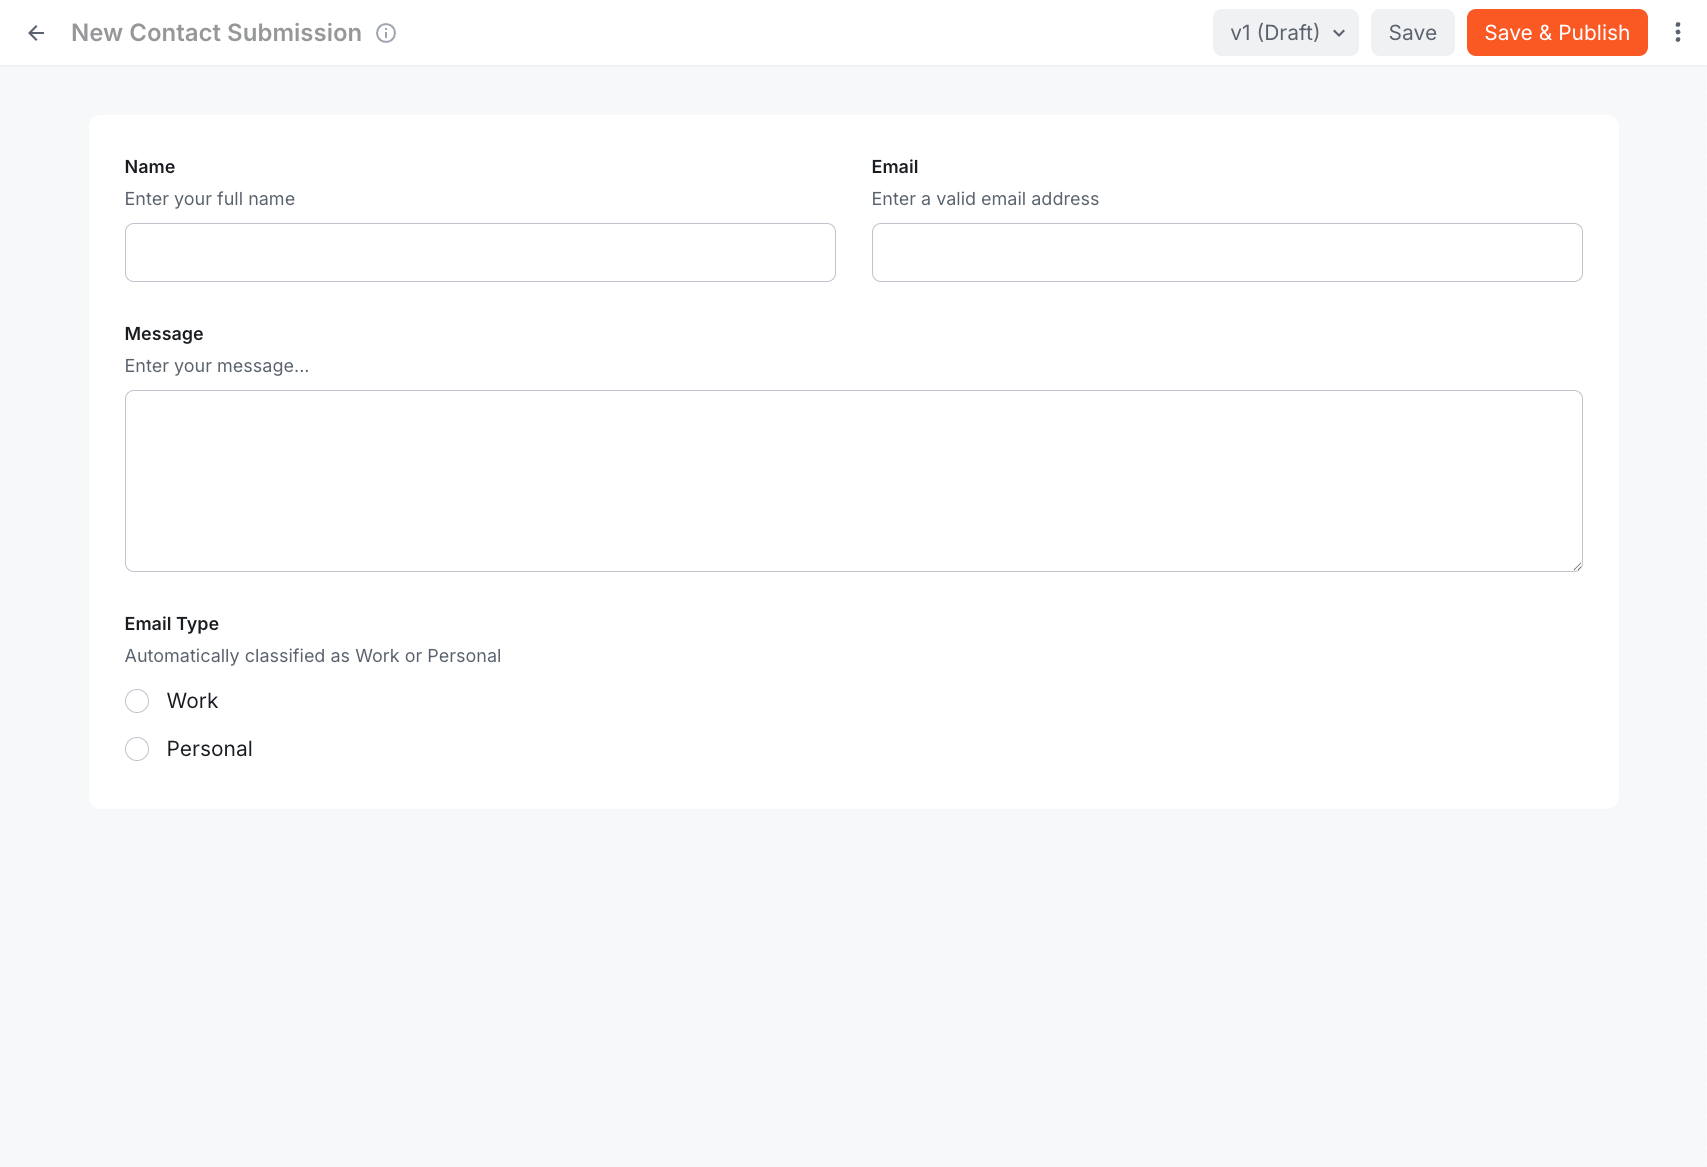
First, we need a field to store our classification. We'll add an emailType field to our Contact Submission model.
If you created your model via code in the previous lesson, open extensions/contactSubmission/ContactSubmissionModel.ts and add the new field.
UI Approach: If you prefer using the Admin UI: 1. Go to Headless CMS > Models > Contact
Submission. 2. Add a new Text field. 3. Set the Label to "Email Type" and Field ID to
emailType. 4. In the Appearance tab, select Radio Buttons. 5. In the Predefined
Values tab, add two options: "Work" (value: work) and "Personal" (value: personal).
Step 2: Create the Event Handler Extension
Now let's create the extension that will contain our logic.
Create a new file extensions/contactSubmission/ContactSubmissionHook.ts in your Webiny project:
Key parts of the code:
- Model Check: We verify
modelId === "contactSubmission"to ensure we only run this logic for our specific model. - Domain Check: We compare the email domain against a list of known free providers.
- Data Modification: We verify and set
payload.values.emailType. Since this is abeforeCreatehook, any changes topayloadare persisted to the database.
Step 3: Register the Extension
To make Webiny aware of our new extension, we need to register it in webiny.config.tsx.
Open webiny.config.tsx in your project root and add the extension:
Step 4: Deploy Your Changes
Deploy your Webiny project to apply the changes:
yarn webiny deploy api
Or if you're already running watch mode, the changes will be picked up automatically.
If you need a refresher on deployment and watch mode, check back to Lesson 4 where we covered these workflows in detail.
Verification
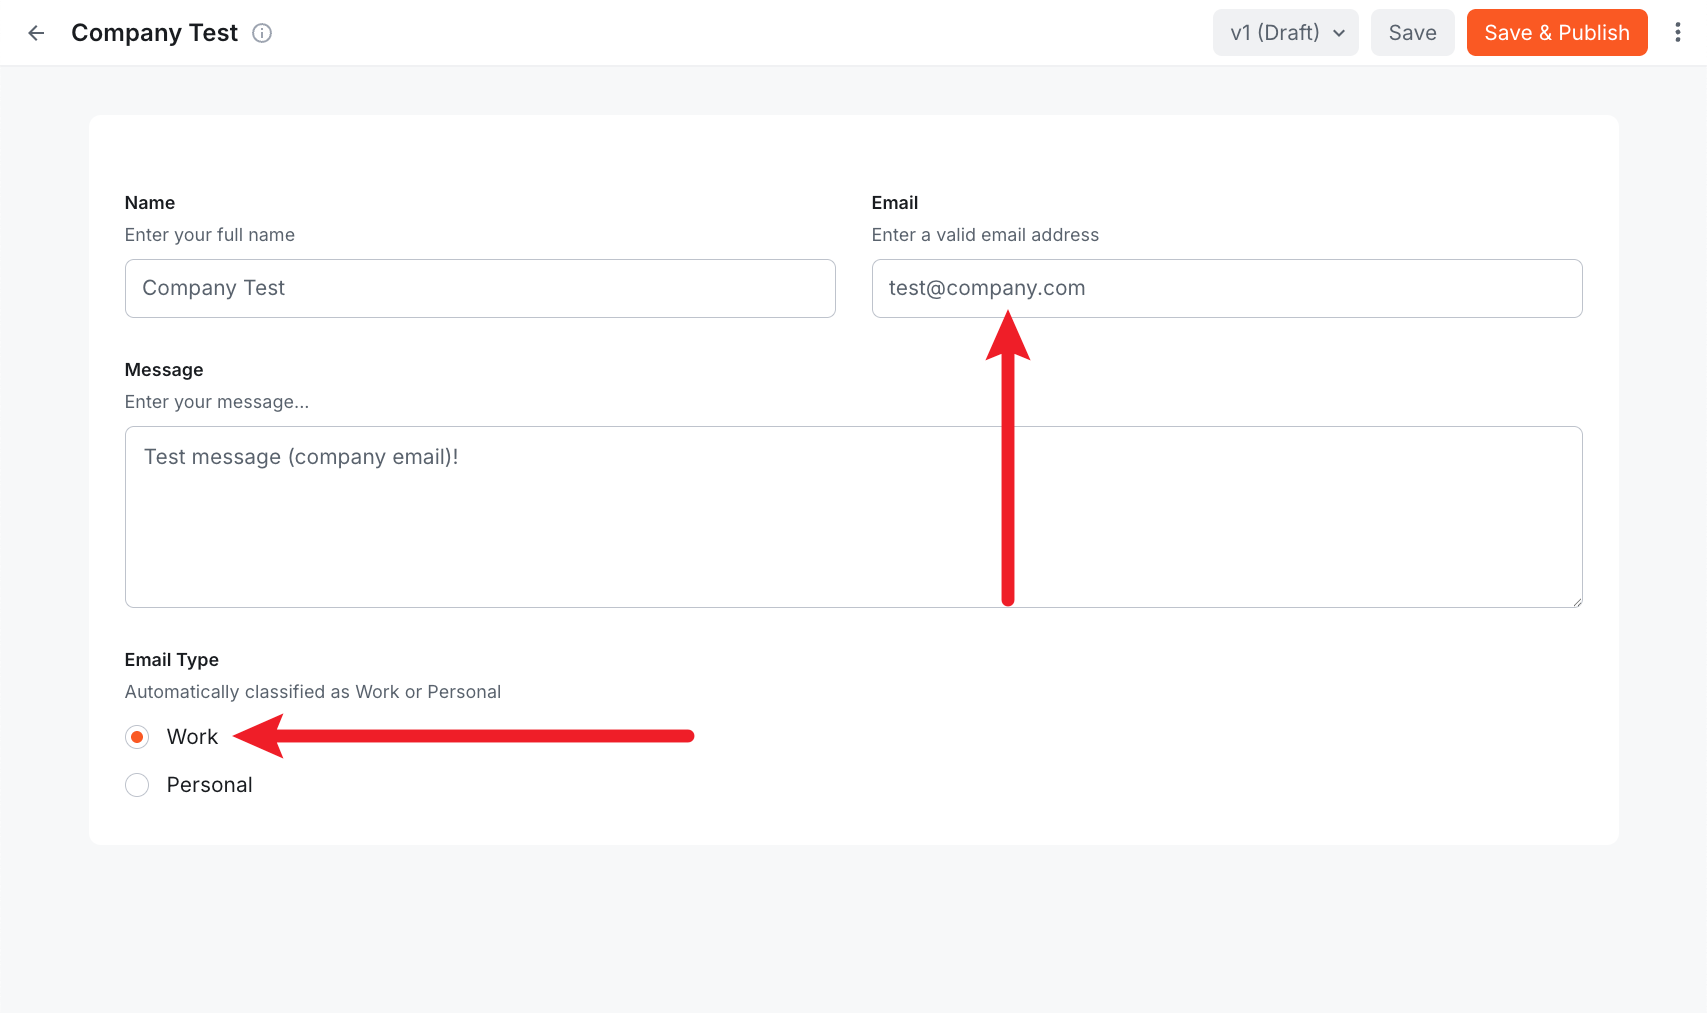
- Go to your Next.js app's contact form (
http://localhost:3000/contact). - Submit a form with a personal email (e.g.,
test@gmail.com). - Submit another form with a work email (e.g.,
test@company.com). - Open Webiny Admin > Headless CMS > Contact Submissions.
- Check the new entries. You should see the Email Type field automatically populated!
Summary
You've successfully created a server-side extension that intercepts data before it's saved!
In this lesson, you learned:
- ✅ How to use
EntryBeforeCreateEventHandler - ✅ How to filter events by
modelId - ✅ How to modify entry data in the
beforeCreatehook - ✅ How to register backend extensions
What's Next?
In the next lesson, we'll customize the Data List in the Admin UI to better display this new information and add a quick action button.
It's time to take a quiz!
Test your knowledge and see what you've just learned.