Page Builder > extensions
Add Custom Button Callback Handler
How to create a custom callback handler for button element.
This feature is available since Webiny v5.19.0.
- how to add a custom callback to the button element.
Overview
By default, the Button element comes with 2 working action types out of the box:
- Link: useful to create a link to different web URLs;
- Scroll to element: in case you want to scroll to a specific element within the page.
A third option is available, Click handler: this needs a bit of work to function.
In this tutorial, you will learn how to add a custom button click handler, available to be used within the Page Builder.
Organization of Files
Although you can place and organize the plugins in any way you prefer for your project, we recommend adopting the following organization.
When creating a new plugin, it’s recommended to have all the needed files in a single shared folder. This is because the plugin will need to be imported both within the Admin Area (apps/admin) and Website (`apps/website) applications.
With that in mind, for this tutorial, you will create the new pb-button-click-handlers folder in the apps/extensions folder.
By default, the extensions folder does not exist in the apps directory, so you’ll need to create it.
Scaffold Folder and File for Plugin
- create a folder named
pb-button-click-handlersinsideapps/extensions - create a
package.jsonfile insideapps/extensions/pb-button-click-handlerswith the following contents:
- add
"apps/extensions/*"to workspaces packages insidepackage.jsonin the project root, in case you haven’t done it before already:
- create
render.tsfile insideapps/extensions/pb-button-click-handlers: this is where all your custom handler plugins will be defined
import the click handler plugin into the following files
:
Page Builder editor plugins:
apps/admin/src/plugins/pageBuilder/editorPlugins.tsPage Builder render plugins:
apps/admin/src/plugins/pageBuilder/renderPlugins.tsWebsite Page Builder plugins: `apps/website/src/plugins/pageBuilder.ts
`
link workspaces by running
yarn installcommand from the project root. After completion, there will be a symbolic link of
of pb-button-click-handlerspackage innode_modules.
Register a Button Handler
Now, go back to our custom plugin file to register a new button handler.
This comes pretty easy: you just need to define a new plugin object with type: pb-page-element-button-click-handler, see the example here below:
As you can see, the configuration object has the following properties:
type: plugin type (pb-page-element-button-click-handler);name: the plugin name, this must be unique;title: shown in the Page Builder button configuration settings;handler: to define your custom button handler.
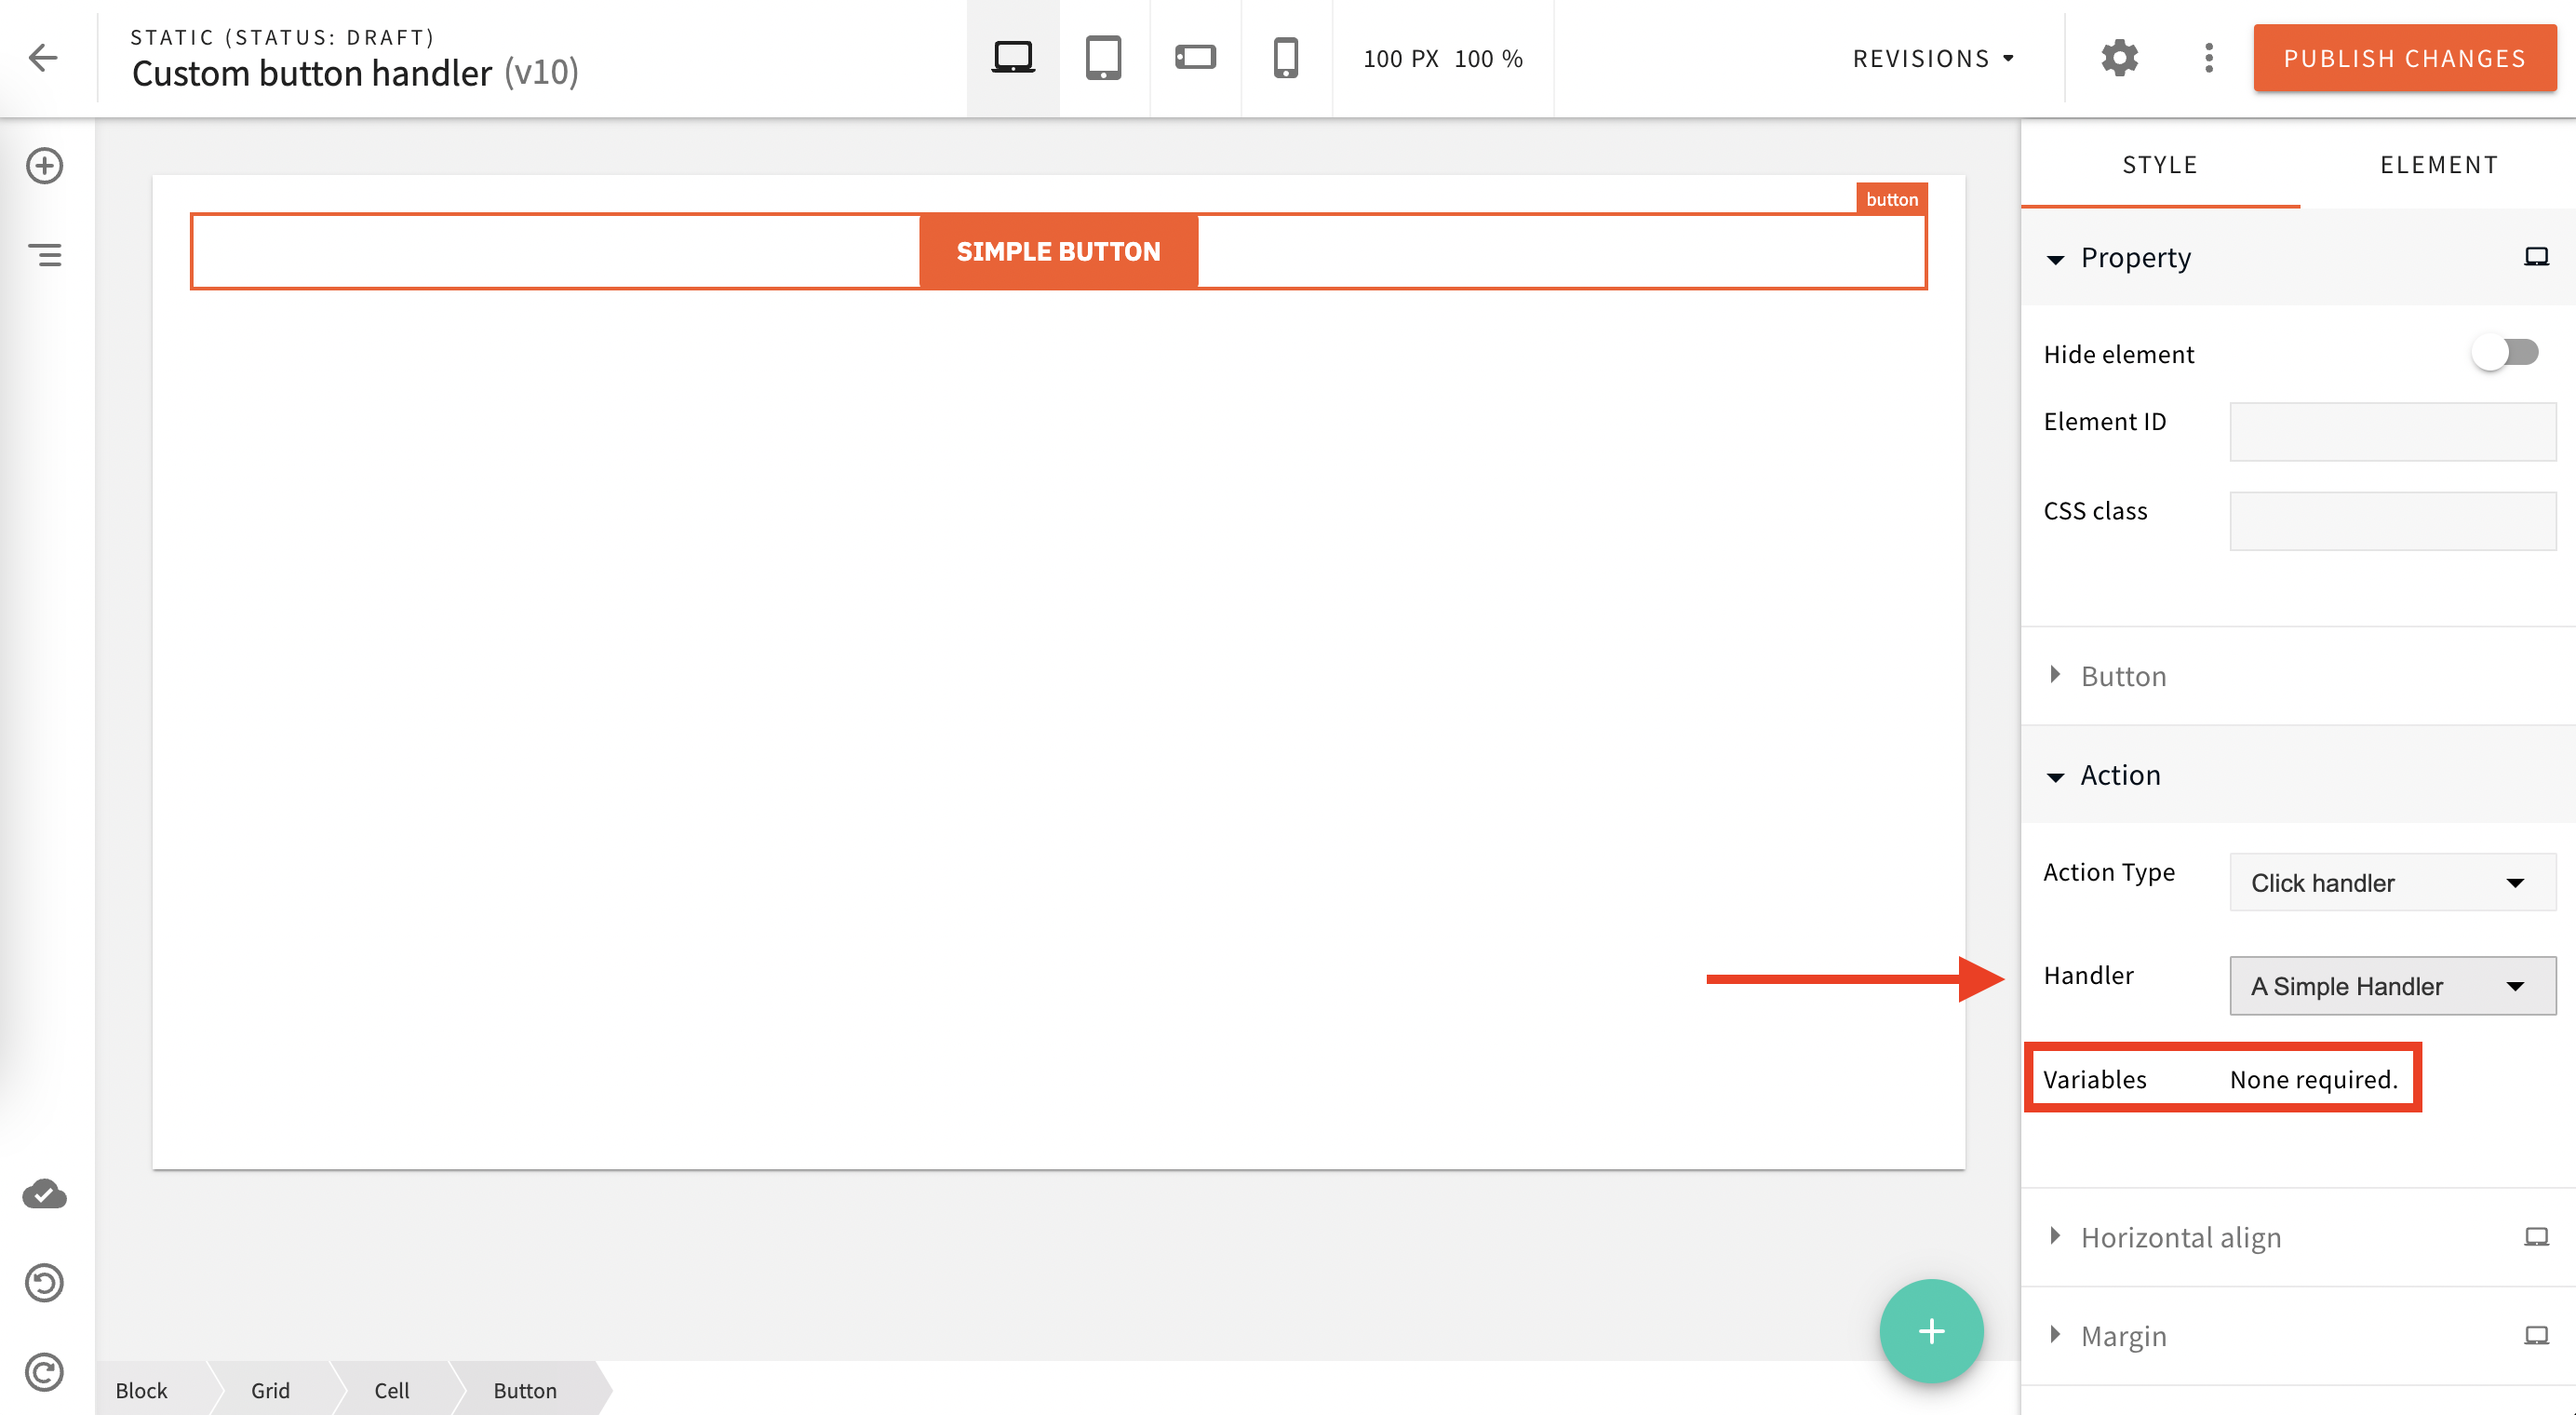 Button handler inside page builder
Custom Button Handler With Variables
You might need to allow your admin user to set one or more custom values and pass them to the handler.
In this case, you just need to add a couple more properties to our handler configuration object:
You are adding the following property:
variables: a list of allowed variables with name, label and default values. Those will be received by your custom handler.
Now, your admin users can define custom values to predefined variables via the button’s “Action” settings within the Page Builder.
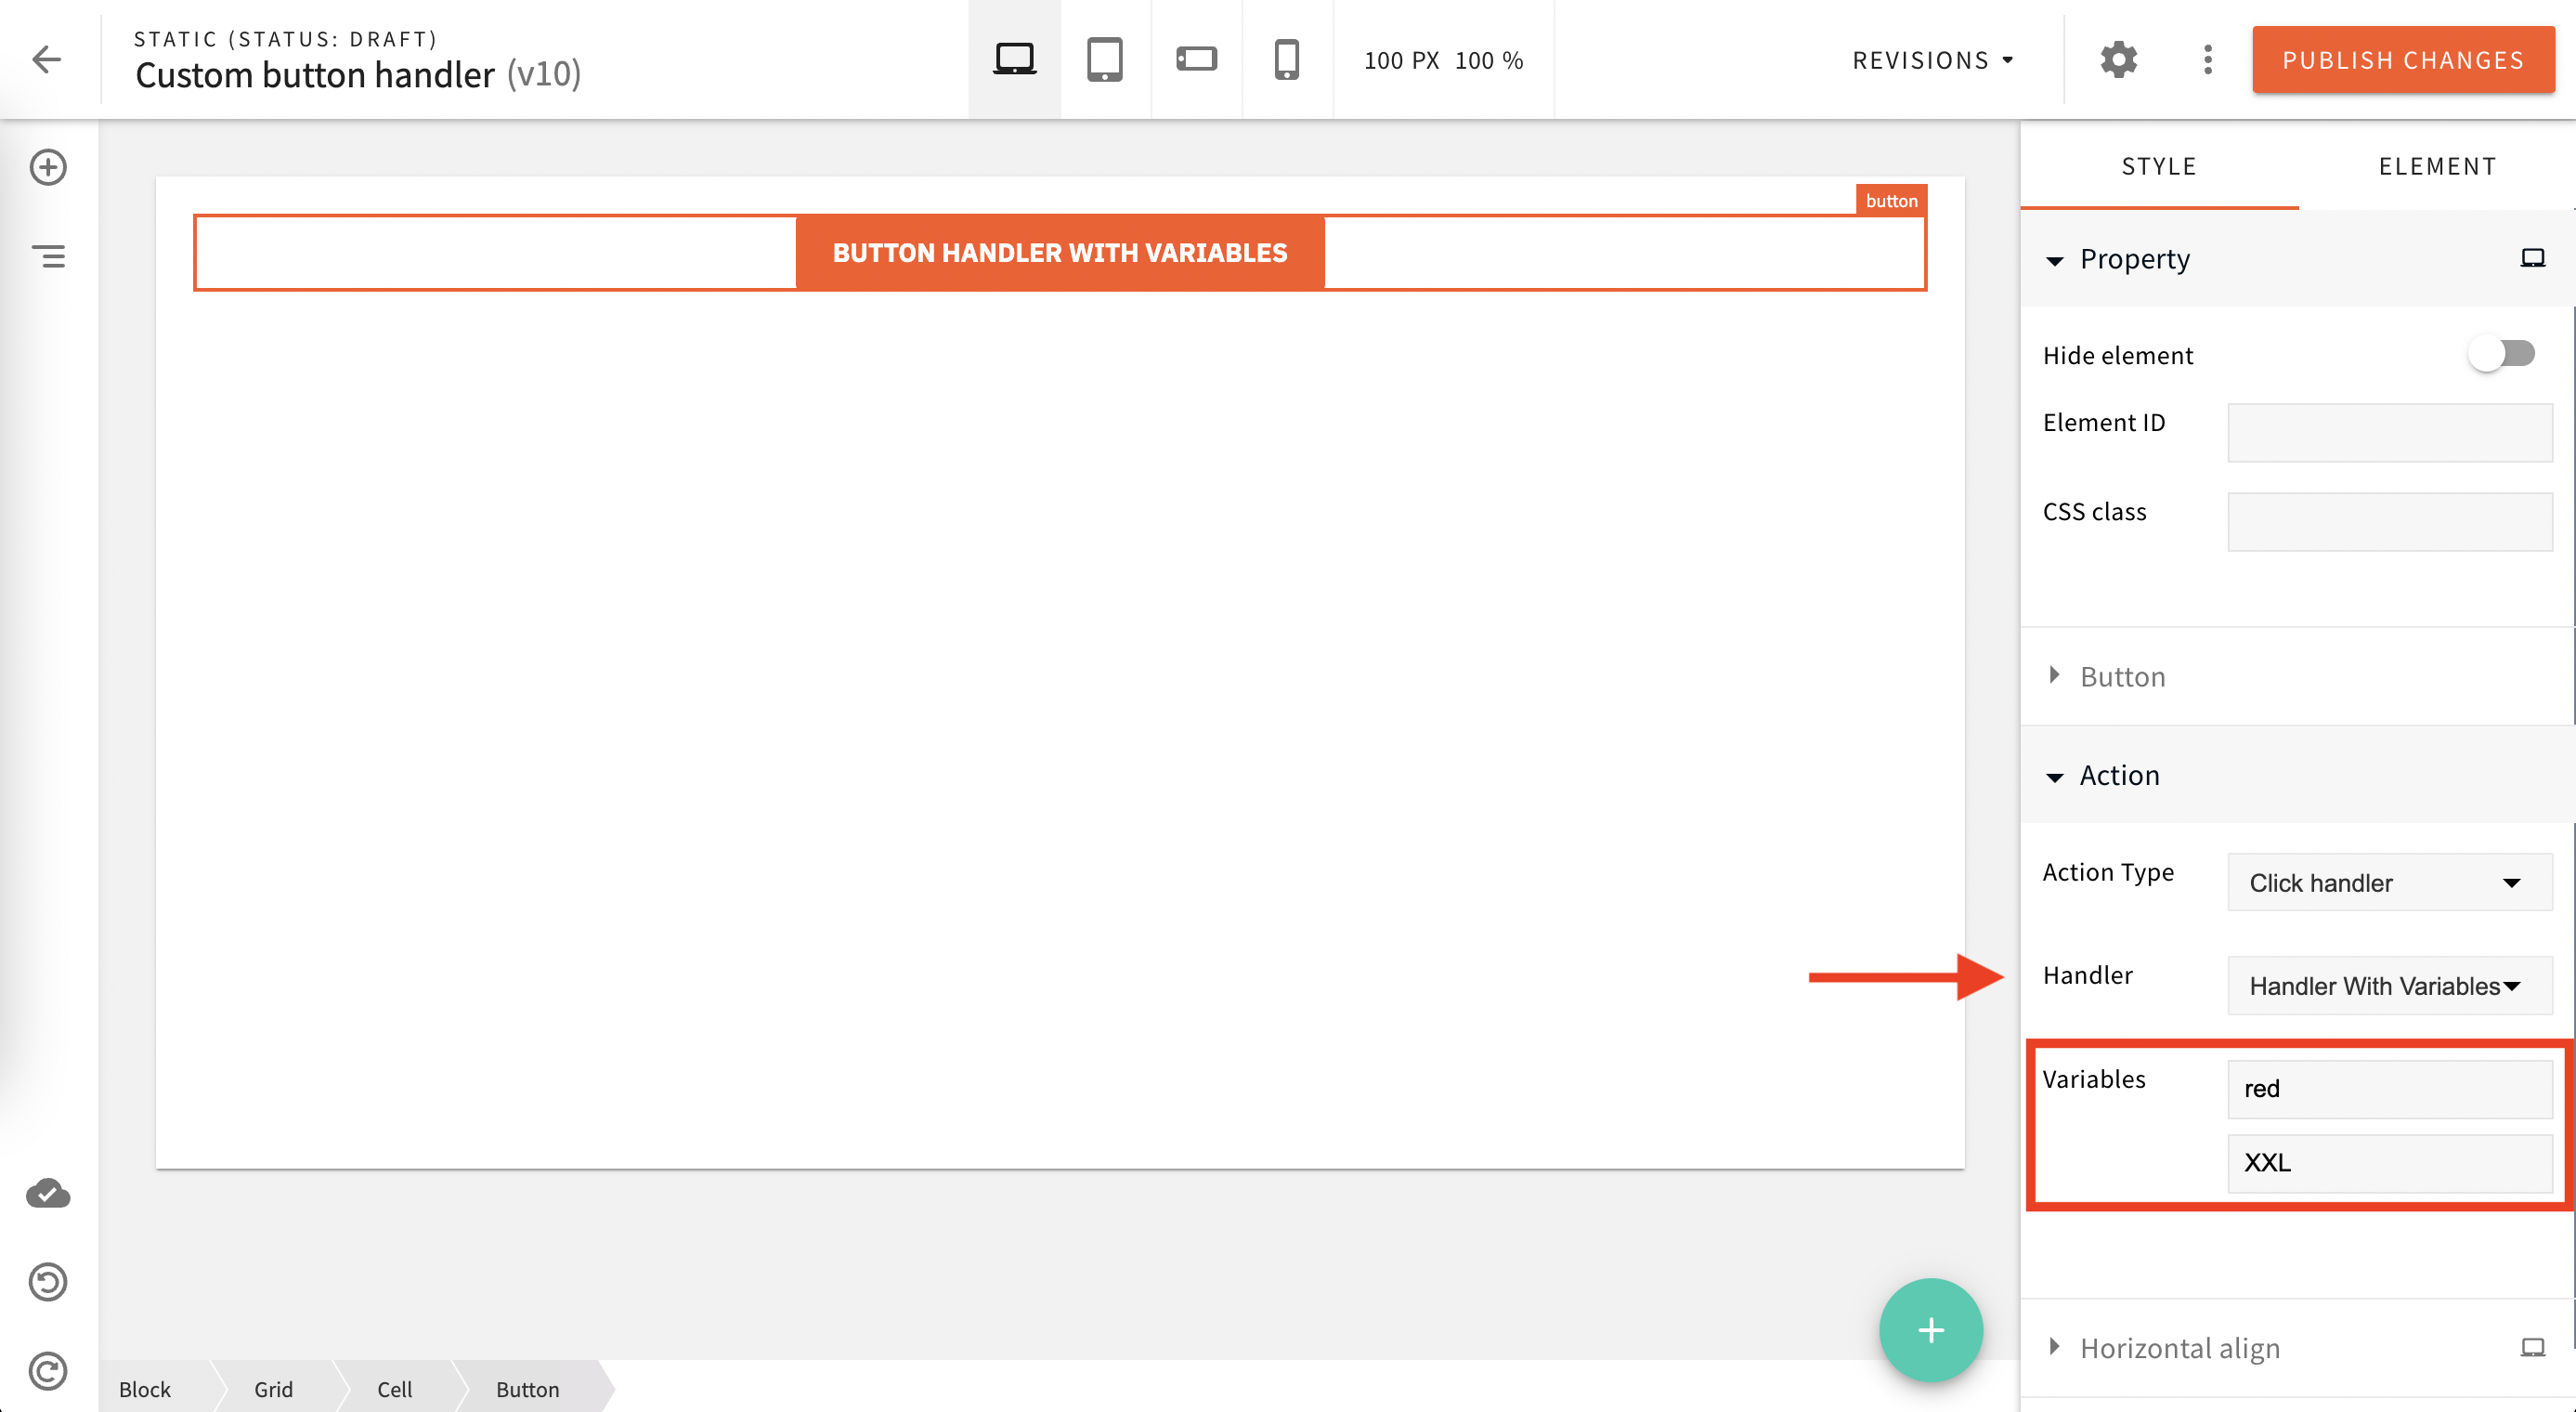 Button handler with custom variables inside page builder
Conclusion
Congratulations!
You have added a new custom handler click to Page Builder button element.
If you have further questions, feel free to ask for additional help.