Page Builder > extensions
Customize an Existing Element
How to Customize an Existing Page Builder Element
This feature is available since Webiny v5.1.0.
- how to customize an existing Page Builder element
- how to add settings to an existing element
Overview
All Page Builder elements are plugins which means we can modify, override or even add new ones.
In this tutorial, you will learn how we can add two predefined settings which are padding and width to the button element.
Plugin Type
There’s only one plugin you need to modify to customize an element: PbEditorPageElementPlugin.
Plugins of this type require a create function (to create an element data structure), and a render function that returns a React element that gets rendered in the editor.
All element plugins are registered as a factory so you can customize them by passing the following options:
Add Settings in an Element
Head over to the apps/admin/src/plugins/pageBuilder/ folder where all the plugins related to the Page Builder app are located.
As you can see there are two core sets of plugins:
editorplugins: needed for Page Builder editorrenderplugins: needed for Page Builder page preview and to render the actual page in the Website app
For this tutorial, we only need to focus on the editor plugin.
By default, the button element settings look as shown below:
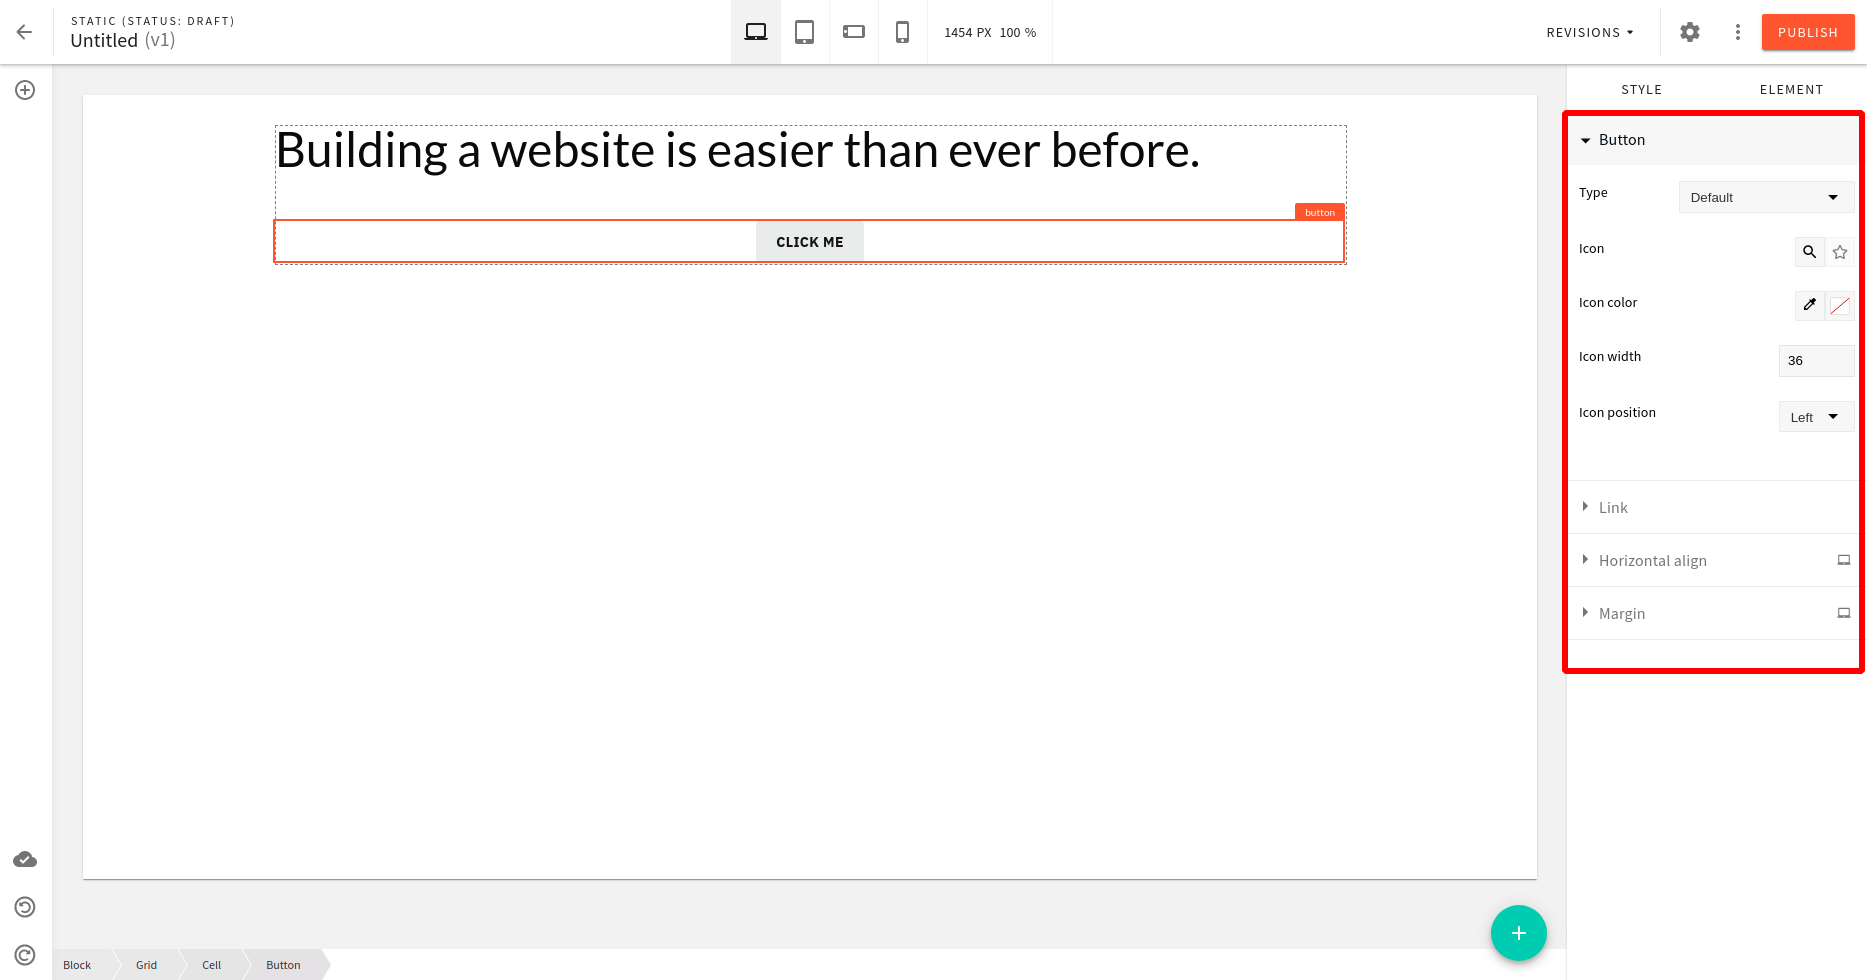 default button element settings in editor sidebar
Add Settings
To add the padding and width settings to the button element we pass the settings as the argument to the button element plugin factory.
As shown earlier, settings is a function that gets the defaultSettings of the element as an argument and returns the list of element settings.
Let’s make the following change.
"pb-editor-page-element-style-settings-padding" and "pb-editor-page-element-style-settings-width"
are the name of plugins.
Both are of type: PbEditorPageElementStyleSettingsPlugin.
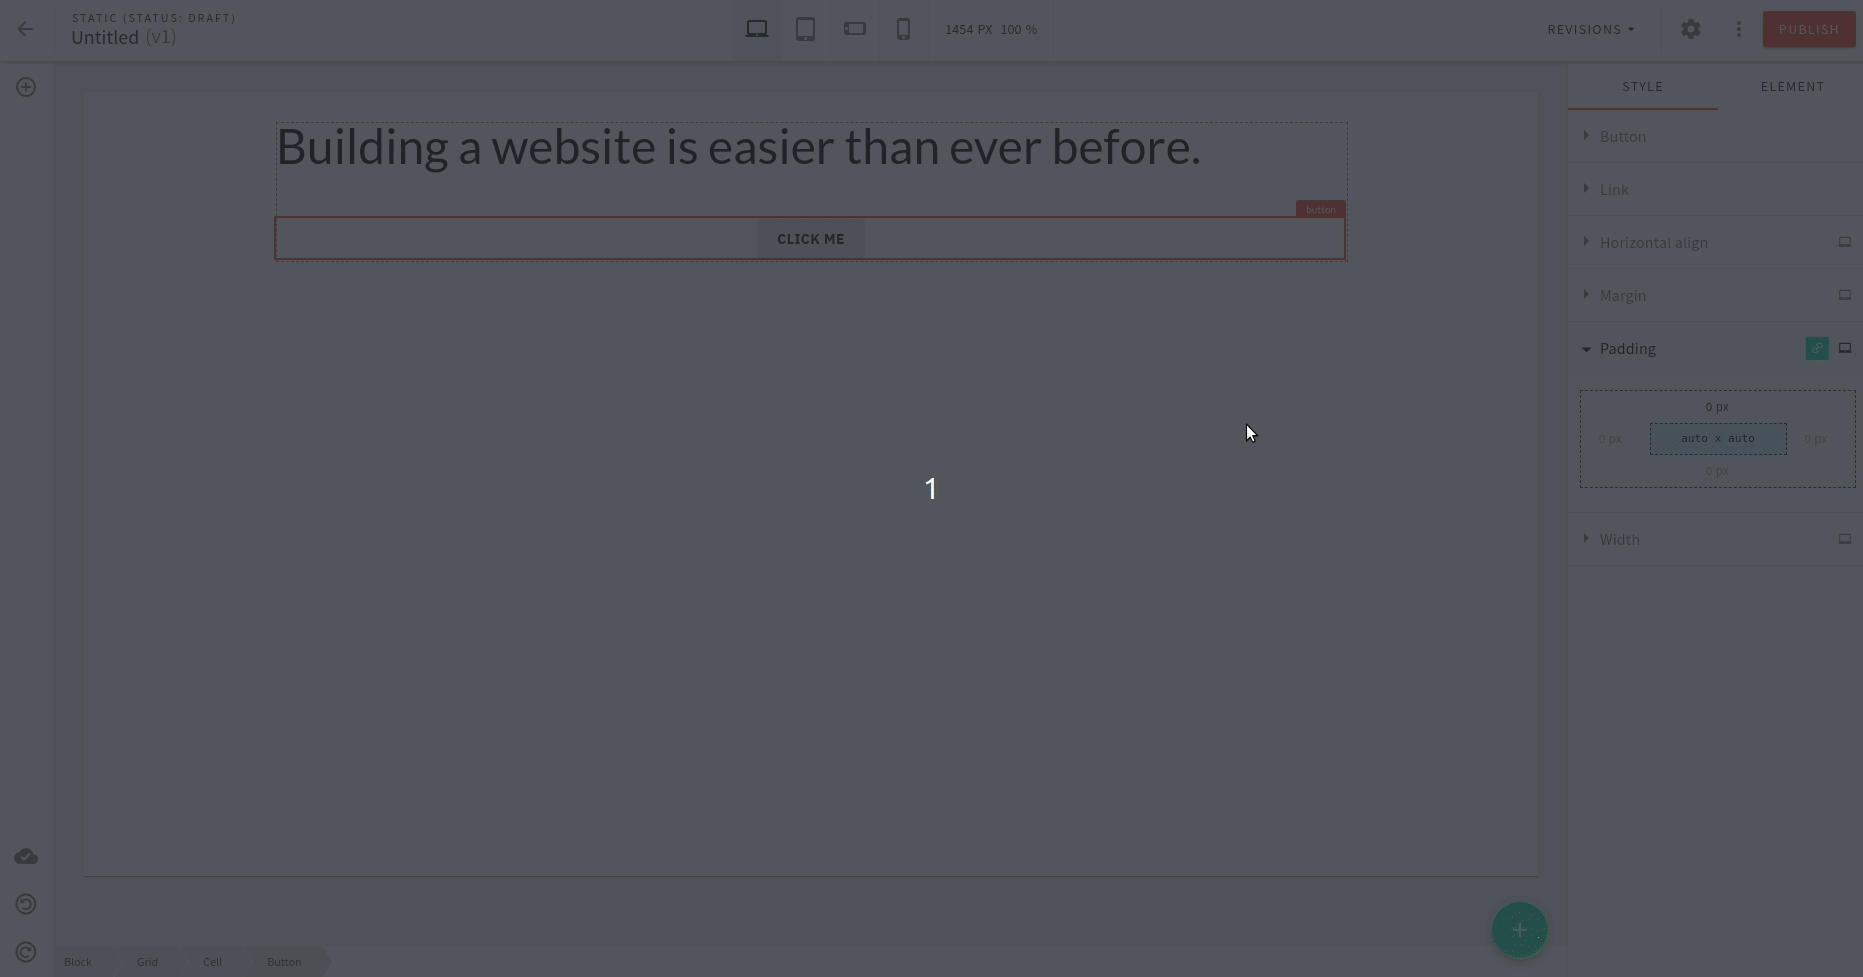
After saving these changes, the button element settings will have padding and width settings as shown below:
 updated button element settings in editor sidebar
Hurray!
The padding and width settings are now available to the button element. And, we’re done here…
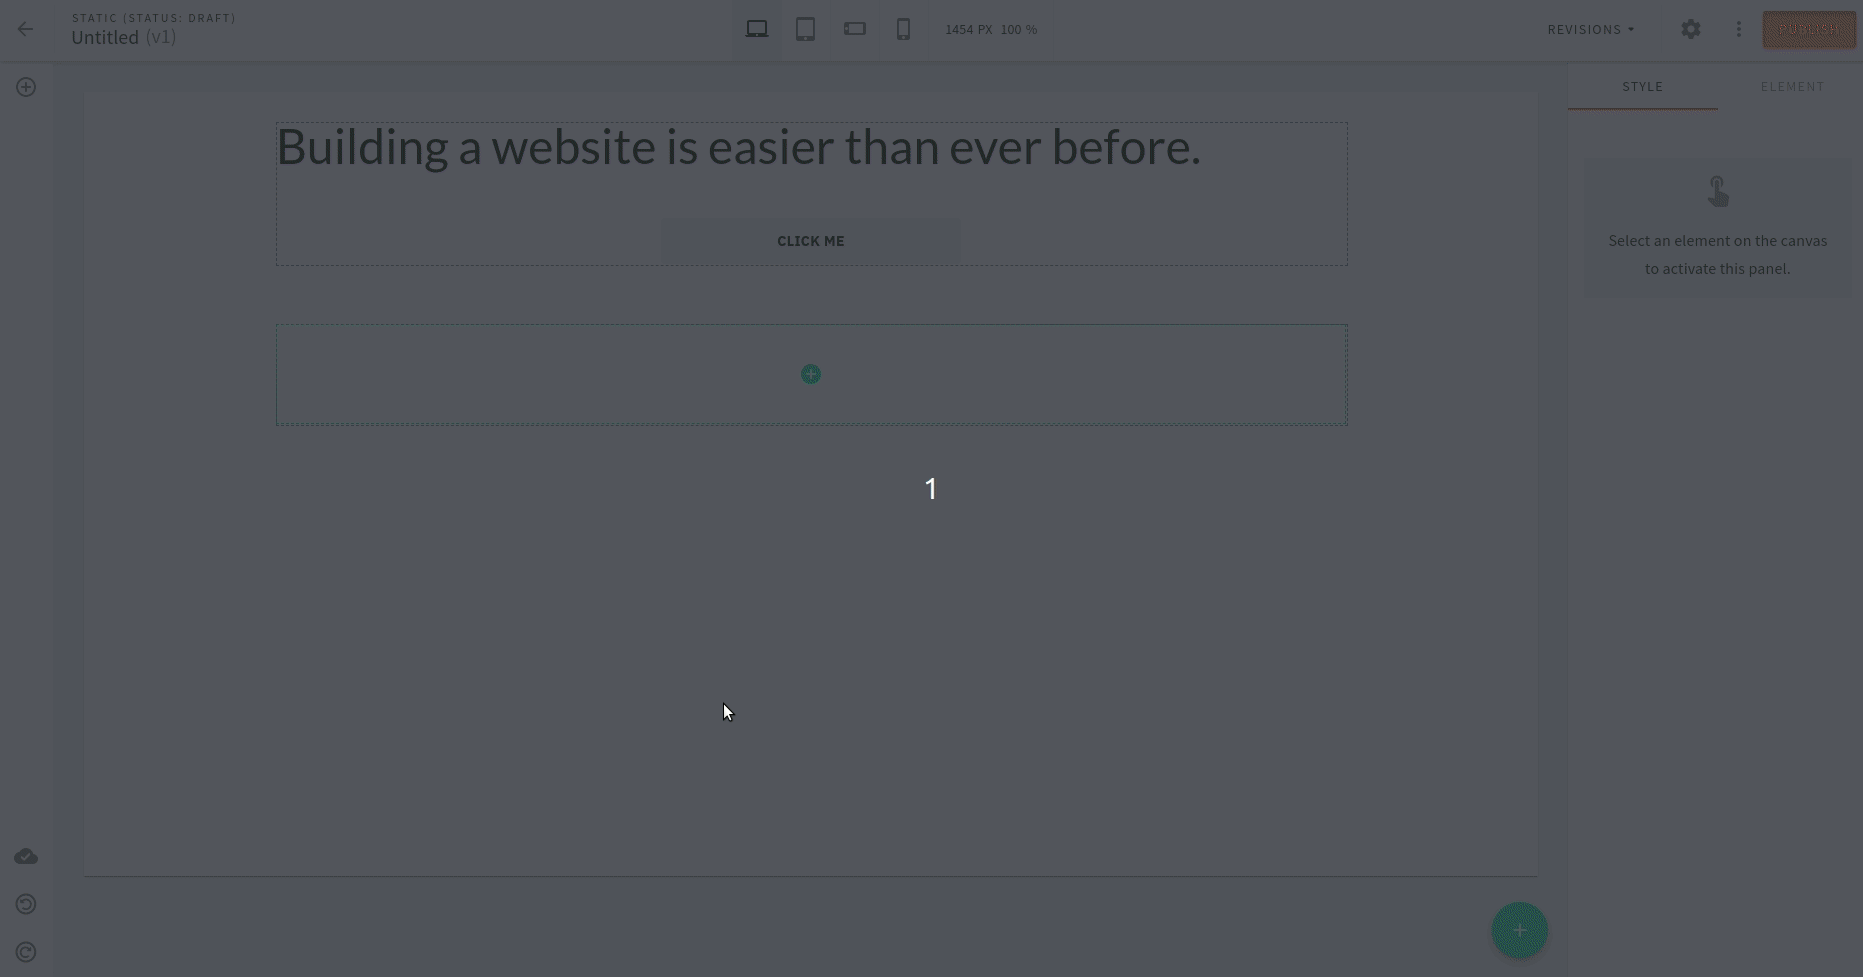
Not really! If you try changing these settings in the editor no visible change will happen to the button element as shown below:
 updated button element settings in editor sidebar
This is because the button element has specific styles applied to it in the theme (SCSS file)
which overrides the styles applied by these settings via the editor.
file)
which overrides the styles applied by these settings via the editor.
Update Stylesheet
To fix this, we need to update the button element style within the theme
so that it takes those settings applied via the editor.
The styles for the button element are written in the .webiny-pb-page-element-button CSS class.
And, we need to make the following changes to it:
- remove
paddingproperty - update
widthproperty
After saving these changes the previously applied changes will show in the editor.
 change button element settings in editor sidebar
All seems to work well, right? Let’s see:
Now that we have removed the padding property from the button element (SCSS file),
a new button dropped into the page doesn’t look good with the default settings as shown below:
 default settings for a new button in editor
We can fix this by adding the default values for both padding and width properties.
For this, we pass the create argument to the plugin factory.
It is a function that gets the default value as the argument and returns the data for that element.
Let’s see the example below:
The create function defines the initial value for element settings and data property which can hold any data you might need.
Now if you drop a new button element to the editor it will look much better as shown below:
 with default settings value for a new button in editor
This is because now the padding and width settings have a default value for it.
Here we’ve used the create function for setting the default value for padding and width properties.
However, using a similar principle you can do whatever logic you need.
Conclusion
Congratulations!
You have added predefined settings to an existing Page Builder element. Use a similar approach to customize other elements for the Page Builder app.
You can also check out the full code example in our repo. If you have further questions, feel free to ask for additional help.