Page Builder > extensions
Create a New Page Element
Tutorial on how to create a new element for Webiny Page Builder.
- how to create a new Page Builder element
- how to register plugins in Webiny applications
Overview
Although the Page Builder application comes with a plethora of ready-made page elements, at one point in time, you might need to create your own to satisfy your specific requirements. To achieve that, we can utilize a couple of simple plugins, which is what we’ll cover in this short tutorial.
What We'll Build
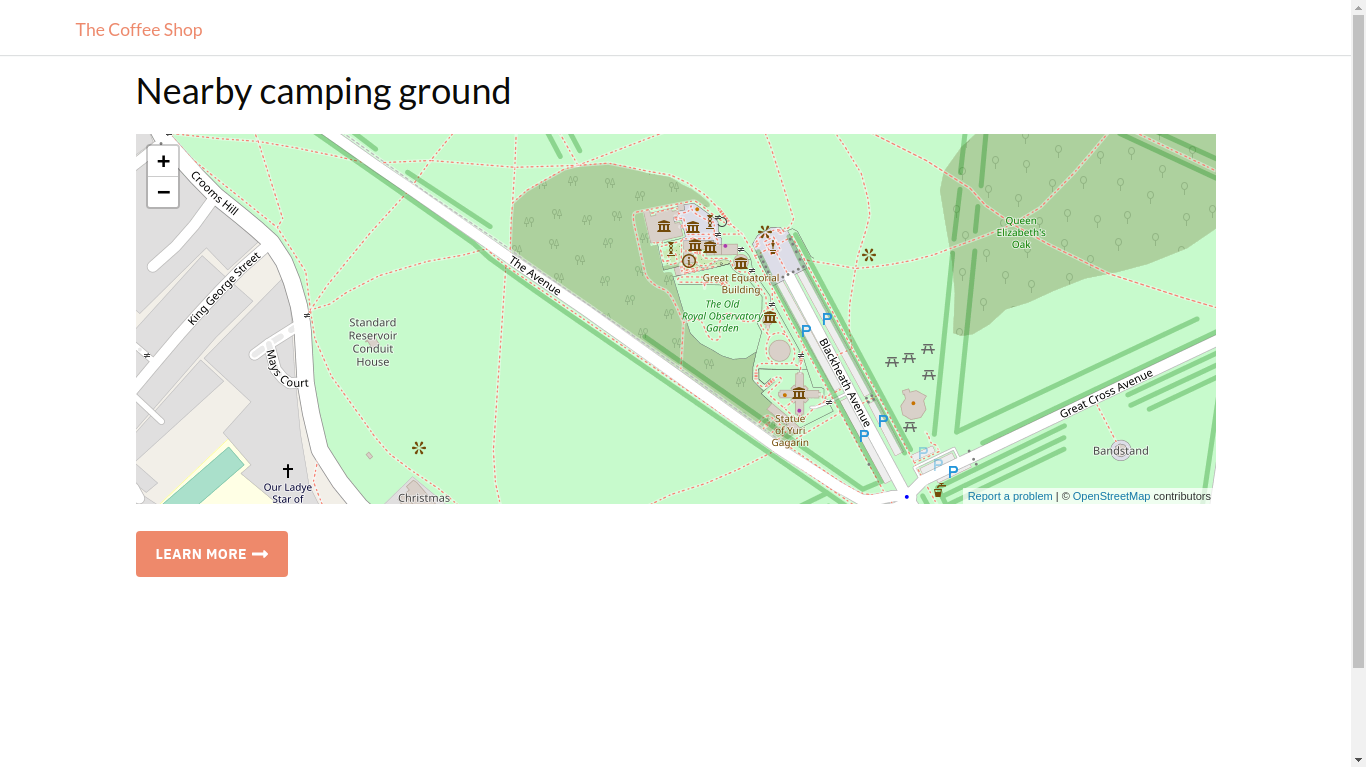
We’ll create a new page element that allows content creators to embed content using an iframe.
Here’s what the final result will look like:
 Iframe page element
The IFrame element is now available out of the box from the 5.26.0 release. You can still follow this tutorial to create custom IFrame elements and get insights on how to create a new Page Element element.
The full code example used in this tutorial is available in our webiny-examples GitHub repository.
Organization of Files
Although you can place and organize the plugins in any way you prefer for your project, we recommend adopting the following organization.
When creating new page elements, it’s recommended to have all of the needed plugins in a single shared folder.
This is because some of the plugins will need to be imported both within the Admin Area (apps/admin) and Website (apps/website) applications.
With that in mind, for this tutorial, we will create the new pb-element-iframe folder in the apps/extensions folder.
By default, the extensions folder does not exist in the apps directory, so you’ll need to create it.
Anatomy of Element Plugins
To create a new page element, we need to register two sets of plugins:
- For the Admin Area application:
- a plugin that defines how it’s rendered in the page editor
- a plugin that defines all the available settings and options for it
- For the Website application:
- a plugin that defines how the page element is rendered on the actual page
To better organize files, we’ll write all the plugins needed for the Admin Area application and Website application in
apps/extensions/pb-element-iframe/admin and apps/extensions/pb-element-iframe/render, respectively
Let’s get started with scaffolding initial folders and files for our page element plugins.
Scaffold Folder and Files for Plugins
- create a folder named
pb-element-iframeinsideapps/extensions - create a
package.json file inside apps/extensions/pb-element-iframewith the following contents:
Update the @webiny/* dependencies versions above to match the version of your Webiny project.
You can check the Webiny version by running the yarn webiny --version command from the project root.
- create a
tsconfig.json file with the following contents:
- add
"apps/extensions/pb-element-iframe"toworkspacespackages insidepackage.json in project root
create
adminandrenderfolders insideapps/extensions/pb-element-iframelink workspaces by running
yarn installcommand from project root. After completion there will be a symbolic link of @extensions/pb-element-iframepackage innode_modulesadd
@extensions/pb-element-iframepackage as a dependency to both the Admin Area application and Website application, by editing theapps/admin/package.jsonandapps/website/package.jsonfiles respectively:
After successfully performing the above-mentioned steps, the folder structure of our project will look similar to this:
Create Plugins for the Admin Area Application
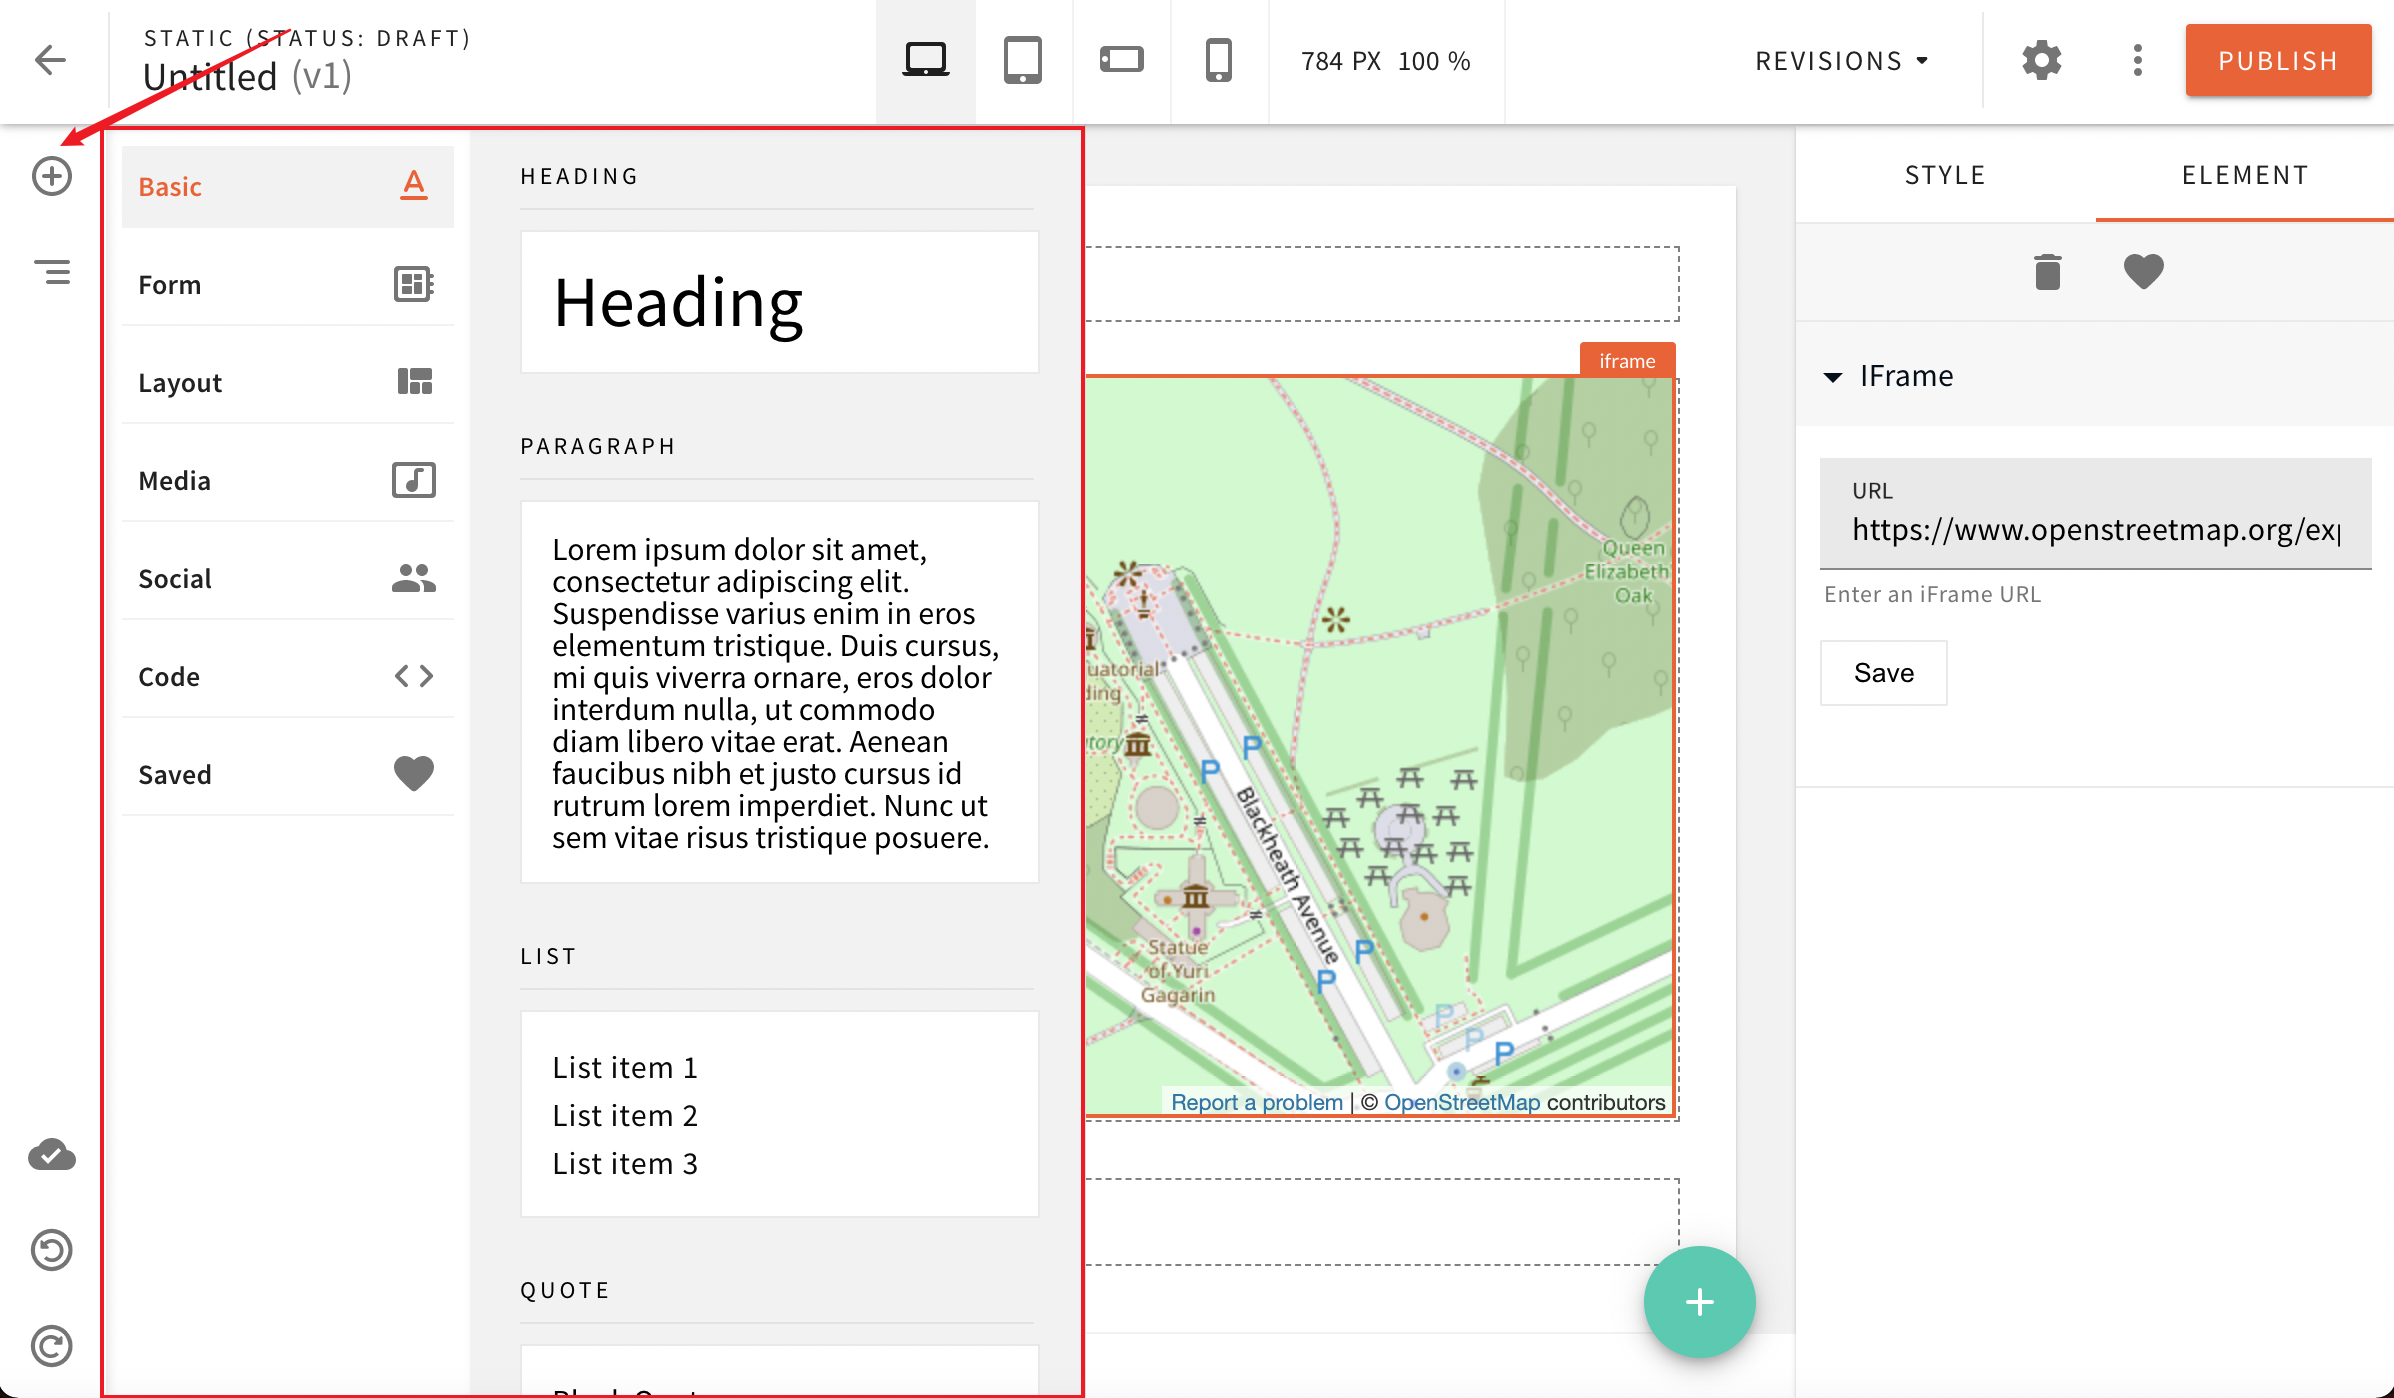
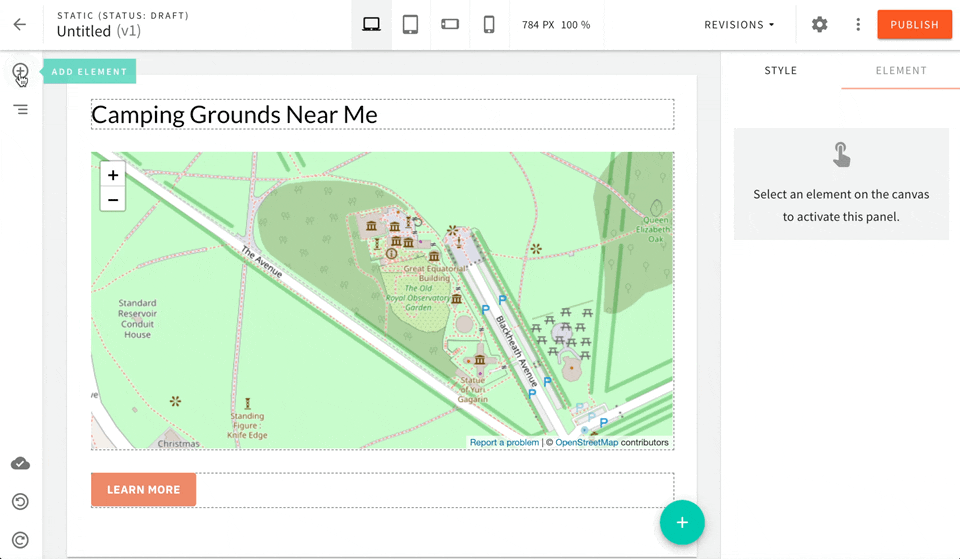
Click the plus icon located on the left sidebar of the editor to access all the available page elements:
 Iframe page element
As mentioned, this list of page elements can be expanded, and custom page elements can be created via plugins. Now let’s create all the necessary plugins for the Admin Area application.
Editor Element Plugin
We will start with the PbEditorPageElementPlugin plugin.
Create index.tsx file in apps/extensions/pb-element-iframe/admin directory.
Create an assets folder in apps/extensions/pb-element-iframe/admin then download and keep this iframe-icon.svg![]() icon file in the
icon file in the assets folder.
The key properties of the plugin are the create and render.
They define the initial page element’s settings and how it will be rendered in the editor, respectively.
The data property holds the initial state of the page element which can contain any data you might need.
The toolbar property helps us put our plugin into the toolbar.
Finally, it’s up to the render function to define how the page element will be rendered once the user drops it on the page.
Notice the props that were passed to the render function. This object contains all the relevant page element’s data and settings.
Now that we’ve covered the overall structure of the plugin. Let’s create an IFrameEditor component.
It will be a simple React component that will render an iframe HTML element.
Create components directory in apps/extensions/pb-element-iframe/admin and then create iframeEditor.tsx file in components directory.
Every element needs to have the ElementRoot
component as root because it applies styles, classes and attributes to the element assigned via right sidebar style tab.
Notice we’ve added webiny-pb-base-page-element-style CSS class.
Every element needs to have it as it contains all base styles applied by the Page Builder application.
Notice we’ve added webiny-pb-page-element-iframe CSS class, which enables us to add custom CSS styling if needed.
Element Settings Plugin
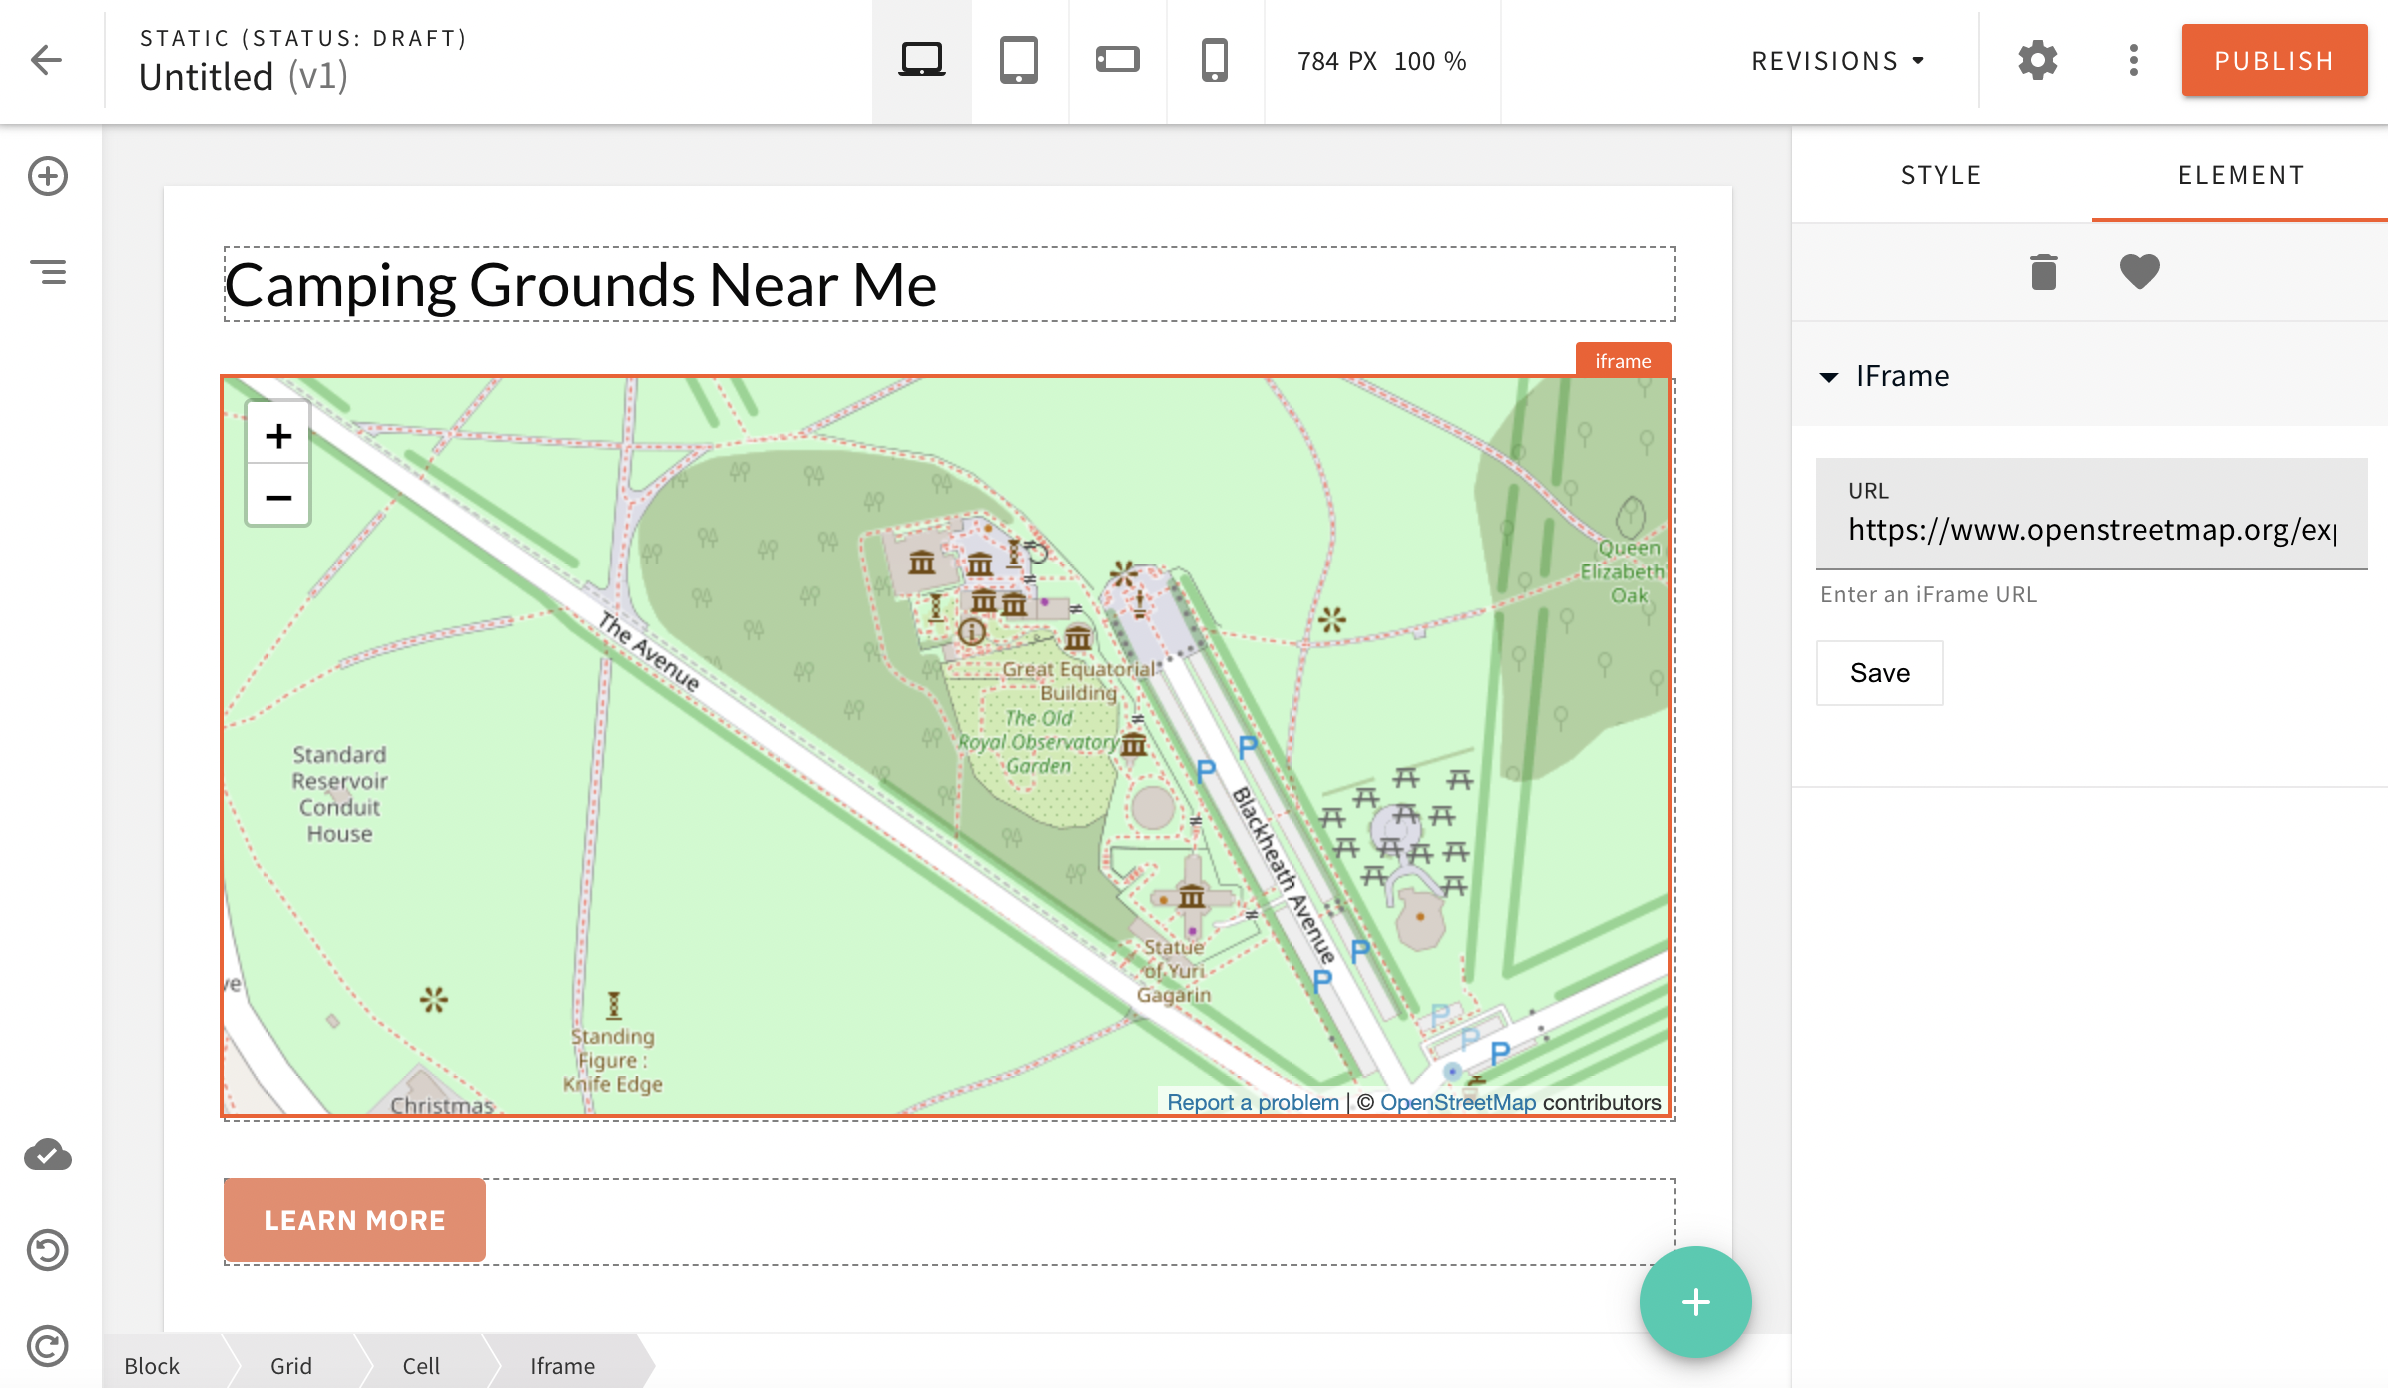
The next plugin we’ll need to define is the PbEditorPageElementAdvancedSettingsPlugin,
which we will use to render the required UI for settings, so the user can provide an iframe URL.
The settings UI will be shown automatically in the right sidebar when the user drag-and-drop the page element on the page.
Create iframeSettings.tsx file in the apps/extensions/pb-element-iframe/admin directory.
As mentioned, this code will show the settings UI in sidebar and ask for the URL of the iframe, as shown below:
 Iframe page element settings
Render Element Plugin
As mentioned, every page element consists of two sets of plugins. We’ve already covered the editor side of the logic, now, let’s write the plugin that will render it to the page preview and the actual page.
In order to render the element on the actual page, we will use the PbEditorPageElementPlugin plugin.
Create index.tsx file in the apps/extensions/pb-element-iframe/render directory.
Now let’s create the IFrame component used in the index.tsx above.
Create iFrame.tsx file in the apps/extensions/pb-element-iframe/render/components directory.
Along with the actual page, this plugin will also responsible for rendering the element in the page preview, as shown in the image below:
 Page preview inside editor
Register Plugins in the Admin Area Application
Now that we’ve created plugins for the iframe element, we need to register them in the Admin Area application to work.
Let’s make the following changes in apps/admin/src/plugins/pageBuilder/editorPlugins.ts file:
Also in apps/admin/src/plugins/pageBuilder/renderPlugins.ts file:
After registering the plugins successfully, we should be able to see the iframe element in the Admin Area application, as shown below:
 Editor Iframe page element
With the webiny watch command up and running, the performed application code changes should be automatically rebuilt and redeployed into the cloud.
Add Plugins in the Website Application
In the Website application, we will reuse the Render Element Plugin to render the iframe page element.
To reuse the Render Element Plugin, simply register it by making the following changes in the apps/website/src/plugins/pageBuilder.ts file:
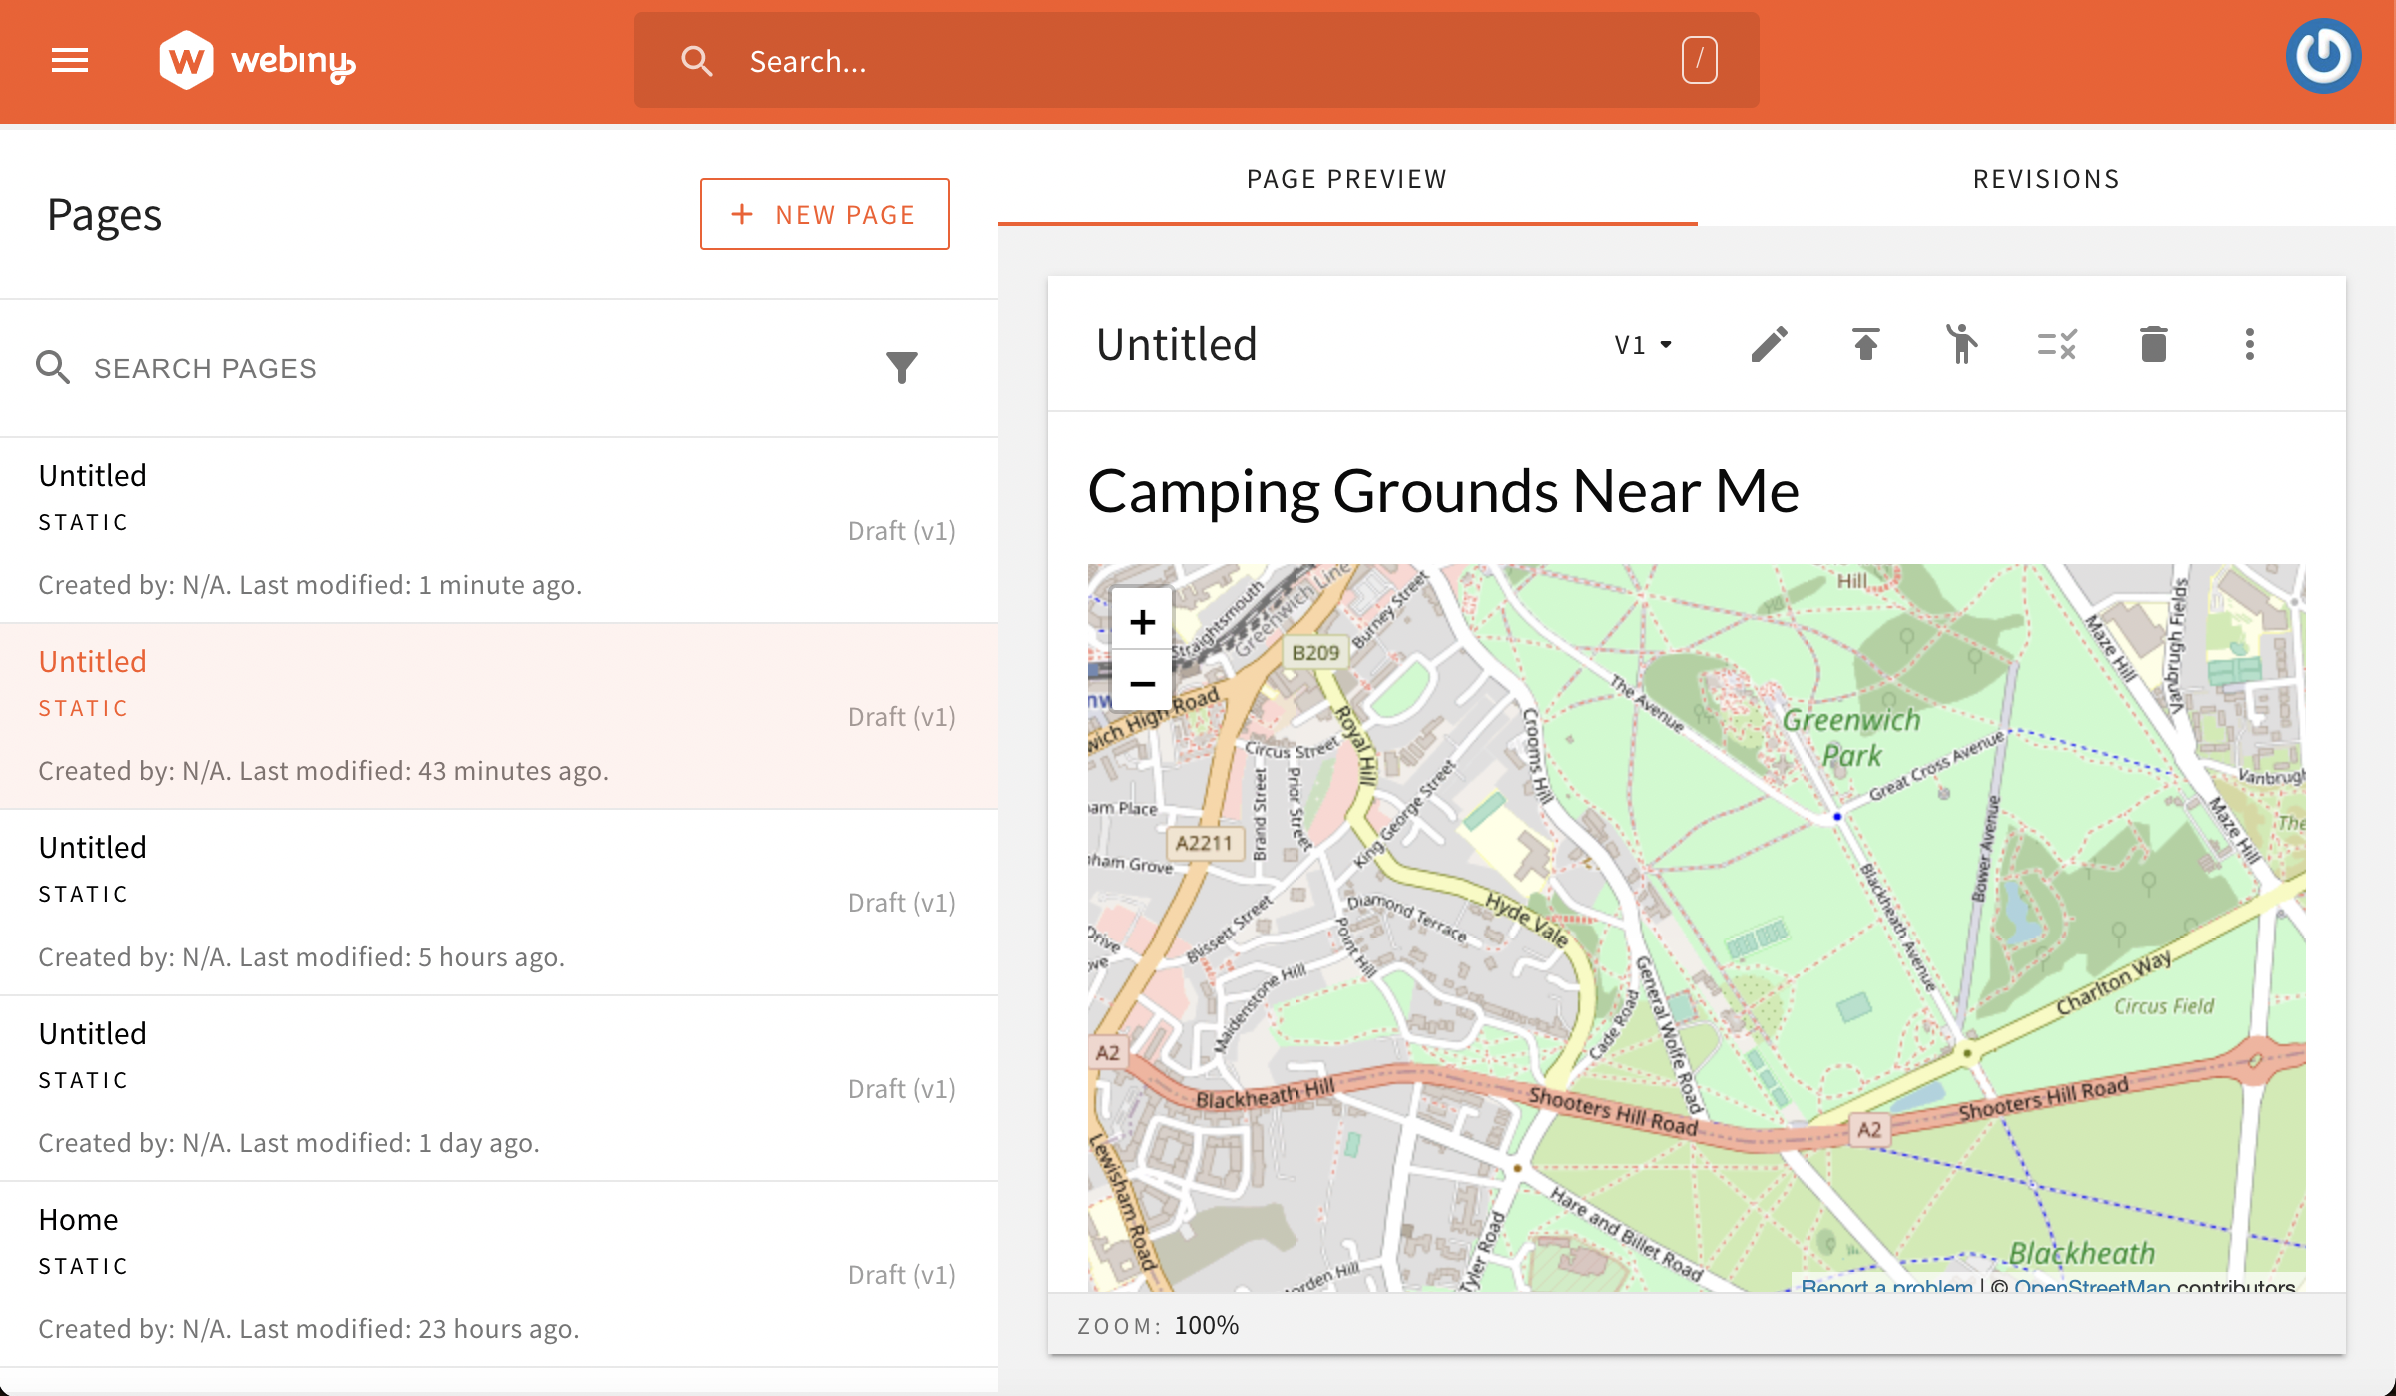
After registering the plugins successfully, the page element should be visible in your Website application:
 Page preview inside editor
Conclusion
In this tutorial, we’ve learned how we can create a new iframe page element and make it configurable within the Page Builder application’s page editor.
The same approach can be used to create any page element, so make sure to bookmark and revisit this tutorial, in case you need a refresher on any of the steps.
Once again, a full code example can be found in our webiny-examples GitHub repository.
And, if you have further questions, or you simply got stuck, feel free to get in touch with us via Slack.
FAQ
How to Add Dependencies in Workspace Package?
You can add dependencies to your workspace package using the yarn workspace <YOUR_WORKSPACE_NAME> add <DEPENDENCY_NAME> command.
For example, running the following command, will add the @webiny/form as dependency in the @extensions/pb-element-iframe workspace package: