File Manager > Essentials
File Aliases
Learn how to add file path aliases in the File Manager.
- how to add a path aliases to a file
Webiny simplifies file access in the File Manager by allowing users to create path aliases. Each file can have one or more aliases, which proves useful, especially during file migrations from other systems, ensuring the preservation of URLs in existing content. In this tutorial, we will learn how to add a path alias to a file. We will do this in 2 steps:
- Step 1: Add a path alias to a file
- Step 2: Preview the file using the alias
Prerequisites
To follow this tutorial, you need the Men’s Red Tshirt image uploaded in the file manager. If you don’t have the Men’s Red Tshirt image in your file manager, please follow the File Upload tutorial to upload it.
Step 1: Add a Path Alias to a File
From the Side Menu, click File Manager.
✔️ The File Manager Home screen opens.
Hover over the Men’s Red Tshirt image we uploaded in the File Upload tutorial.
Click the SETTINGS icon (⚙️).
✔️ The File details screen opens.
In front of FILE ALIASES, click + ADD ALIAS.
✔️ The Alias textbox appears.
In the Alias textbox, type /apparels/mens/tshirts/red/red-mens-tshirt.png.
Click SAVE FILE.
Note: You can add multiple aliases to a file.
Step 2: Preview the File Using the Alias
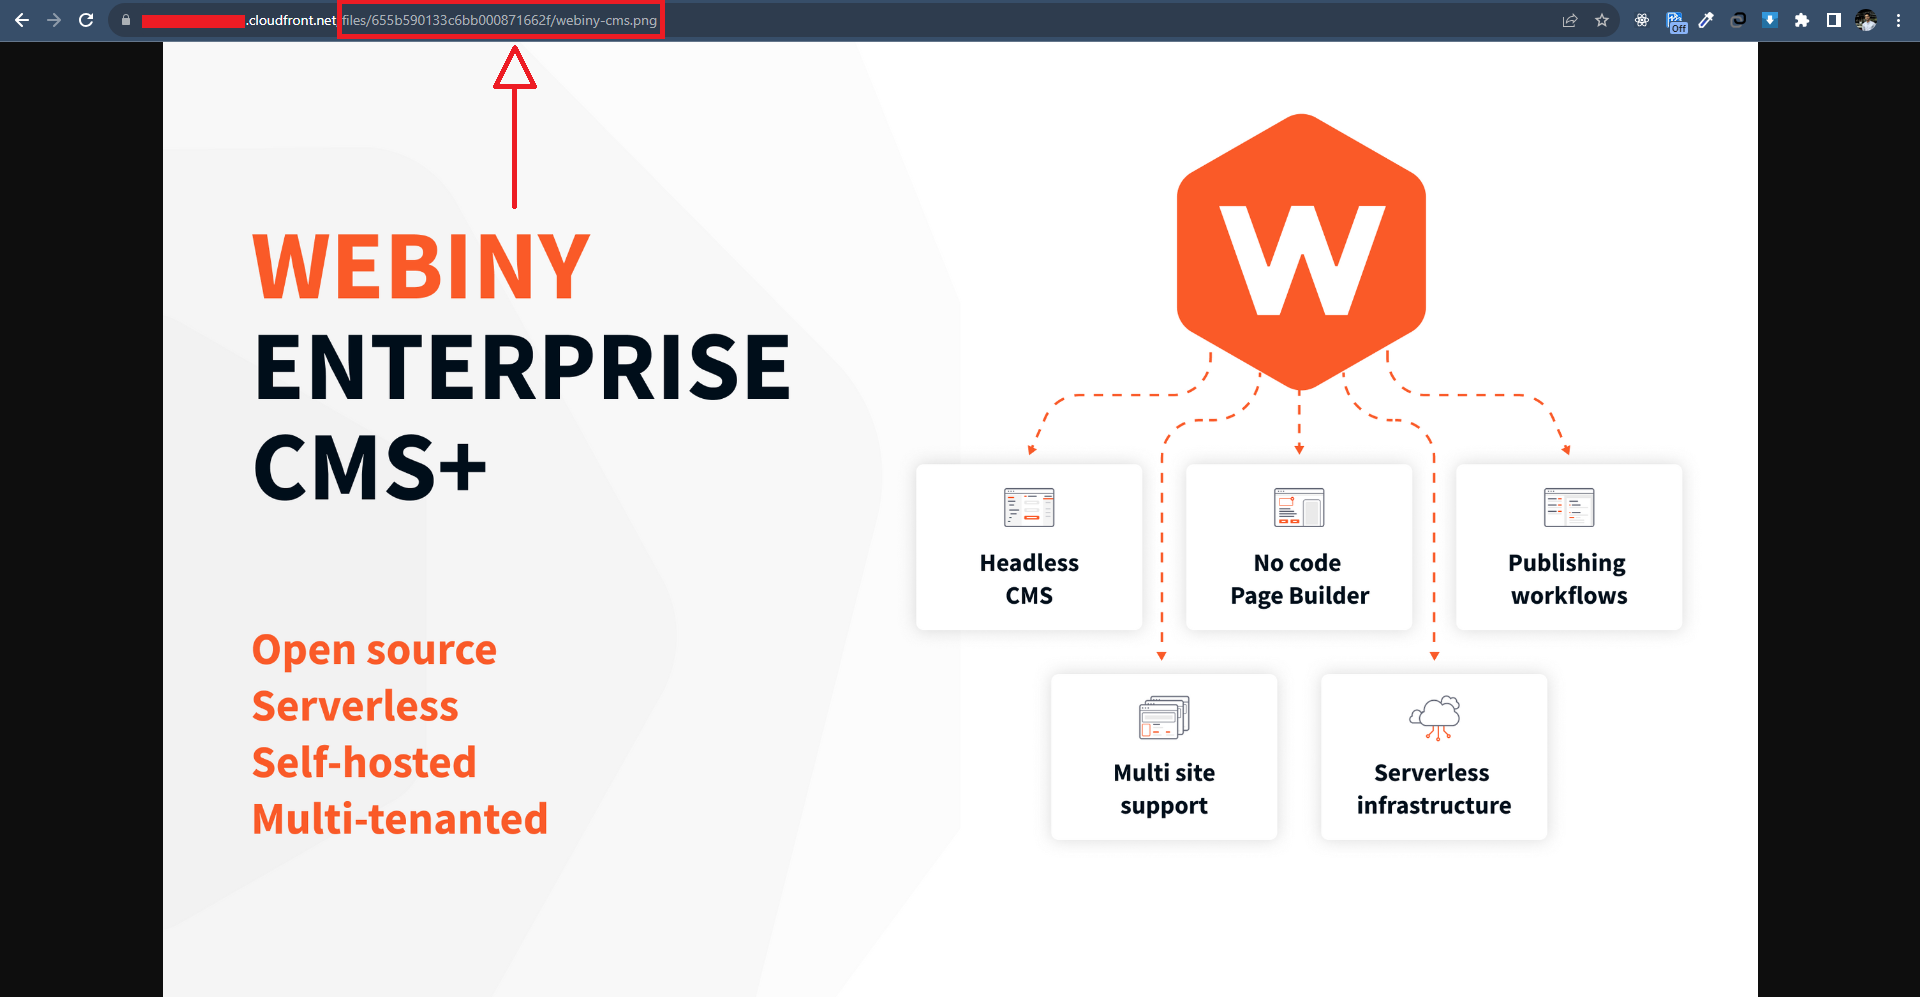
Open the File details screen for the Webiny CMS image.
Click the COPY URL icon.
Visit the URL in a new tab in browser.
After the base URL, replace the path of the file with the alias /custom/path/files/images/webiny-cms.png. For example, in the address bar, change the text from
https://your base URL/files/655b590133c6bb000871662f/webiny-cms.png to
https://your base URL/apparels/mens/tshirts/red/red-mens-tshirt.png.
 File Path