File Manager > extensions
Customize File List Actions
Learn how to add, replace, or remove actions in the File List.
This feature has been available since Webiny v5.39.0.
- how to add a custom action to the File List
- how to discover existing action names
- how to change the position, remove, or replace an existing action
Overview
In File Manager, pre-built actions empower users to edit, move or delete files and folders directly from the file list table.
There are two distinct types of actions: FolderAction, which is designed specifically for folders, and FileAction, which is designed specifically for individual file entries.
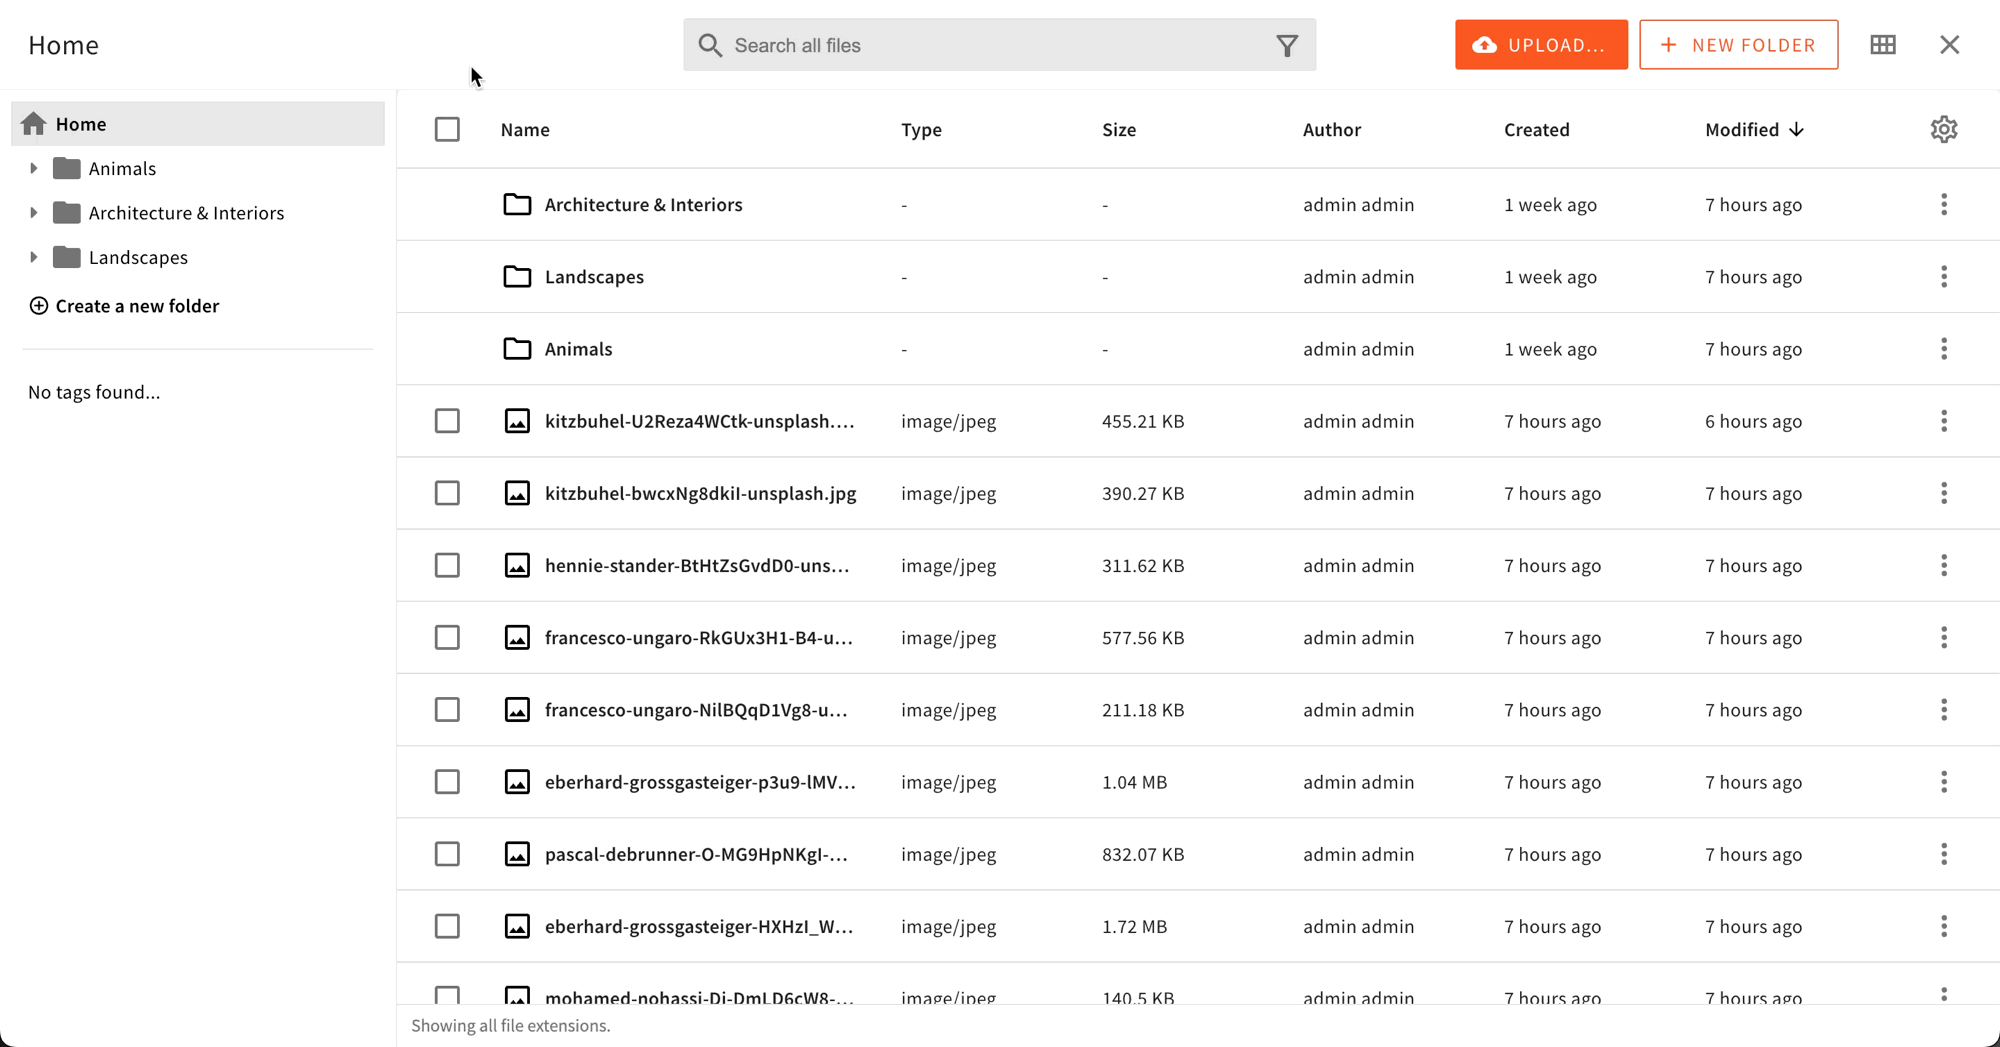 Default table actions
Using the Code Examples
The following code examples follow our usual configuration pattern. You must add the code from the examples to your apps/admin/src/App.tsx. Here’s an example:
Folder Actions
Add a Folder Action
To add a new action, use the Browser.FolderAction component and mount it within your Admin app. This component will serve as the foundation for your action.
To help developers keep the UI consistent, you’ll find a handy OptionsMenuItem component, inheriting UI rules and guidelines from the Webiny core package.
Here is an example of creating a folder action component that copies the selected folder to the clipboard in JSON format.
You can pass the custom component to the folder action definition using the element prop.
This is the whole process of registering a new folder action element.
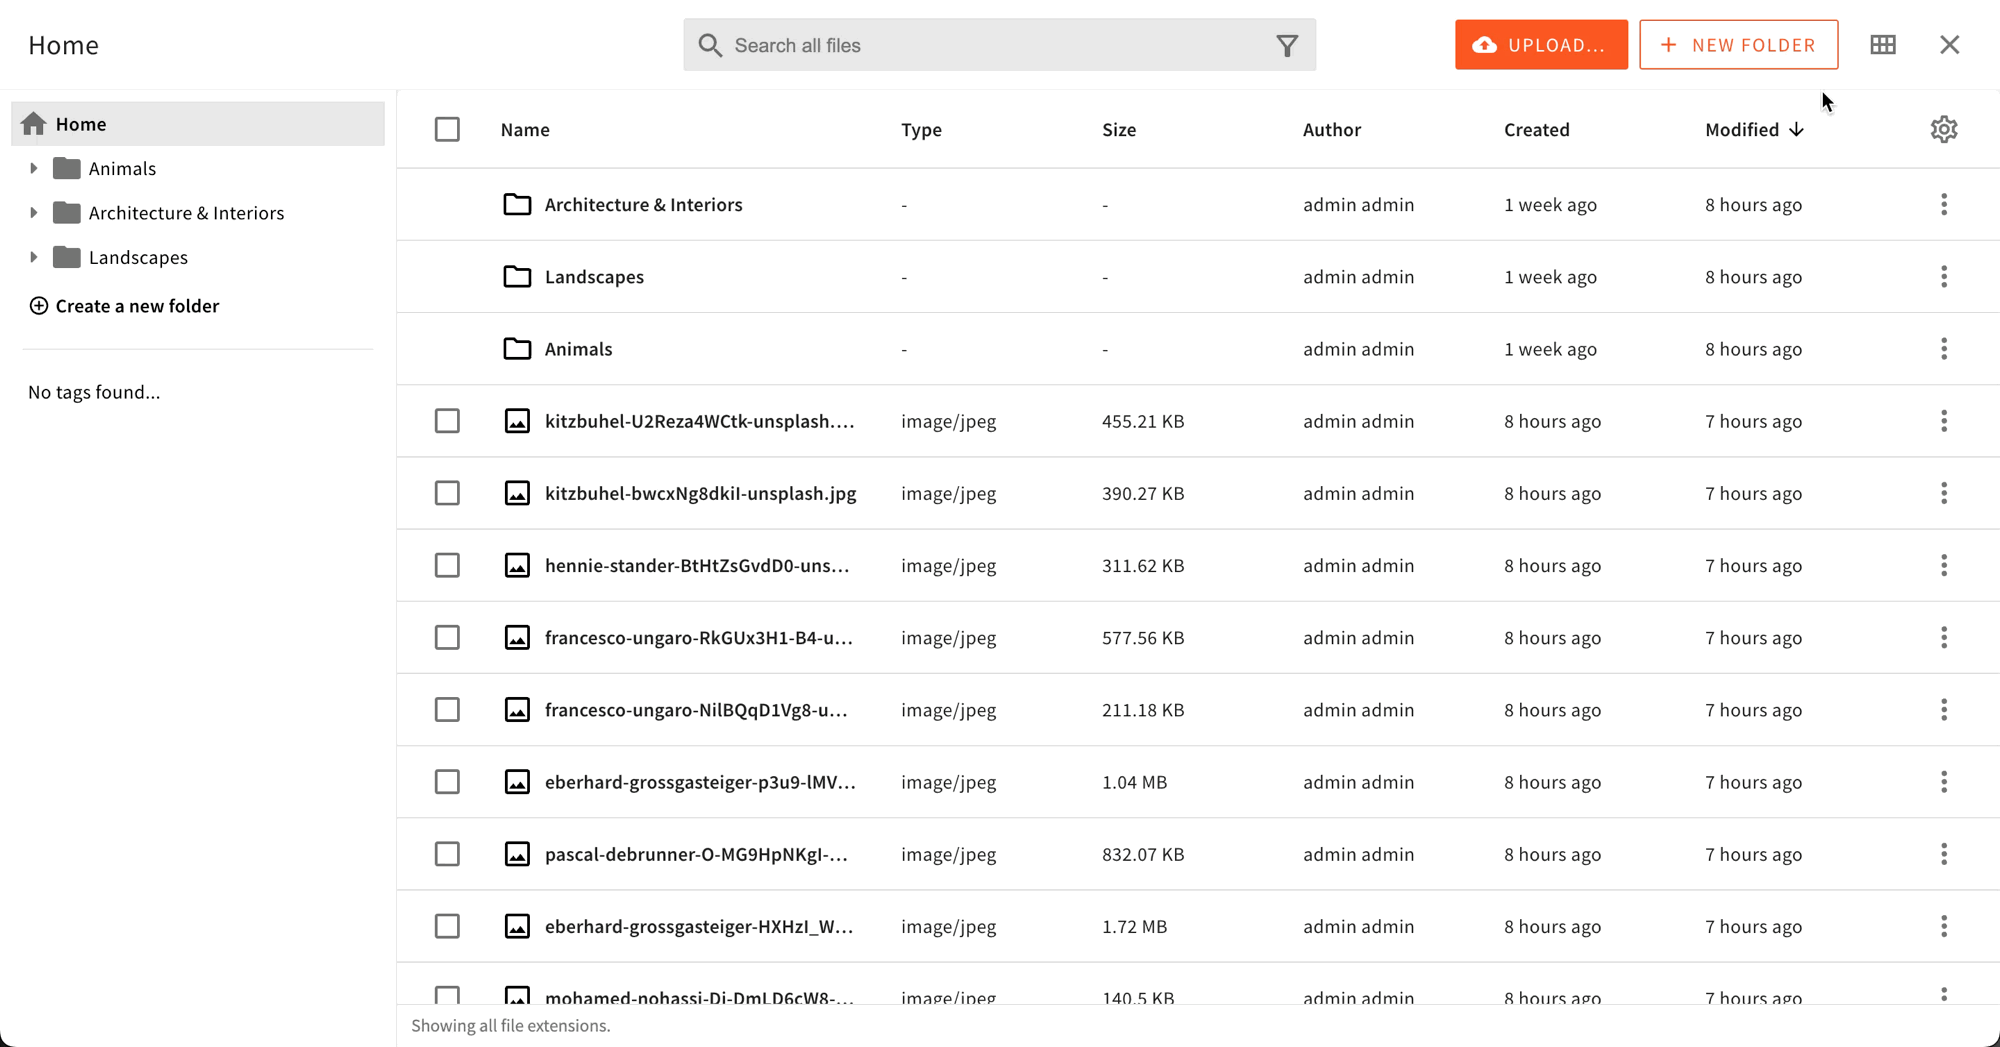 Custom Folder Action
Discover Folder Actions
This section demonstrates how you can discover the names of existing folder actions. This is important for further sections on positioning, removing, and replacing existing actions.
The easiest way to discover existing folder actions is to use your browser’s React Dev Tools plugins and search for the BaseFolderAction:
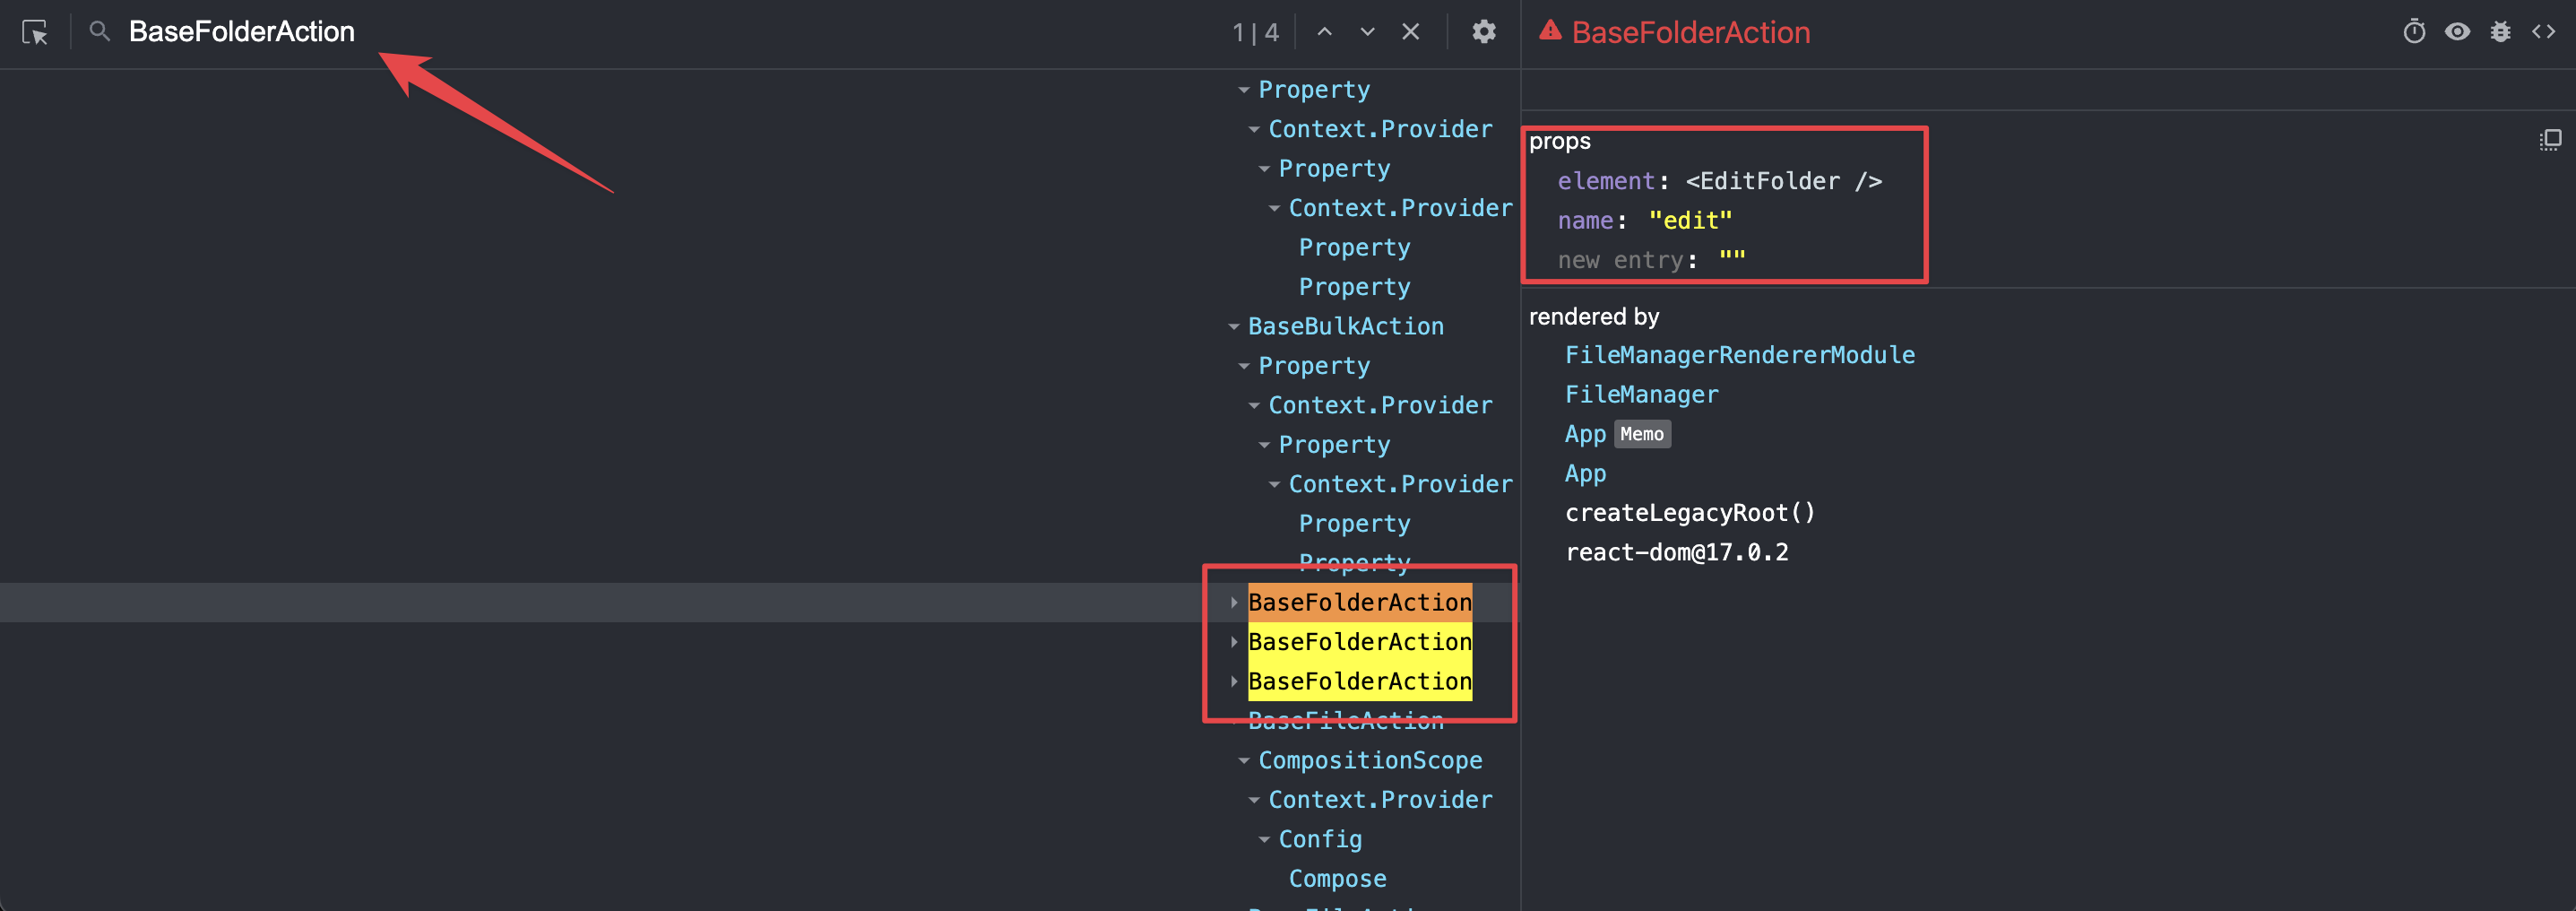 Discover Existing Folder Actions
Position a Folder Action
To position your custom folder action before or after an existing action, you can use the before and after props on the <Browser.FolderAction> element:
 Position Your Action Before Another Action
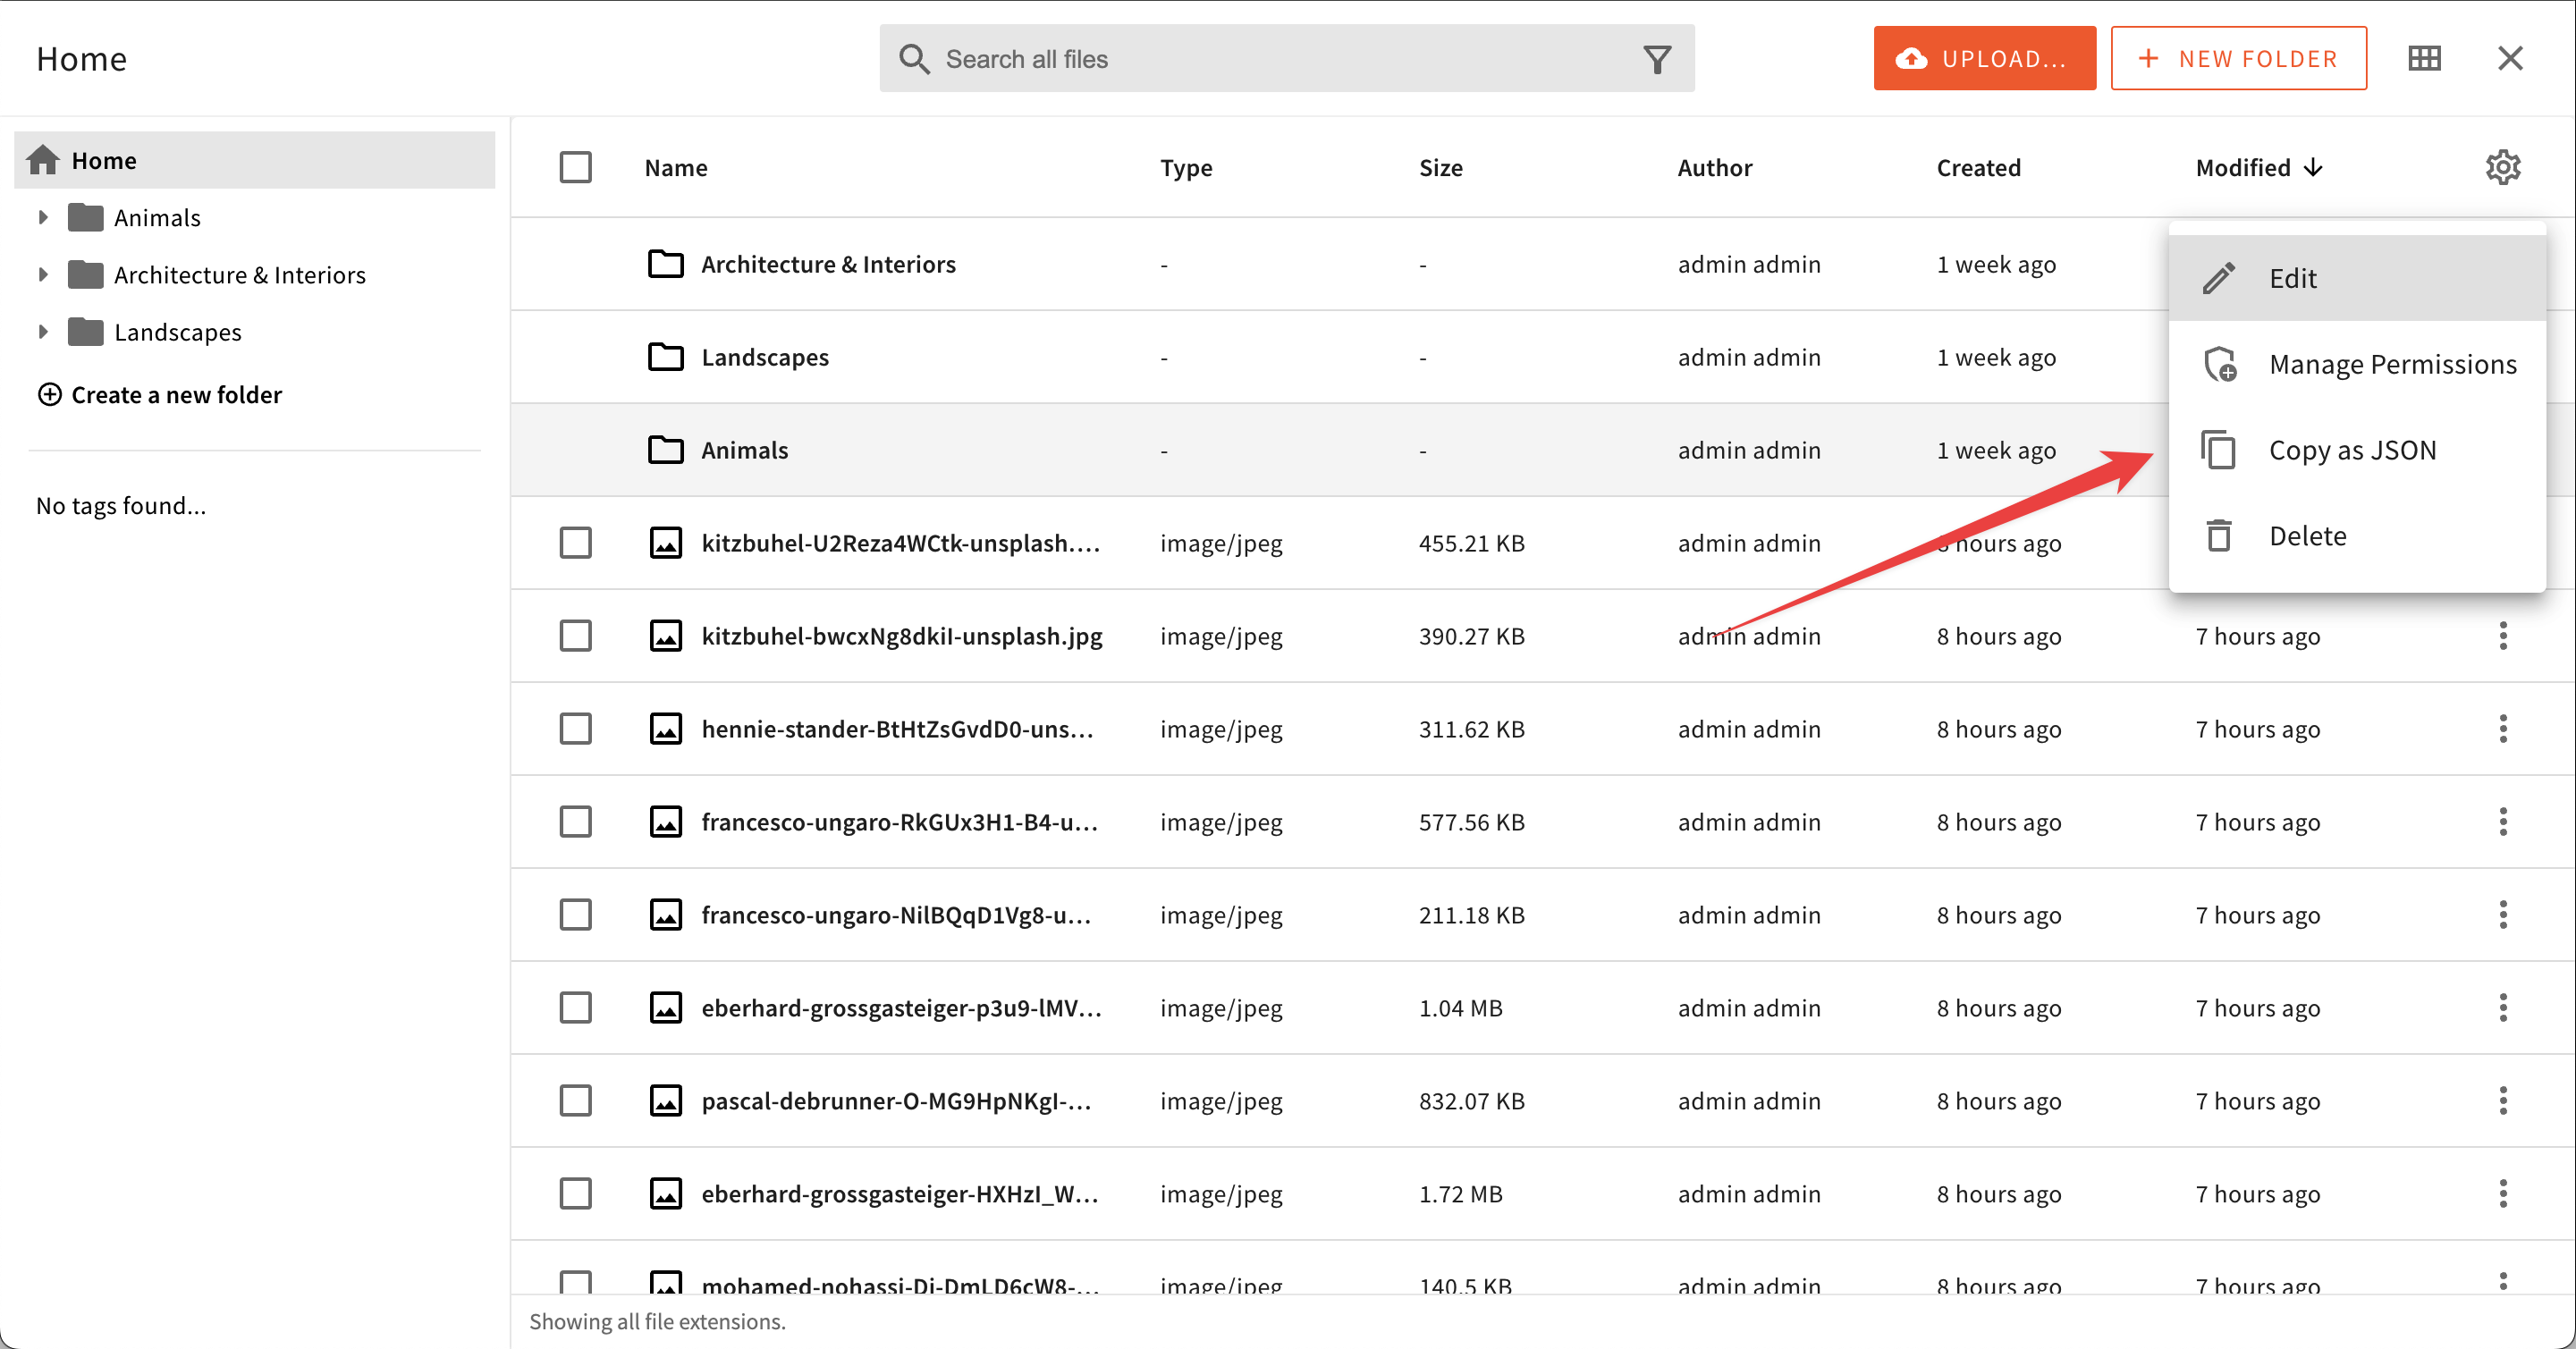
Remove a Folder Action
You may want to remove an existing action. All you need to do is reference the action by name and pass a remove prop to the <Browser.FolderAction> element:
Replace a Folder Action
To replace an existing action with a new action element, you need to reference an existing action by name and pass a new component via the element prop:
File Actions
Add a File Action
To add a new action, use the Browser.FileAction component and mount it within your Admin app. This component will serve as the foundation for your action.
To ensure consistency in the UI, developers can use two components that inherit rules and guidelines from the Webiny core package:
OptionsMenuItem: triggers a defined actionOptionsMenuLink: takes the user to a new location, such as a new web page
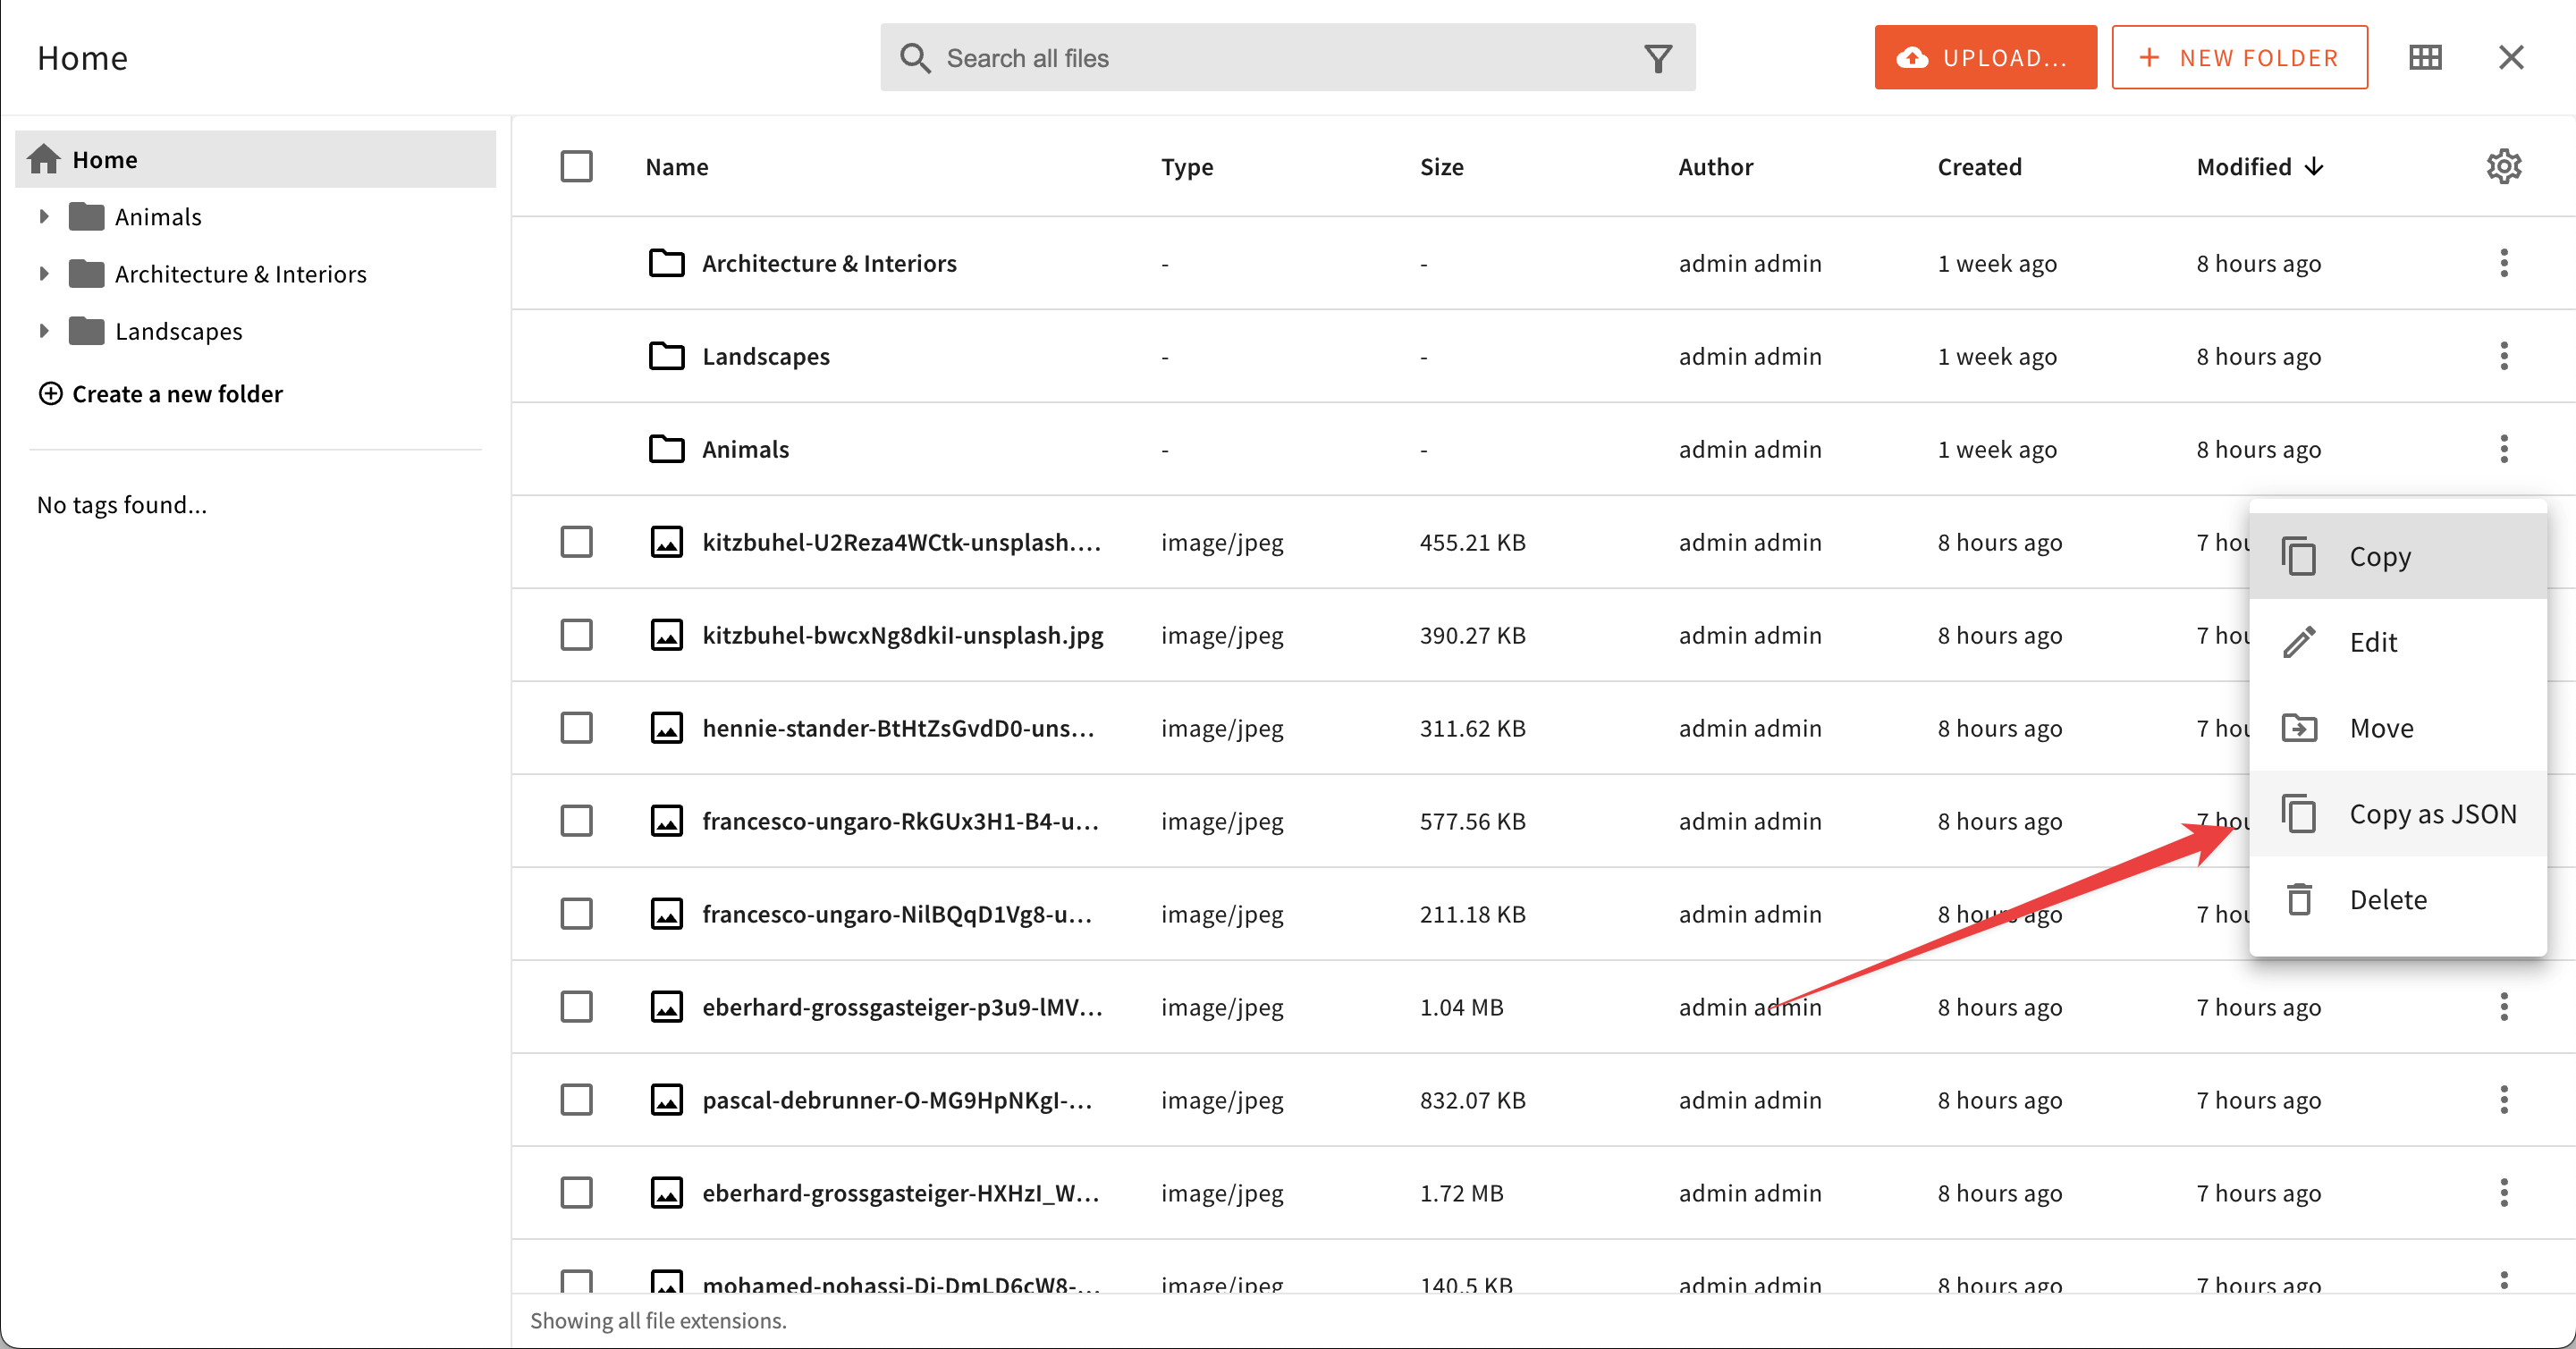
Here is an example of creating a file action component that copies the selected file to the clipboard in JSON format.
You can pass the custom component to the file action definition using the element prop.
This is the whole process of registering a new file action element.
 Custom File Action
Discover File Actions
This section demonstrates how you can discover the names of existing file actions. This is important for further sections on positioning, removing, and replacing existing actions.
The easiest way to discover existing file actions is to use your browser’s React Dev Tools plugins and search for the BaseFileAction:
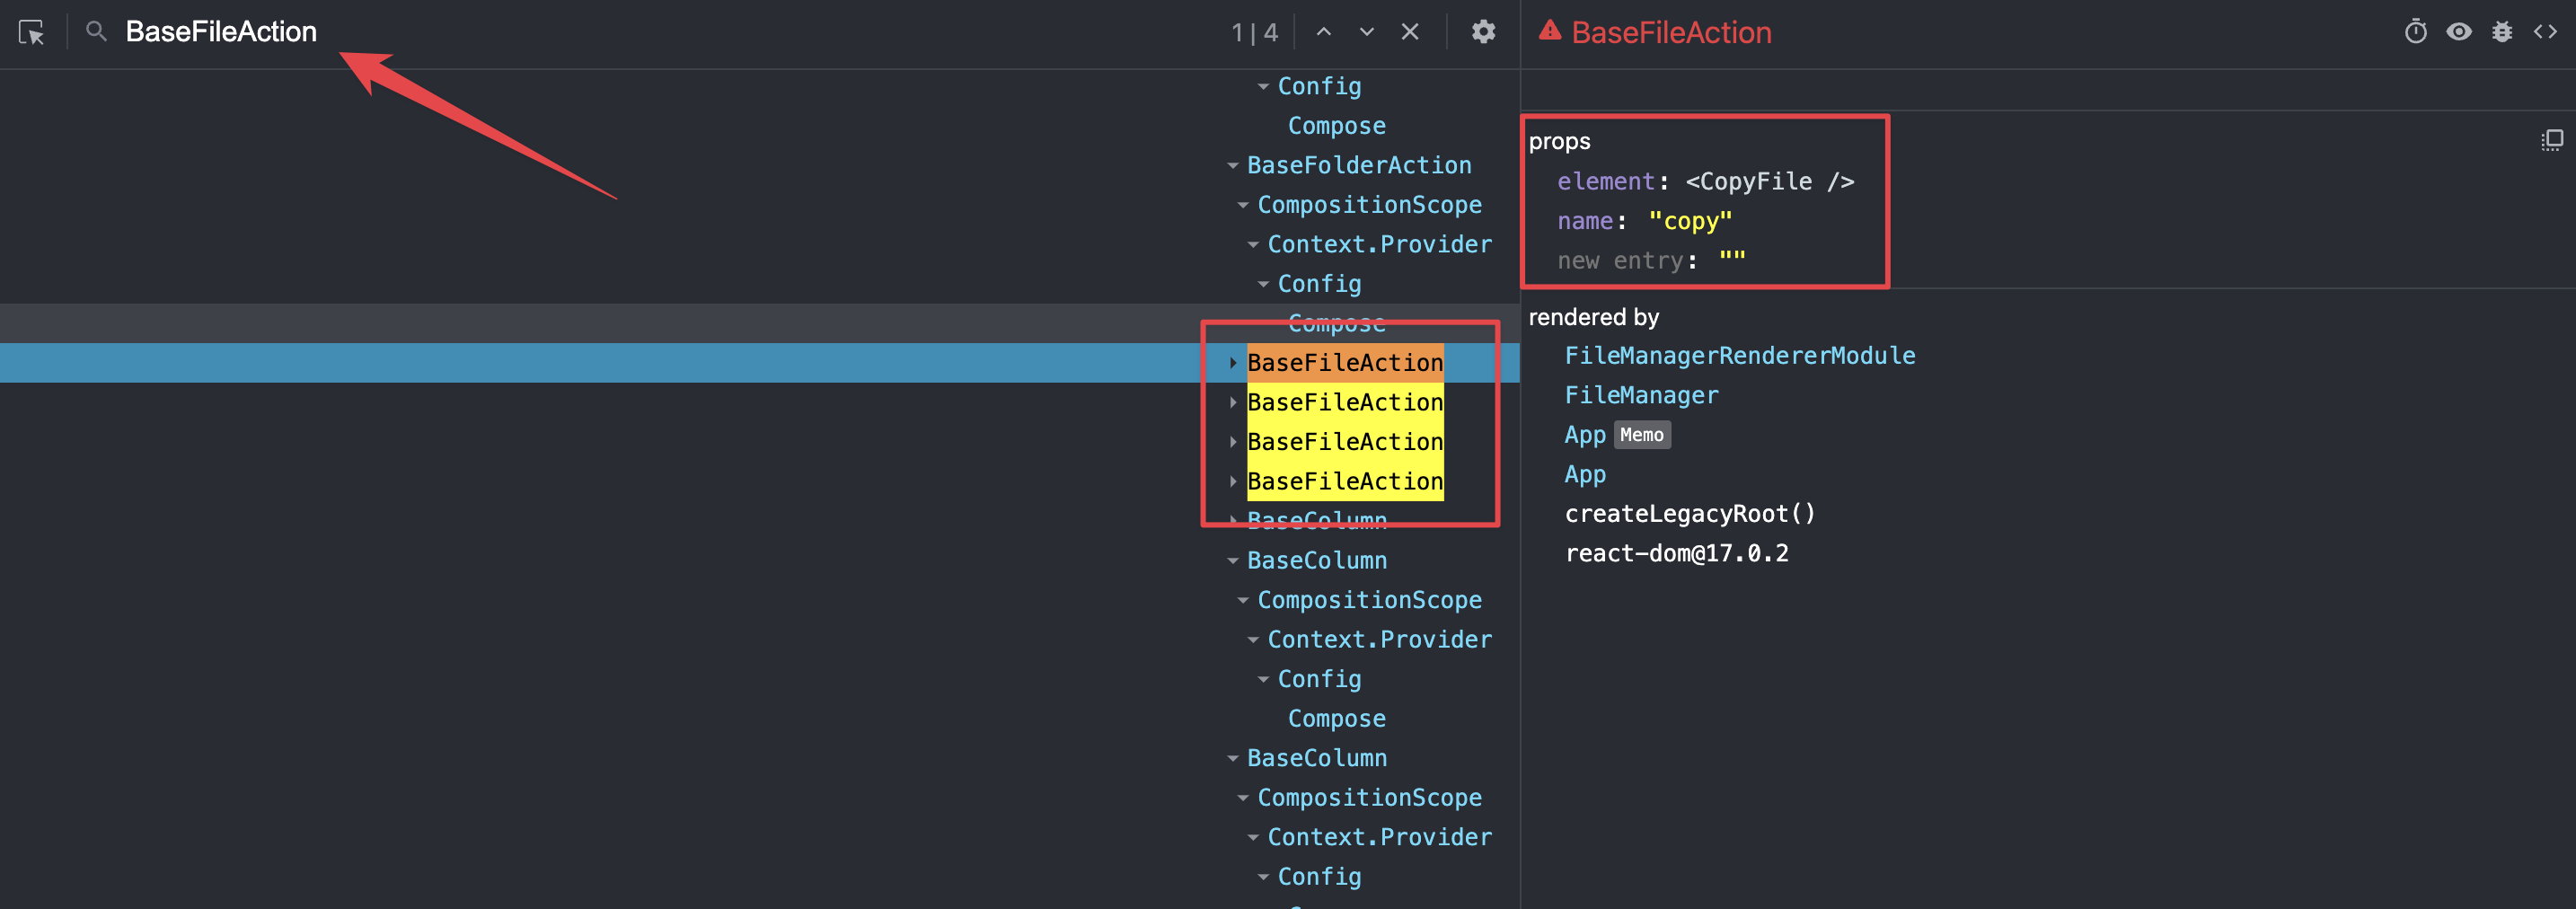 Discover Existing File Actions
Position a File Action
To position your custom file action before or after an existing action, you can use the before and after props on the <Browser.FileAction> element:
 Position Your Action Before Another Action
Remove a File Action
You may want to remove an existing action. All you need to do is reference the action by name and pass a remove prop to the <Browser.FileAction> element:
Replace a File Action
To replace an existing action with a new action element, you need to reference an existing action by name and pass a new component via the element prop: