Infrastructure > Additional Resources
Connect Custom Domain
Learn how to connect custom domain to your application in a Webiny project.
- how to connect custom domain to your project application
Introduction
By default, both Admin Area (apps/admin) and Website (apps/website) React applications are accessible via a CloudFront URL.
This is fine for development purposes, however, for the production environment you will most likely need a custom domain for those applications.
This is because custom domains are human-readable, easy to remember, and good for branding.
In this guide, we show how to connect a custom domain to the Website (apps/website) React application,
however, the same steps can be used for connecting it to the Admin Area (apps/admin) React application.
Before We Begin
Before starting with this guide, make sure to do the following:
- Register the domain name with the domain provider of your choice.
- Create a certificate using AWS Certificate Manager (ACM)
 that covers the domain name you plan to use with the distribution to validate that you are authorized to use the domain.
You can also import an existing certificate into ACM from an authorized certificate authority (CA).
that covers the domain name you plan to use with the distribution to validate that you are authorized to use the domain.
You can also import an existing certificate into ACM from an authorized certificate authority (CA).
Learn more about requesting a public certificate using AWS Certificate Manager (ACM) in the official AWS documentation article.
Read more about requirements for using alternate domain names in the official AWS documentation article.
Add Alternate Domain for CloudFront Distribution
As the first step, we need to update the CloudFormation distribution for the Website application via the Pulumi code in
apps/website/pulumi/delivery.ts project application:
We only need to update these two options:
viewerCertificate: the SSL configuration for this distribution.aliases: extra CNAMEs (alternate domain names) for this distribution.
Let’s suppose we’ve registered the coolwebsite.com, and we want to use it for the Website.
So, we’ll use it as the value for aliases, for example:
In the next step, we will use the certificate that we previously created. To use that SSL certificate in this distribution, we need to add the following:
acmCertificateArn: the ARN of the AWS Certificate Manager certificate that you wish to use with this distribution. The ACM certificate must be inus-east-1region.sslSupportMethod: if the distribution uses Aliases (alternate domain names or CNAMEs), specify which viewers the distribution accepts HTTPS connections from.
For the sslSupportMethod, we’ll use "sni-only" – which means distribution accepts HTTPS connections from only viewers that support server name indication (SNI).
This is recommended. Most browsers and clients support SNI.
With the above change in place, deploy the Website project application, so that the new configuration is properly applied.
It’s time to move on to the last step, which is pointing our custom domain to the CloudFront Distribution.
Point Domain to CloudFront Distribution
Now that we have connected our custom domain as the alternative domain for the CloudFront URL, we also must configure the DNS service for the domain to route traffic for the domain,
such as coolwebsite.com, to the CloudFront domain name for your distribution, such as d111111abcdef8.cloudfront.net.
Use the method provided by your DNS service provider to add a CNAME record for your domain.
This new CNAME record will redirect DNS queries from your domain (for example, coolwebsite.com) to the CloudFront domain name for your distribution (for example, d111111abcdef8.cloudfront.net).
For more information, see the documentation provided by your DNS service provider.
The changes made to the DNS service might take few minutes to propagate.
You can use a service like DNS Checker to check the status of newly added CNAME record.
Finally, test the alternate domain name by visiting URLs with your domain name instead of the CloudFront domain name of your distribution:
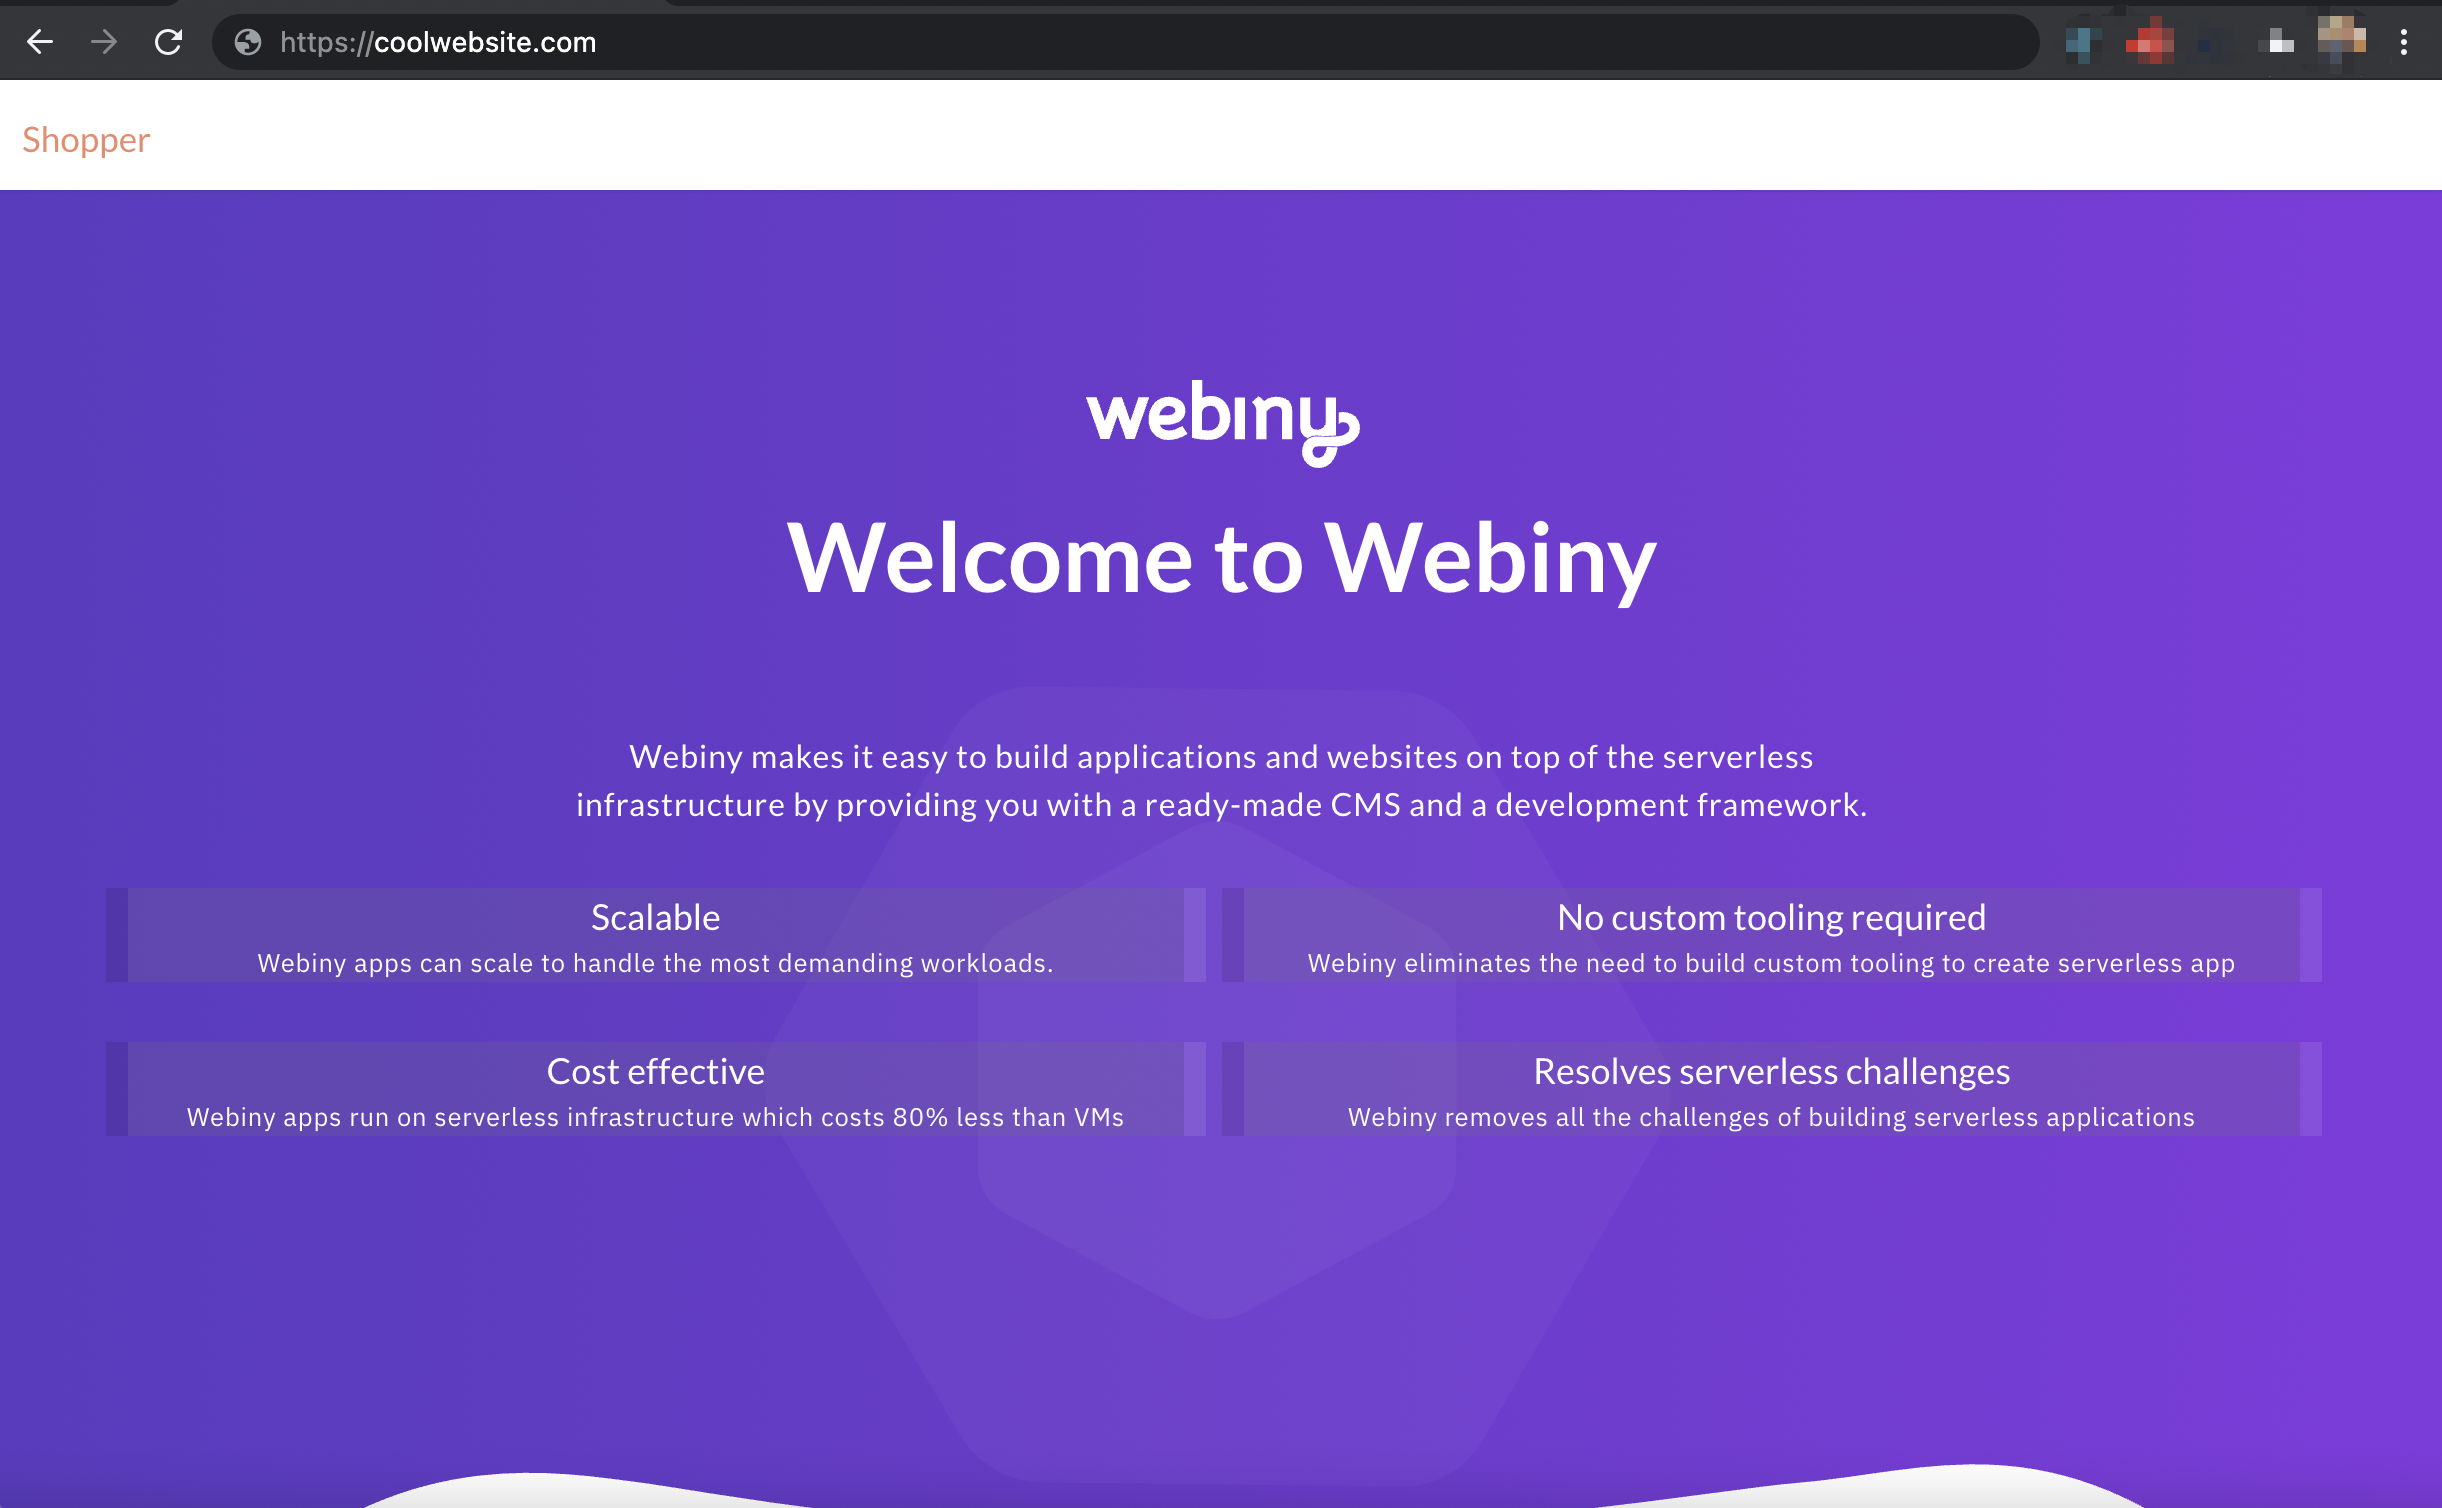 Website with custom domain