Infrastructure > AWS
Configure AWS Credentials
How to configure your AWS credentials for programmatic access
- how to configure your AWS credentials for programmatic access
- how to deploy Webiny in a more controlled and secure manner using our Deploy Webiny Project AWS CloudFormation template
This article guides you through configuring your AWS credentials for programmatic access. At the end of the tutorial, you will have your API keys and region configured to successfully deploy Webiny to your AWS cloud.
If you prefer the video version, check out our YouTube video below:
Step 1: Create Your AWS Account
In that case skip to step 2 to create your programmatic user.
To create your AWS account and set up your IAM credentials we should first navigate to the AWS Console page :
:
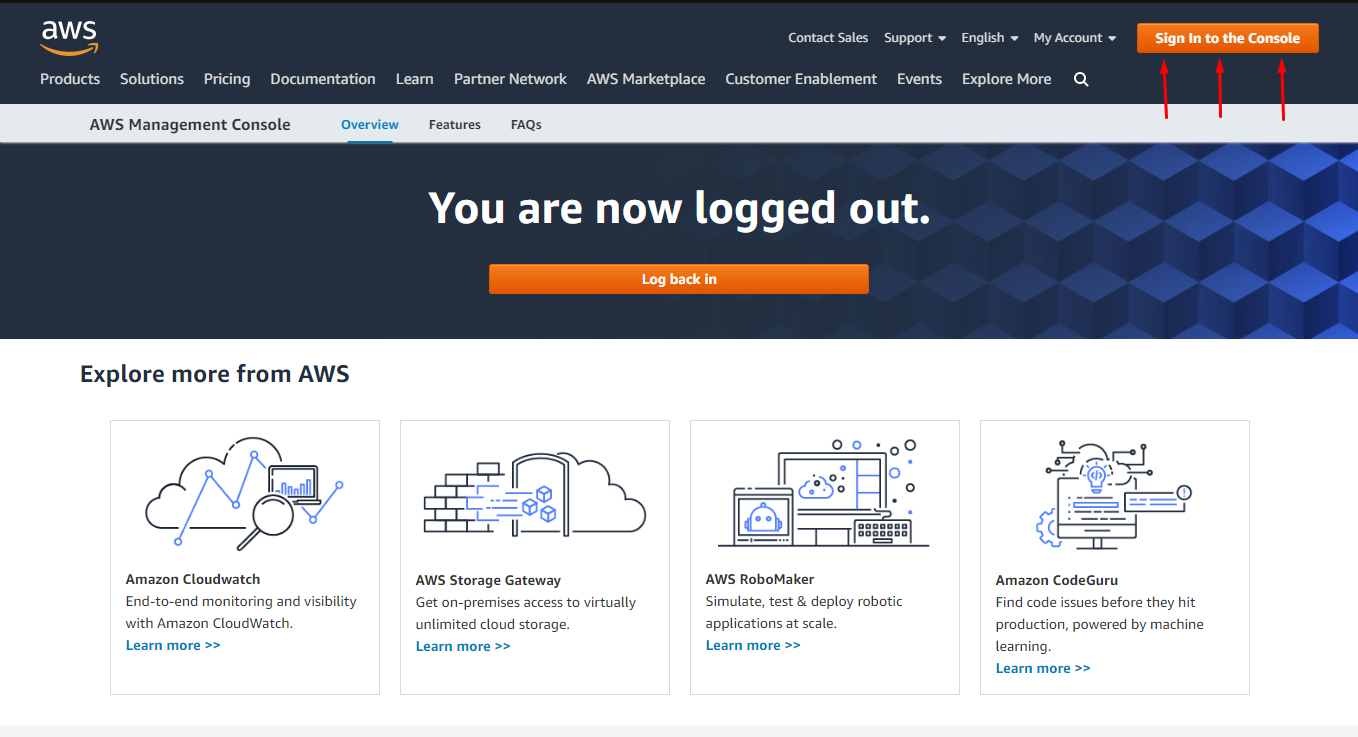 aws-sign-in
Next click on Create a new AWS account:
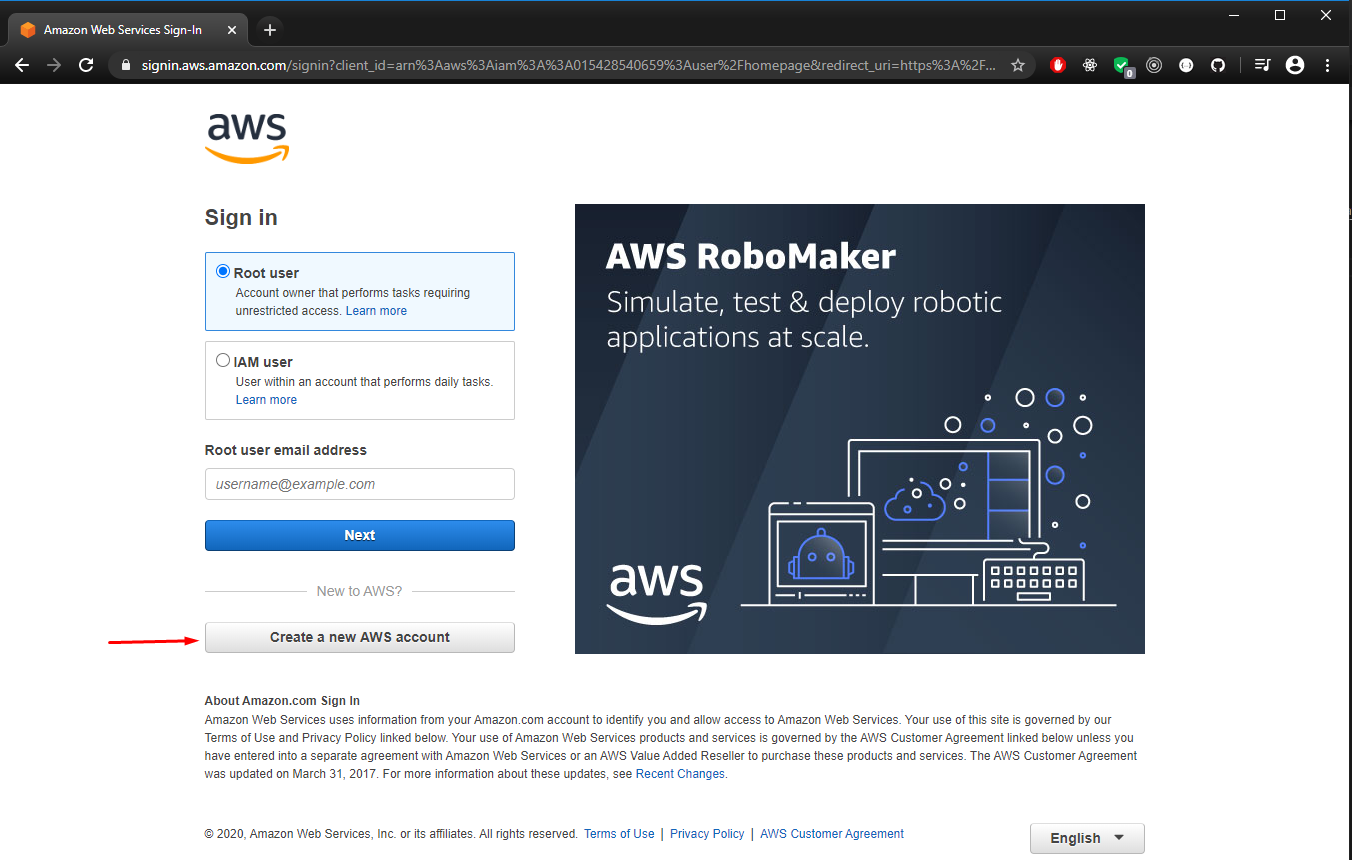 aws-login
Now input your credentials and create your account:
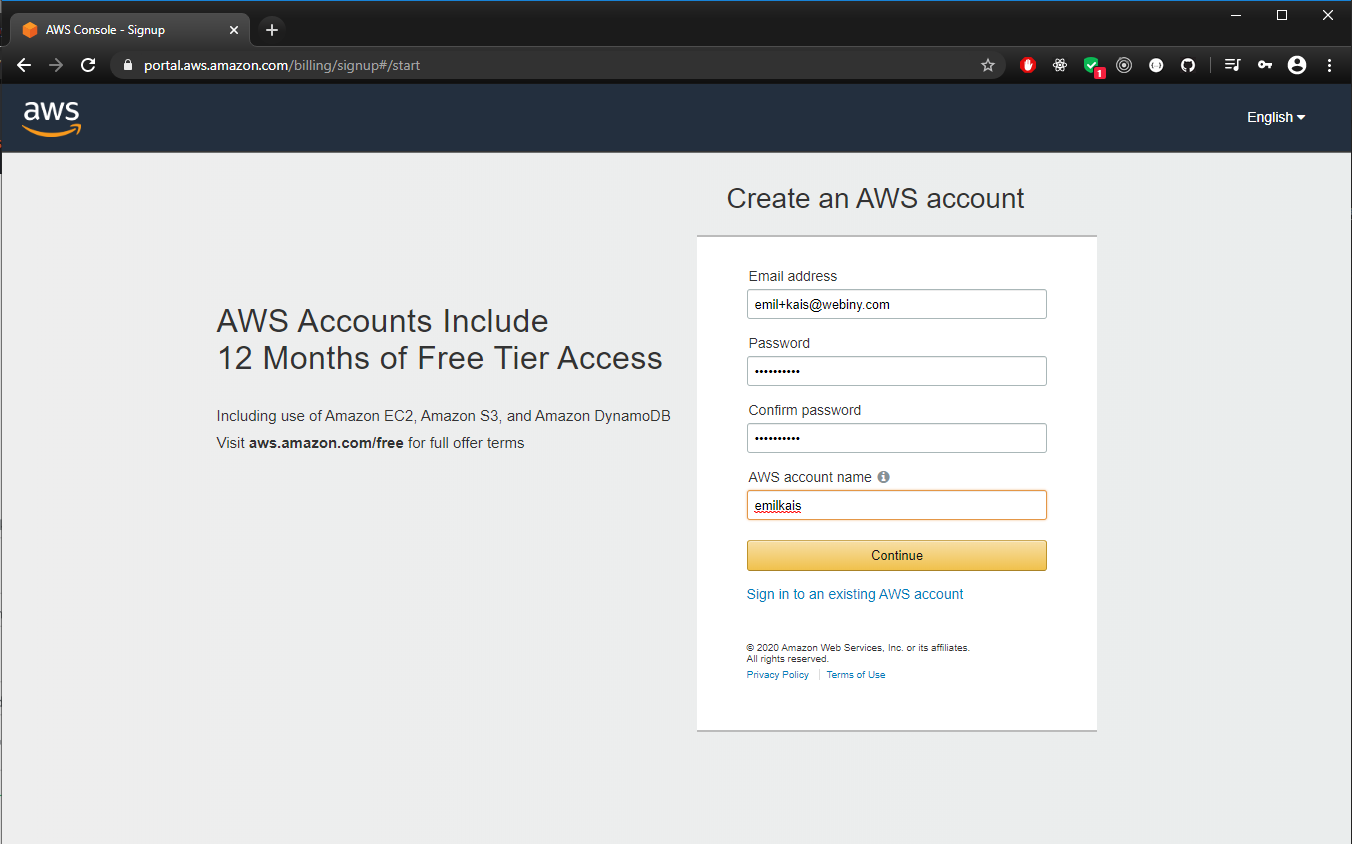 aws-register
Step 2: Create a User for Programmatic Access
Once you’re registered, login and head to the AWS Management Console and select IAM under Security, Identity & Compliance:
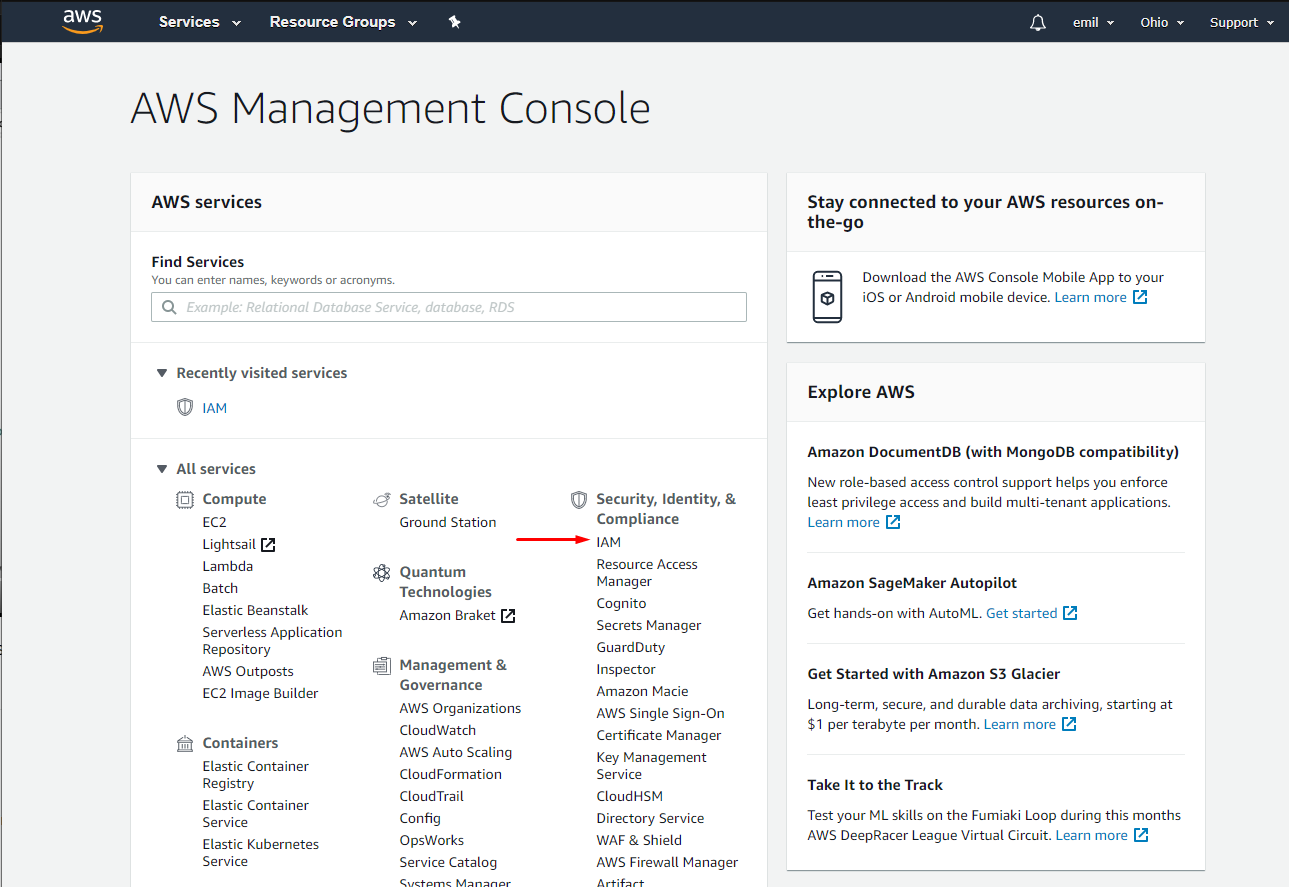 aws-iam-selection
Click on IAM and select Users under Access Management:
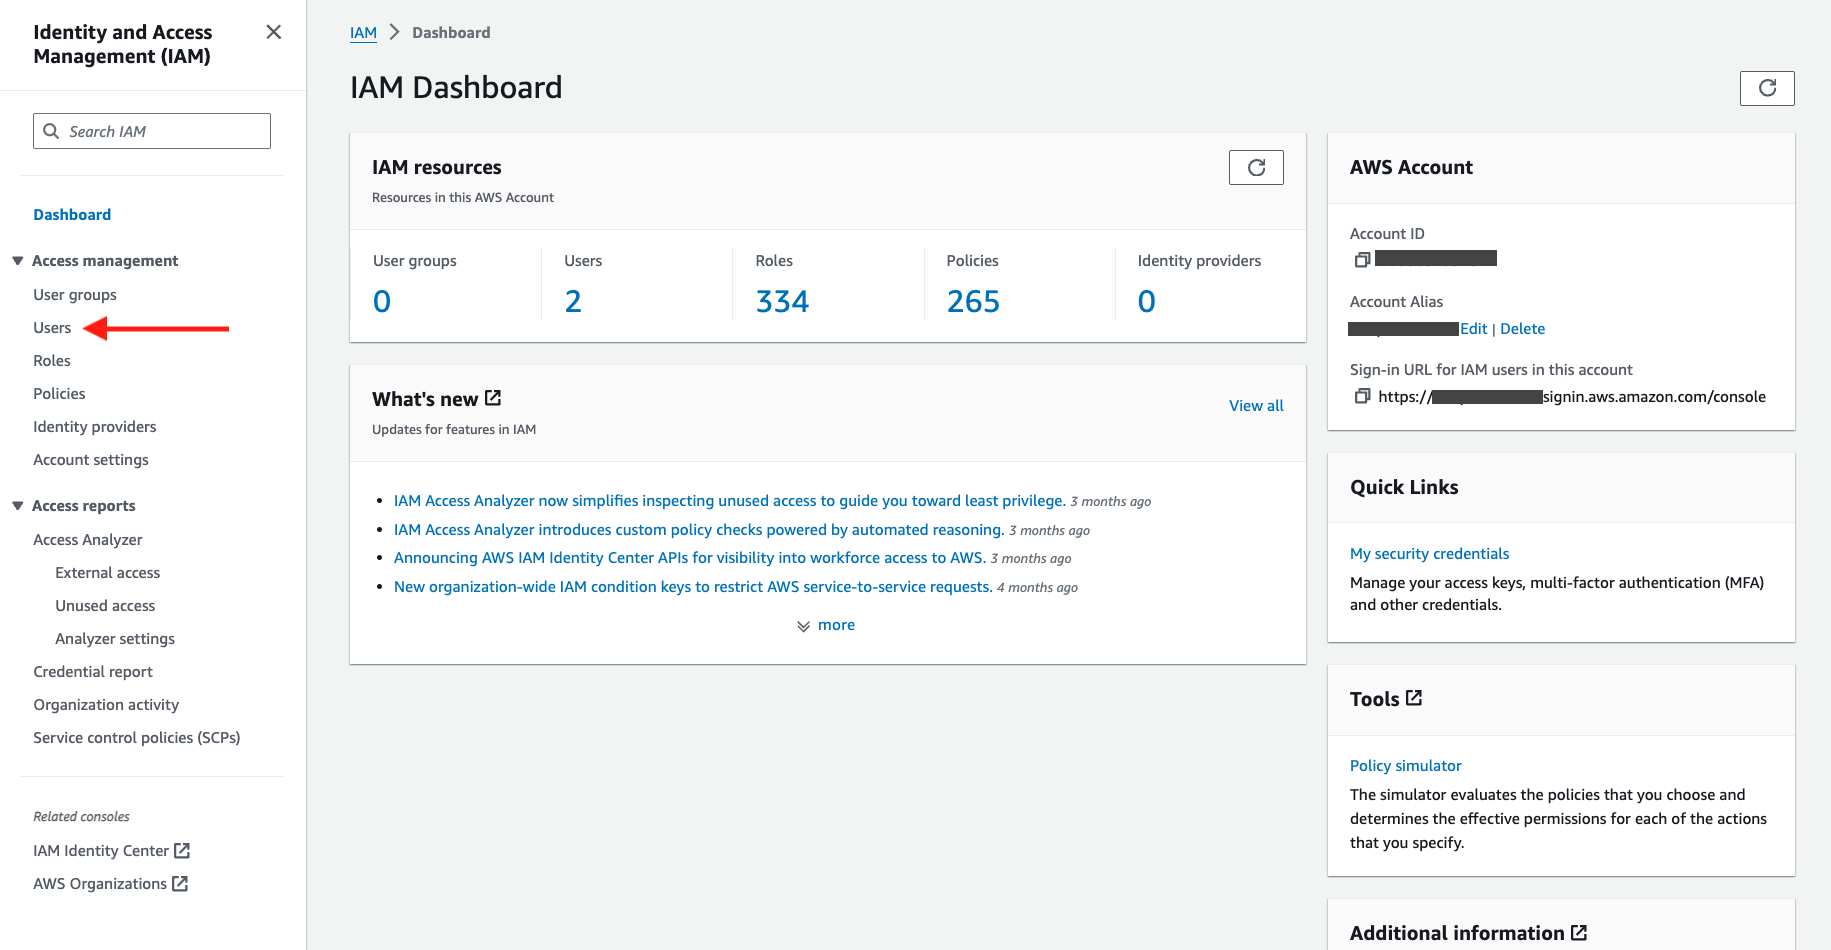 aws-iam-users
Click on Create user to create the account with the IAM credentials:
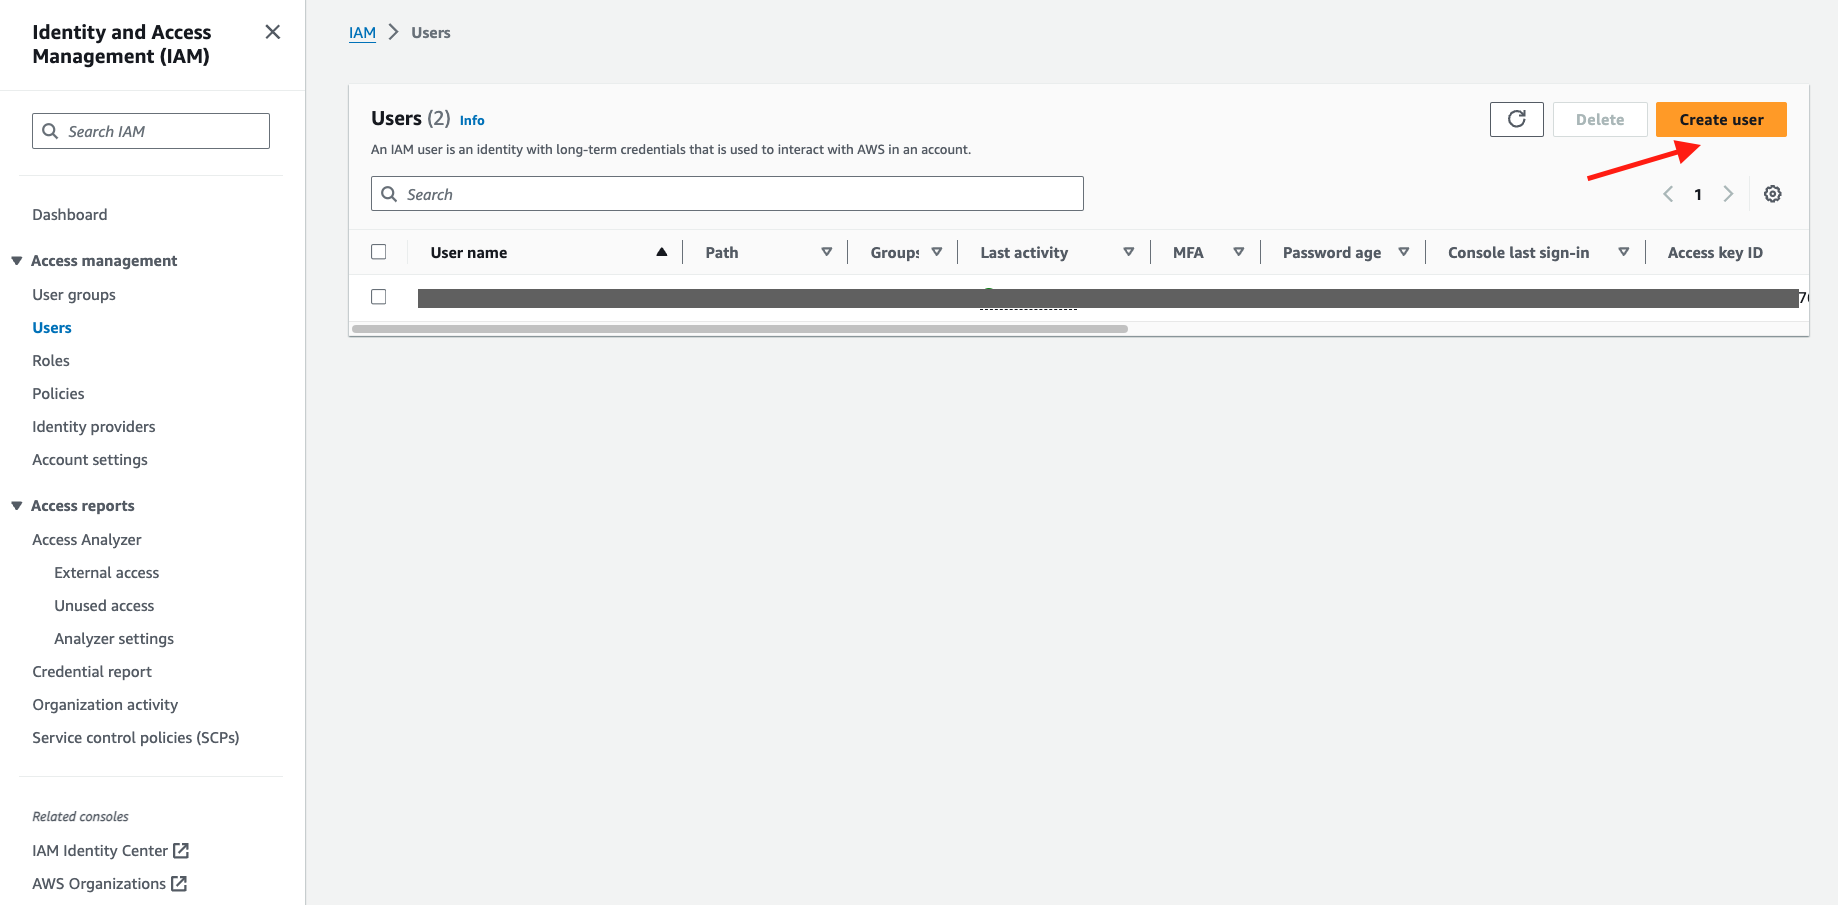 aws-create-user
Here you enter a multi-step process, and the first step is to create a User name for the credentials.
Make sure to select the Programmatic access checkbox before moving to the next step.
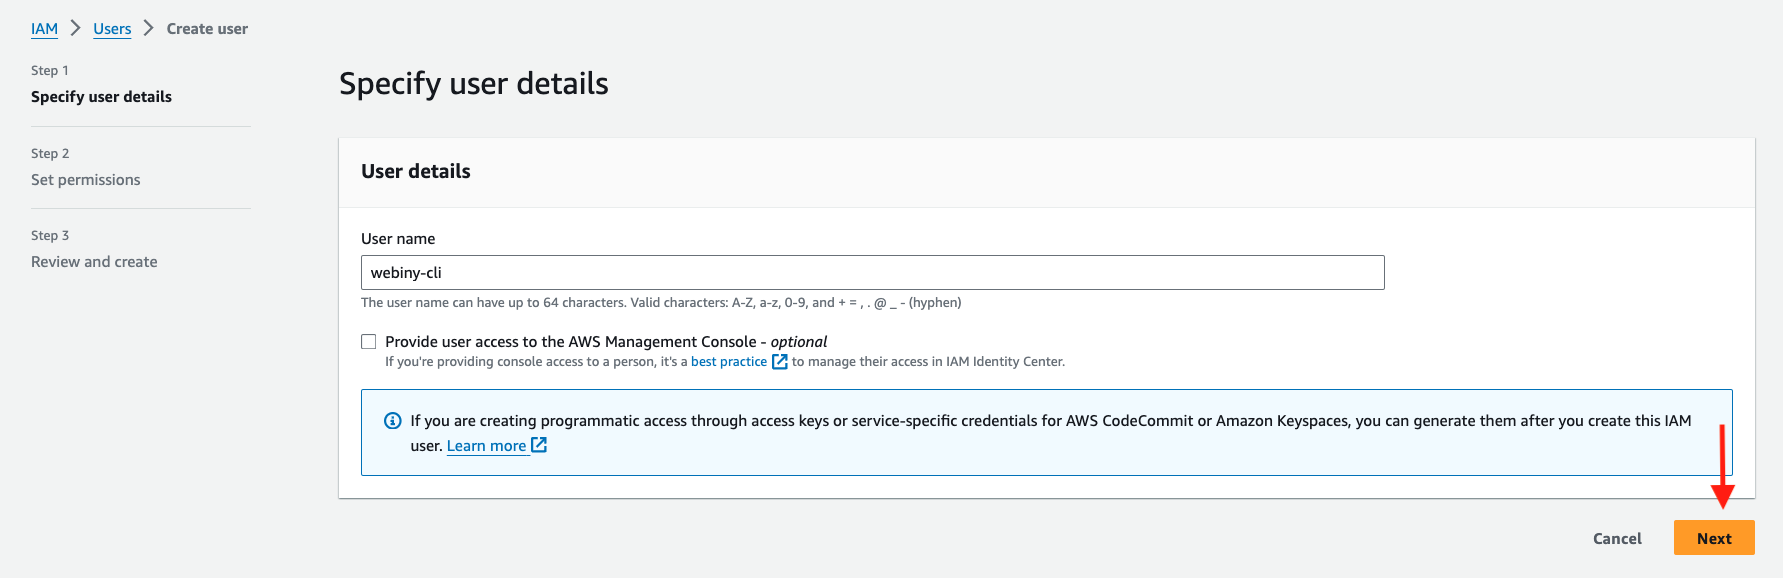 aws-user-details
In the next step, you define the access level for the new user. Select Attach existing Policies from the three options available. Then, choose the AdministratorAccess policy by checking the checkbox next to it. When you’re ready, click the Next button.
In case your organization cannot use the AdministratorAccess policy or you need to have a more strictly defined set of permissions,
please see the “Deploy Webiny Project” AWS CloudFormation Template section.
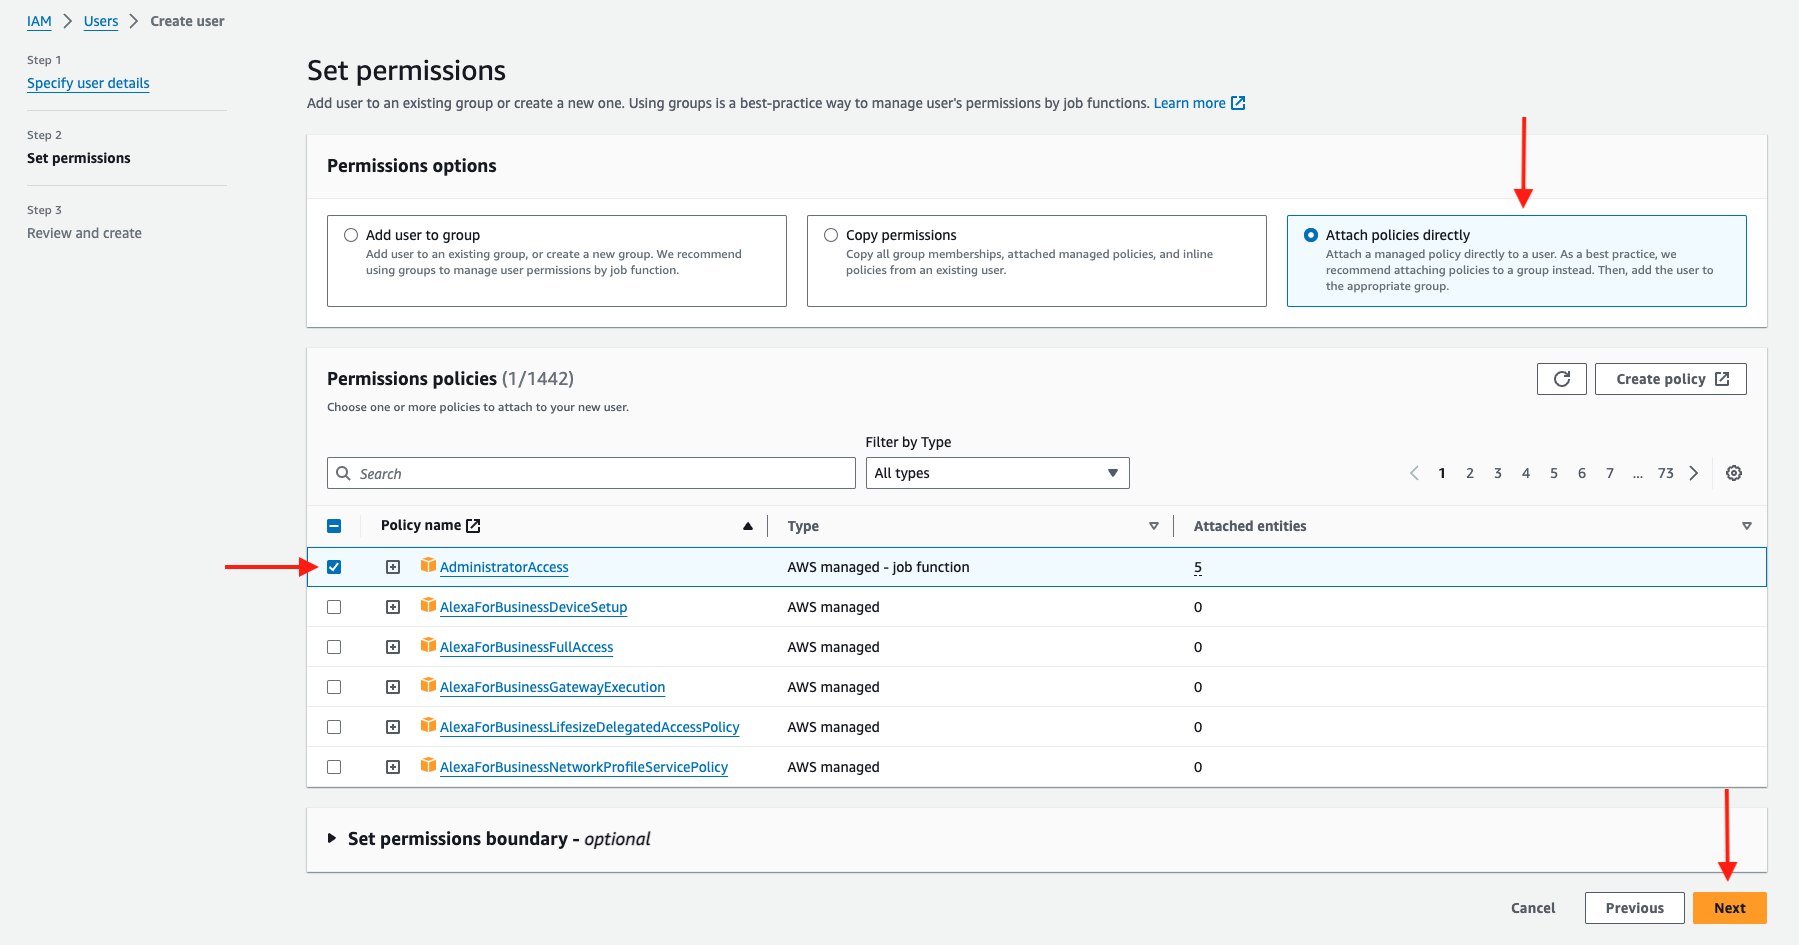 aws-user-permissions
Once all the steps are complete, you’ll reach the Review and create page, which should look similar to image below. If everything is correct, click the Create user button.
You can also add tags to new users. If you don’t want to add any tags to your new user, you can simply click the Create user button.
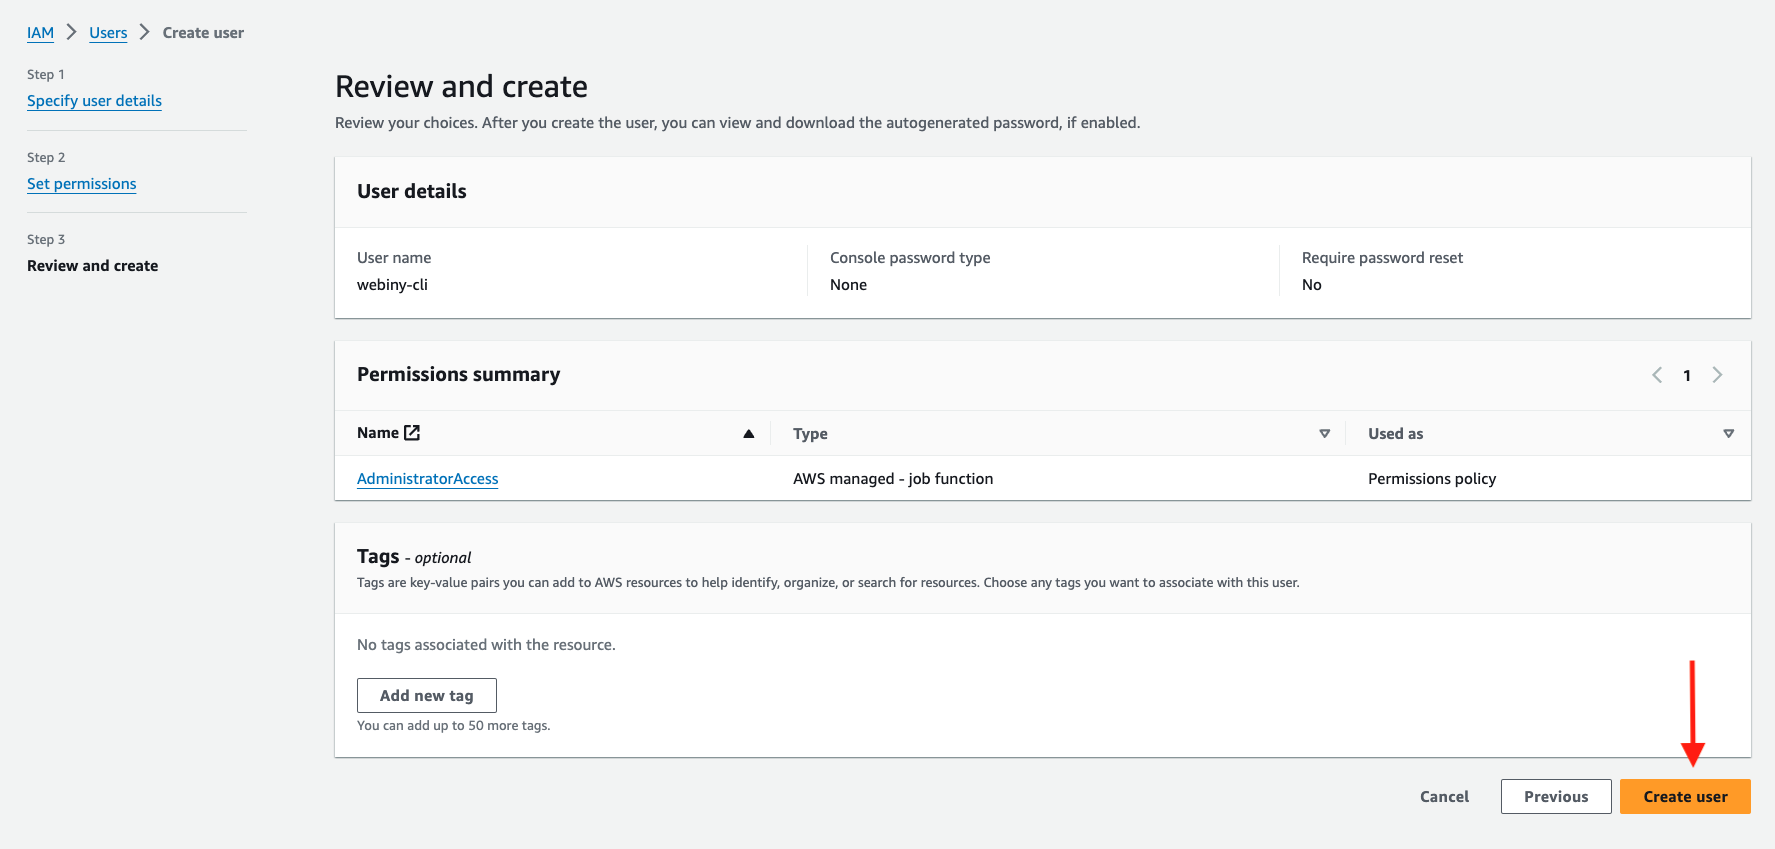 aws-user-review
Once the user is created, you will receive a success message: “User created successfully.” Now, we will proceed to create the Access key for this new user.
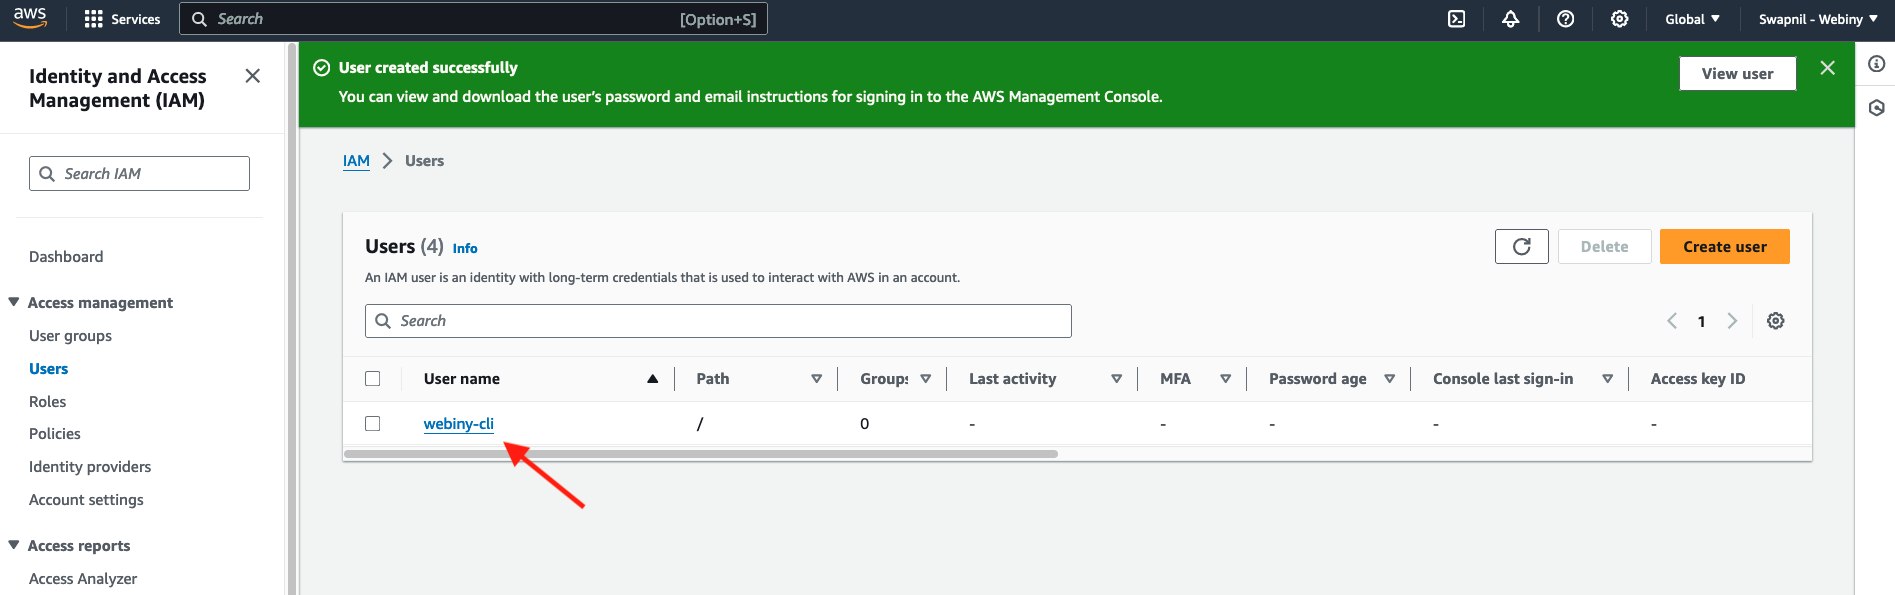 aws-new-user-created-successfully
Click on the newly created user from the Users home page. This will display the user details page. Next, click on the Create access key link.
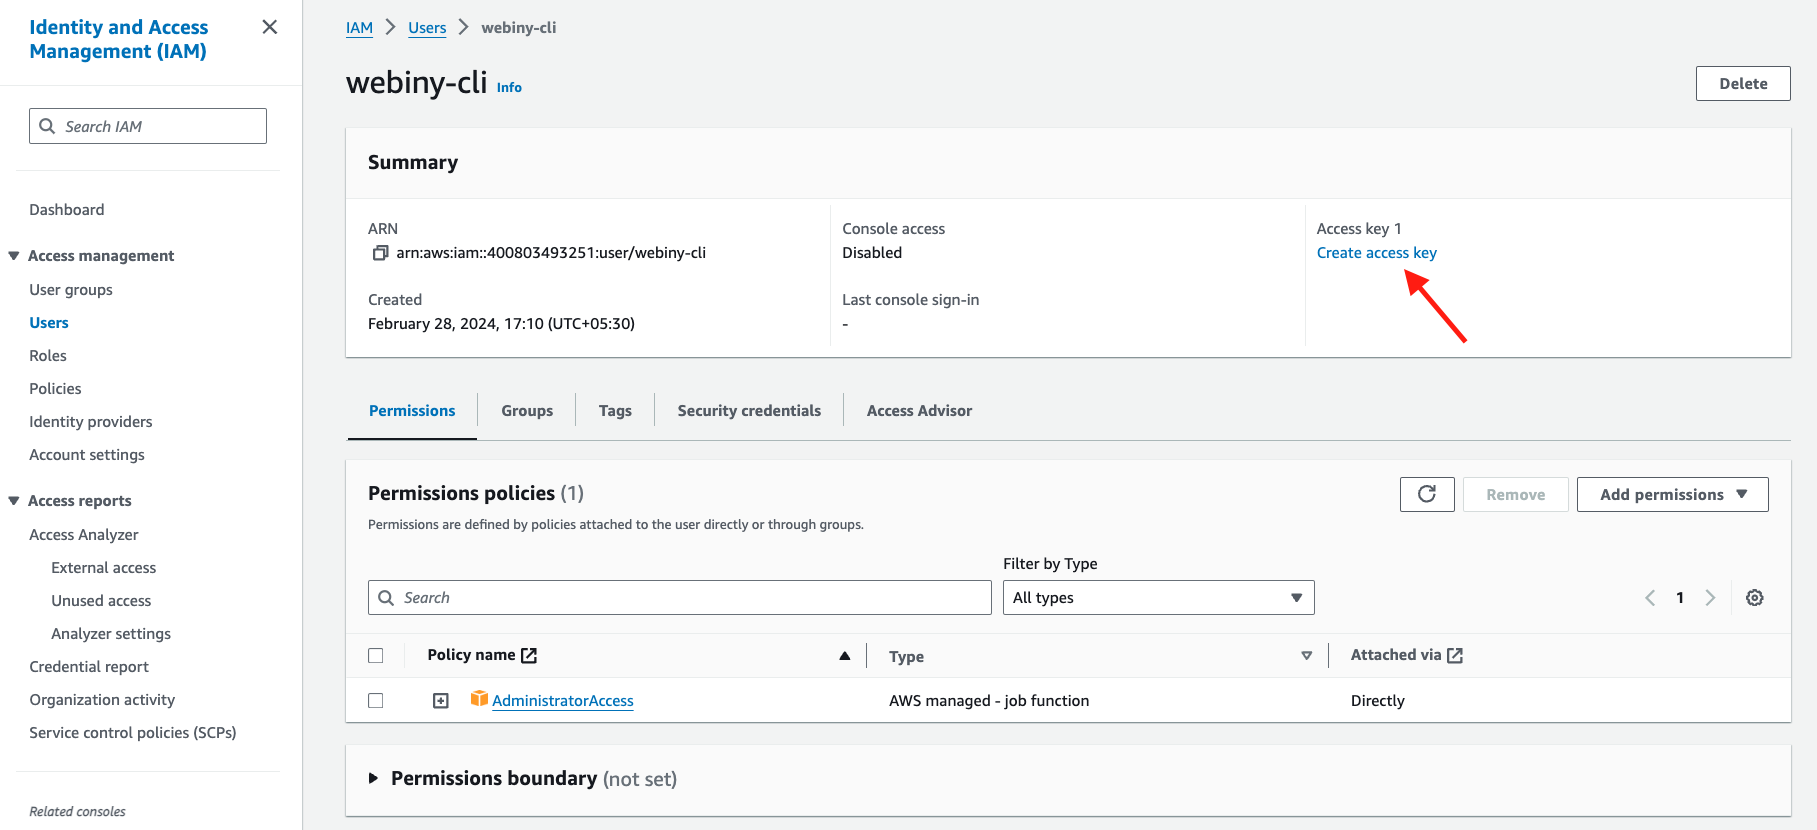 access-key-creation
Select the Command Line Interface (CLI) option, and check the I understand the above recommendation and want to proceed to create an access key confirmation box at the end. Then, click the Next button.
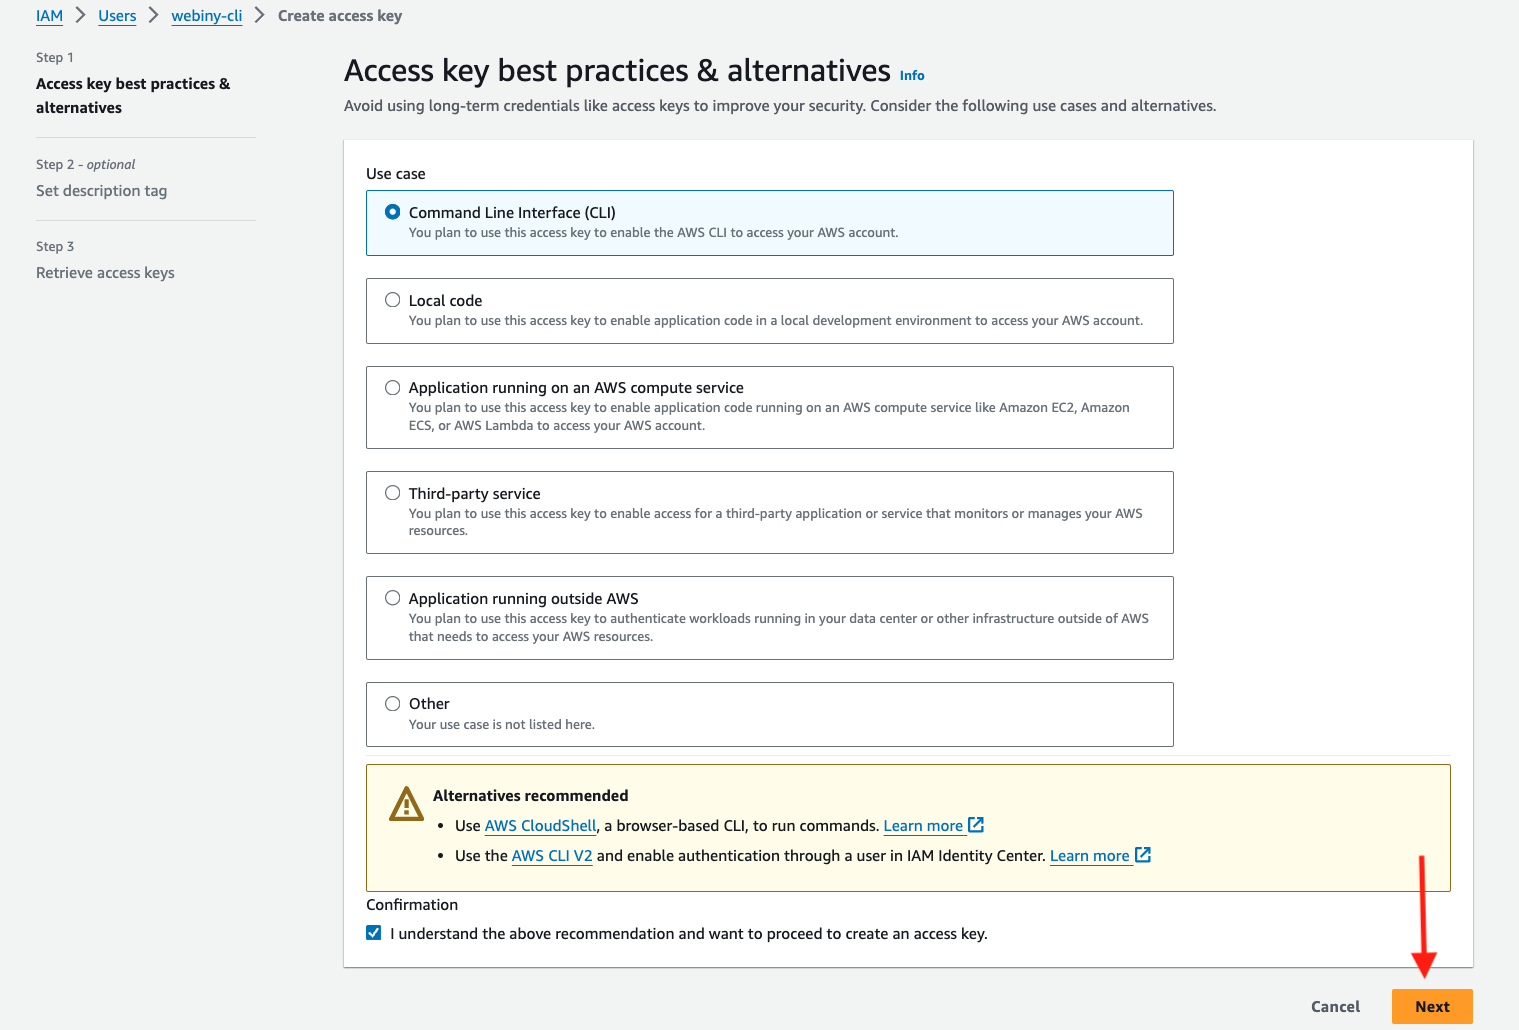 access-key-use-case
The next step is optional, where you can set the description tag. Click the Create access key button.
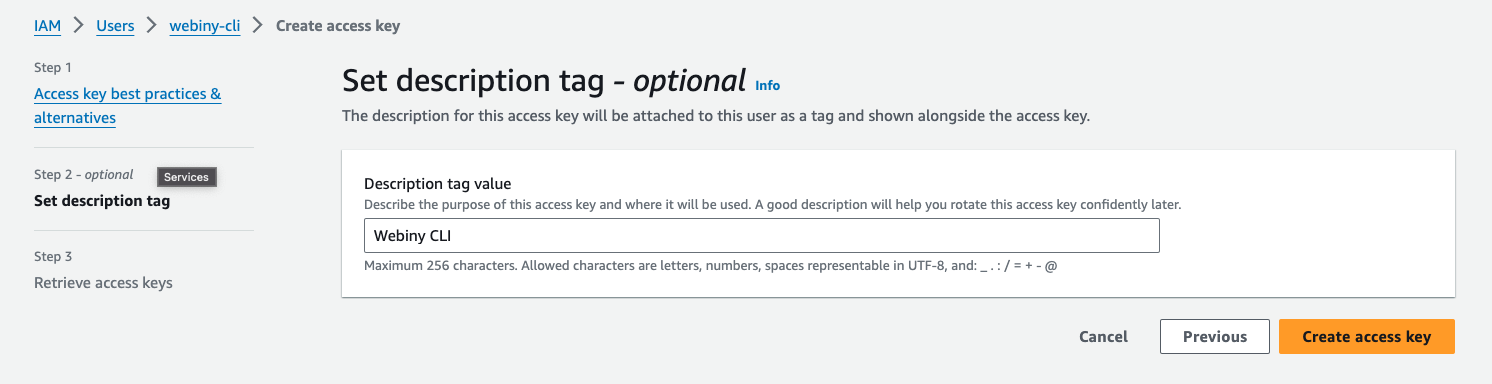 set-description-tag
On successful creation of the Access key, you will see a message: Access key created.
This is the only time that the secret access key can be viewed or downloaded. You cannot recover it later. However, you can create a new access key any time. Copy this Access key and Secret access key.
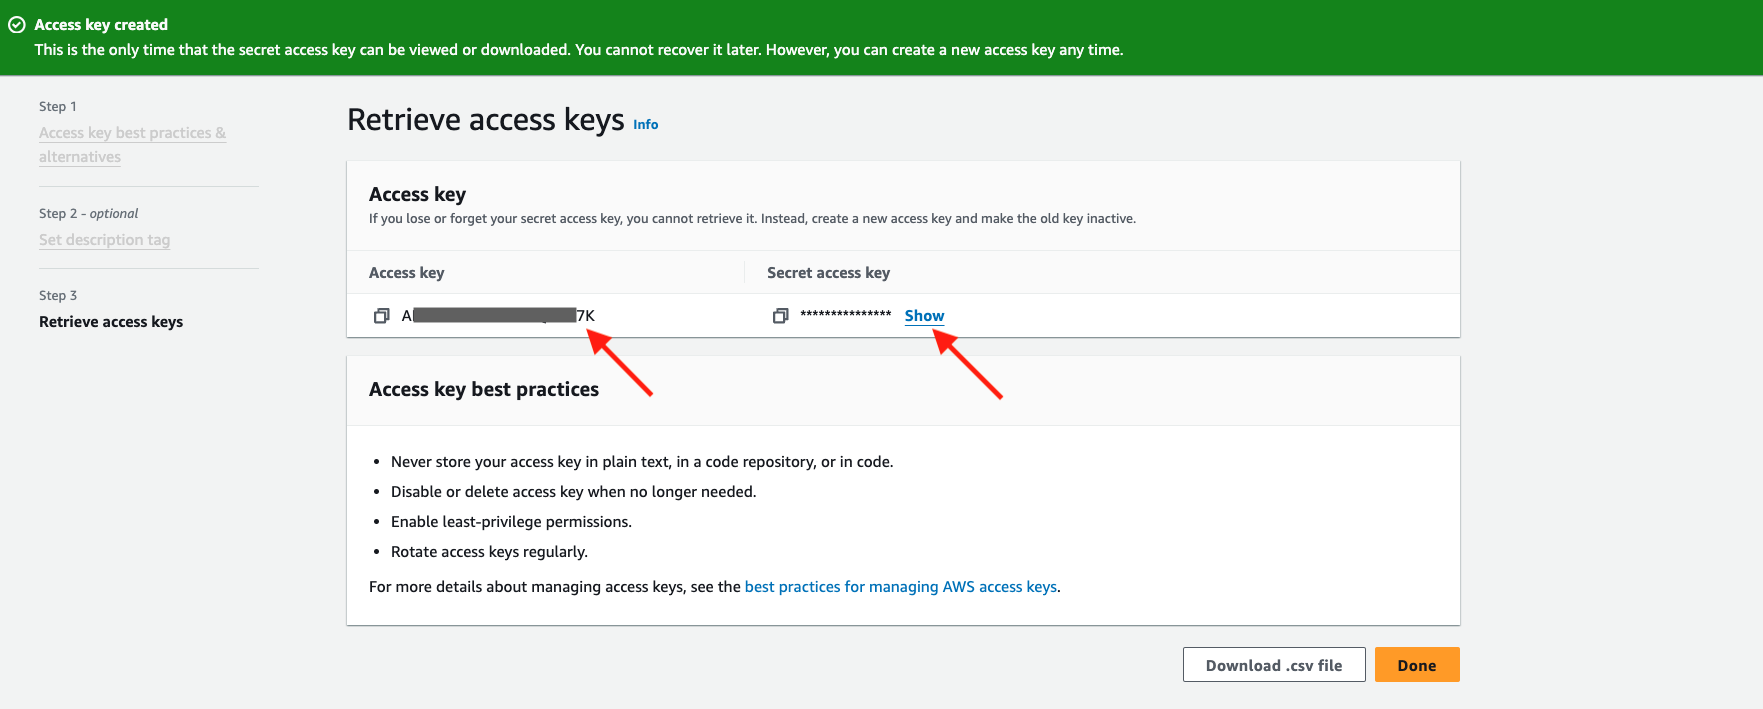 access-key-created-successfully
Once you navigate off this screen, you will not be able to see the credentials any more. If you lose them, you will need to delete the user and create a new one.
"Deploy Webiny Project" AWS CloudFormation Template
Please note that an IAM user with programmatic access is a prerequisite for this step. If you don’t have one, please refer to the previous step.
In order to deploy your Webiny project in a more controlled and secure manner, you can utilize our Deploy Webiny Project AWS CloudFormation template. Via three IAM user groups, the template deploys necessary (least-privilege) set of permissions into your AWS account, which also automatically get linked with a preexisting Amazon IAM user of your choosing (the user you plan to use upon running deployments).
To get started, simply click here.
or downloading the template from our S3 bucket.Step 3: Configure the Programmatic Access
Now that you have the Access key ID and Secret access key it’s time to store them on your development machine.
Unix Setup
If you’re on UNIX, create a folder named .aws inside your user folder, that’s ~/.aws. Inside that folder place a file called credentials. So the full path is ~/.aws/credentials.
Windows Setup
On Windows machines, navigate to your user folder. That’s C:\Users\USERNAME\ (replace USERNAME with your actual username). Inside create a new folder named .aws, and inside the .aws folder create a file named credentials. The full path should be like this: C:\Users\USERNAME\.aws\credentials.
Now that we have our credentials file, edit the file and populate it like so:
The word default inside the square brackets is your profile name. If you don’t explicitly configure a profile name, the default profile is used by AWS CLI and SDK.
And that’s it! You now have your AWS credentials, your default region, and you’re ready to deploy Webiny.
If you would like to use a different name for your AWS profile, you can do that too. Check out the Use AWS Profiles how-to guide for more information.
FAQ
Is There a Way to Check if My Profile Was Set Properly?
If you have the AWS CLI installed on your system, you can run the following command:
This should give an output similar to the following: